
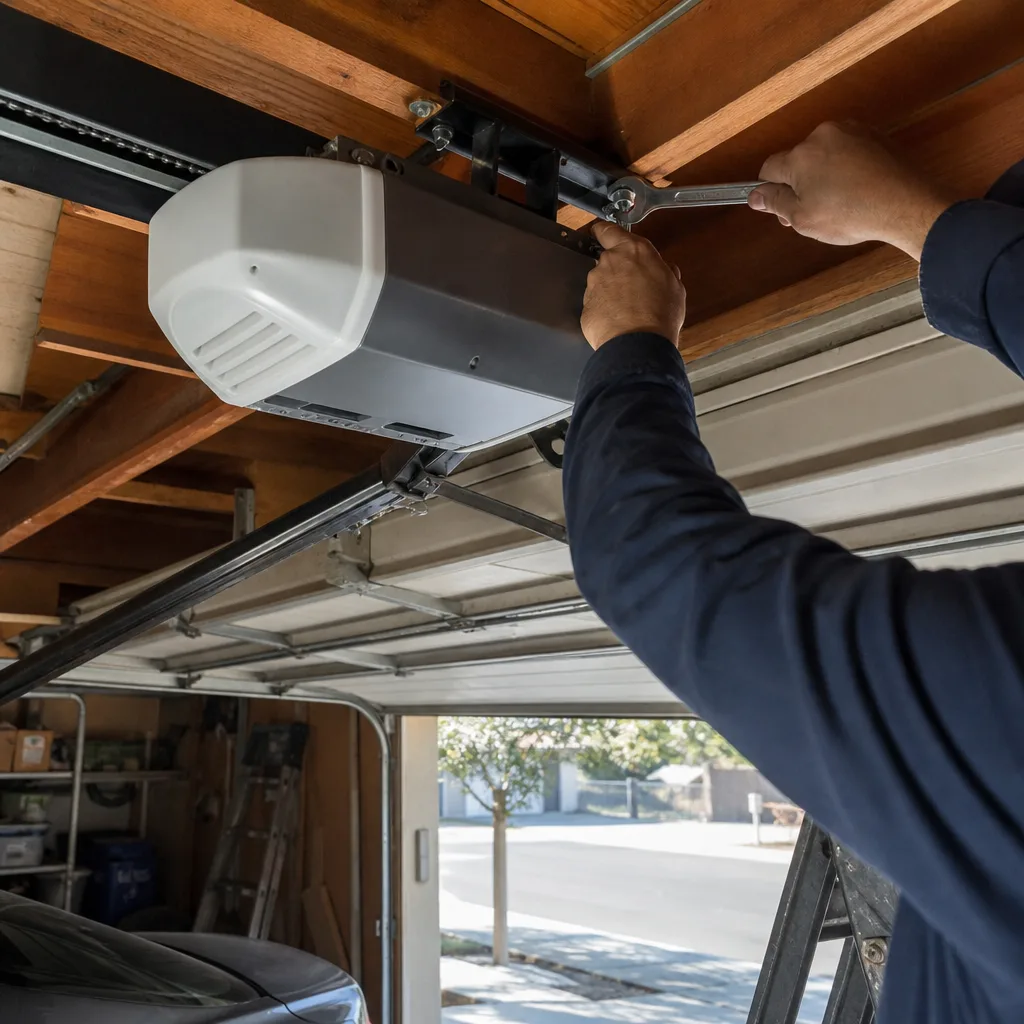
Last updated November 18, 2026
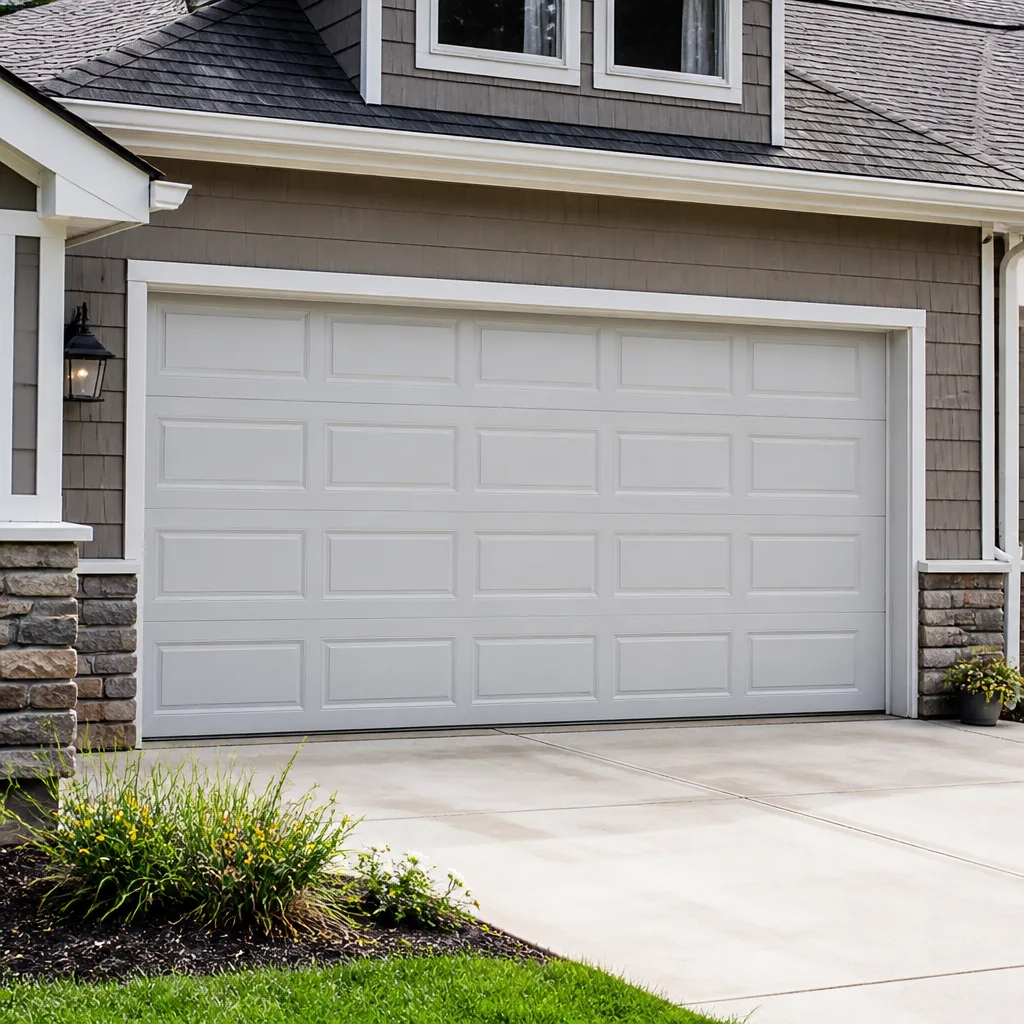 Raised-panel steel
 Carriage house
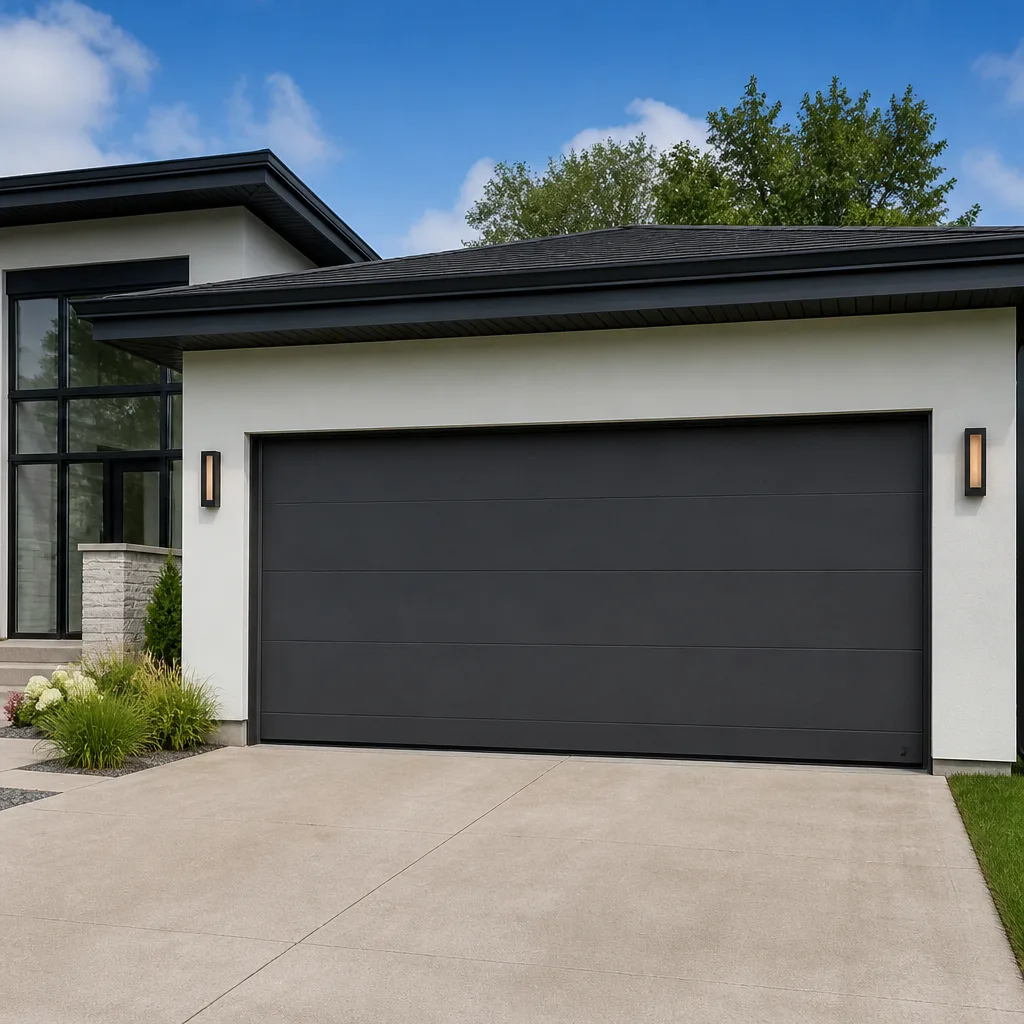 Modern flush
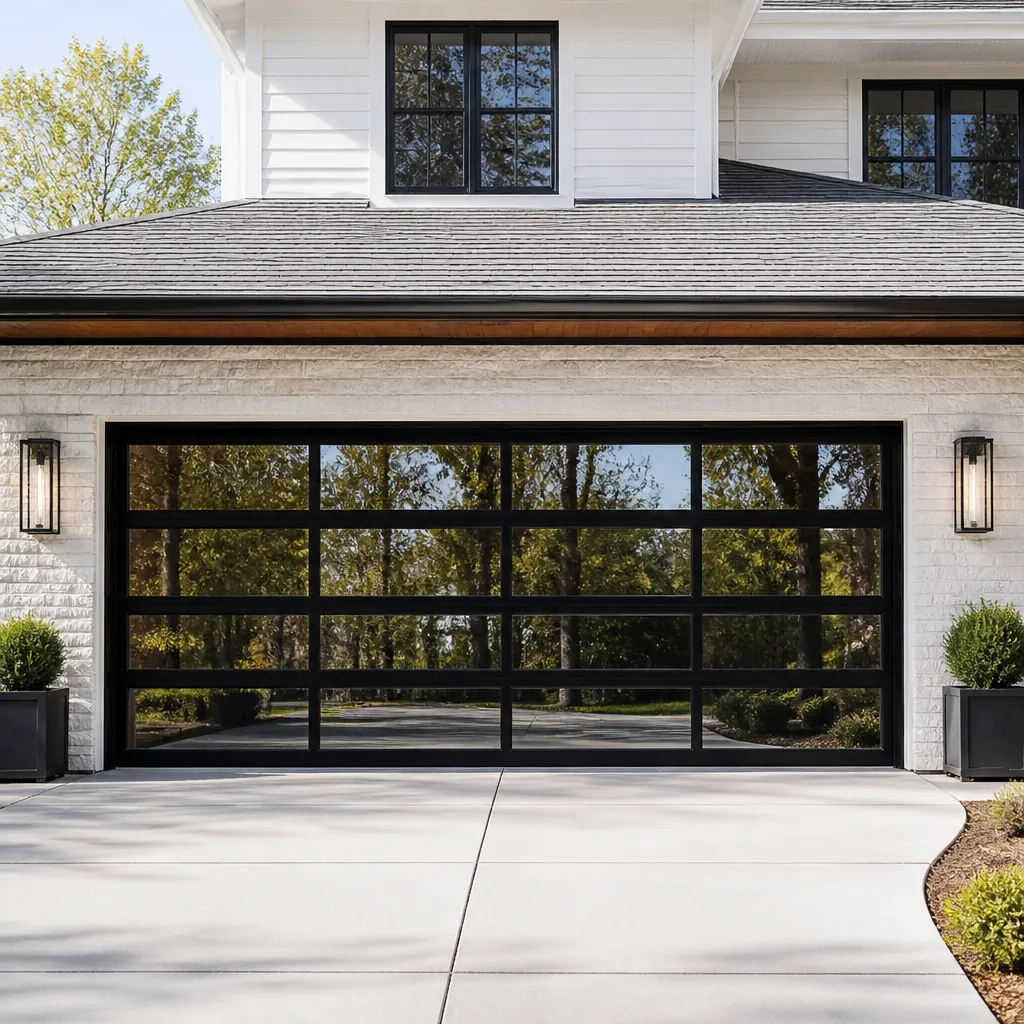 Full-view glass
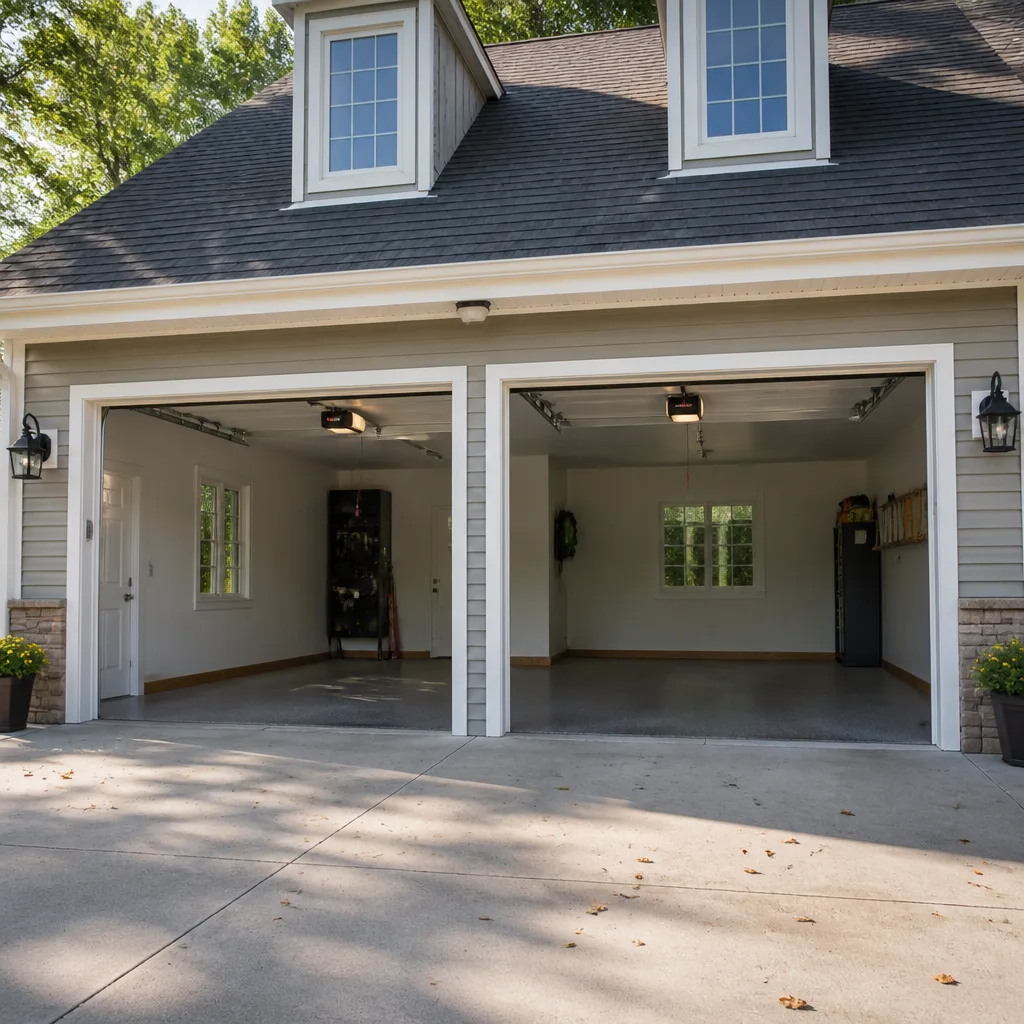 LiftMaster openers
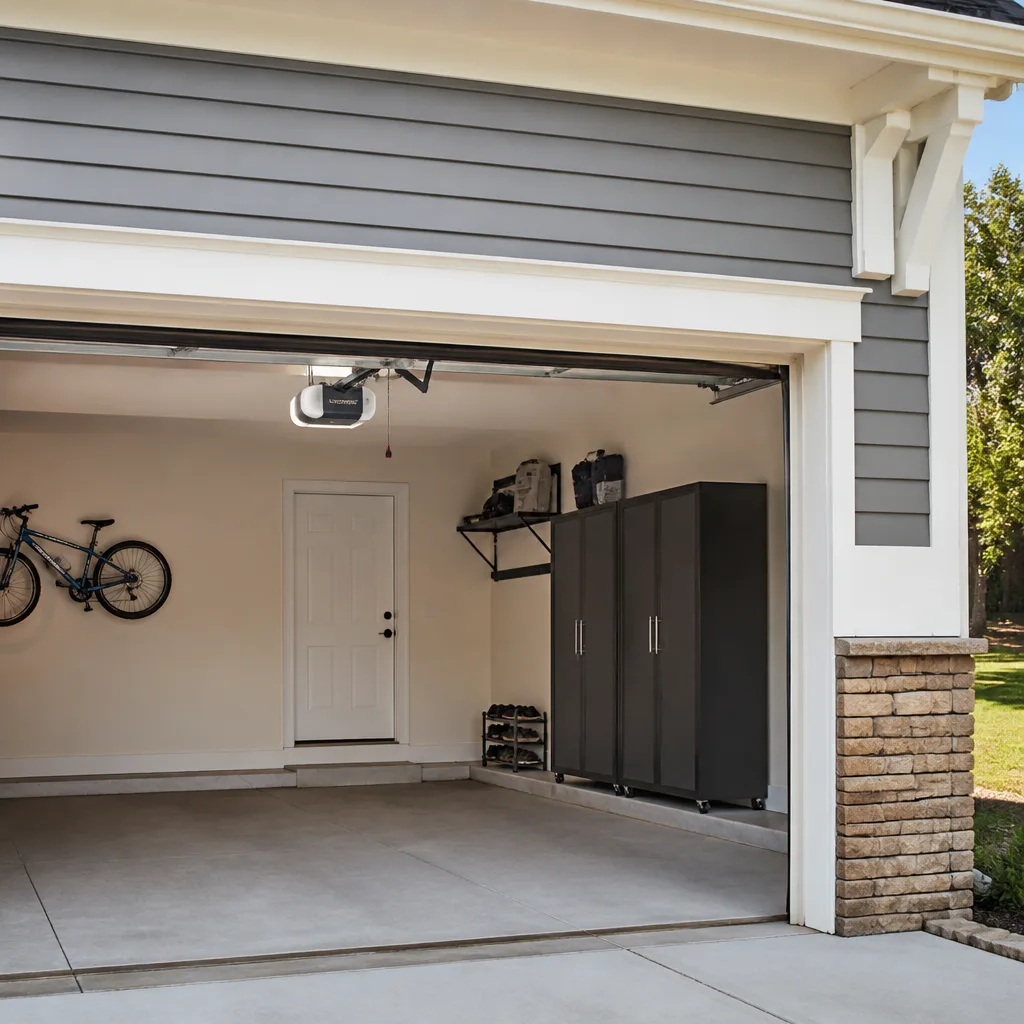 Chamberlain openers
Full 25-point door and opener safety check with every visit - springs, cables, rollers, tracks, and your LiftMaster or Chamberlain opener included
You get a price before we start. It does not change when the pro arrives.
Get your free estimateGarage Door Installation Warning Signs Every Homeowner Should Know
The number one call we get at Otto’s Garage Door Spring Valley isn’t “my door broke.” It’s “the company that installed this last spring is gone and now I need someone to fix their work.” That’s the part that stings, because most of those problems were visible on installation day if the homeowner knew where to look. A bad install rarely fails the afternoon the crew packs up. It fails six months later in ways that look like bad luck but are really bad technique. This guide walks you through exactly what to inspect before you sign off, what sounds and gaps to listen for, and what to ask the installer to show you. We’ve been doing this work in Spring Valley long enough to know the difference between a door that’s fine and a door that’s about to cost you.
Quick Answer
The biggest installation warning signs are gaps you can see daylight through, grinding or popping from the cable drum on the first cycle, torsion winding cones that aren’t secured with set screws, an opener that fails the 2×4 auto-reverse test, and track anchors driven into drywall instead of framing. Any one of these means the door wasn’t finished correctly, and you should have it corrected before you make the final payment.
Styles & brands we work with
- Raised-panel steel
- Carriage house
- Modern flush
- Full-view glass
- LiftMaster openers
- Chamberlain openers
Table of Contents
- The Gap Test: What Daylight Means
- Listening to the Cable Drum on the First Cycle
- Winding Cones and Set Screws
- The 2×4 Auto-Reverse Test
- Track Anchors: Drywall vs. Framing
- Why Spring Valley Heat and Wind Make This Matter More
- The Sign-Off Checklist
- Common Mistakes to Avoid
- When to Call a Professional
- Frequently Asked Questions
The Gap Test: What Daylight Means
Close the door and get down on your knees at each corner. Run your hand along the bottom seal first, then up each side jamb. If you feel moving air, or if you can see a sliver of daylight between the seal and the floor or frame, the door was never properly aligned to the opening. This is not “close enough.” It’s a door that’s been hung on a track that’s out of plumb or a frame that wasn’t squared, and it will only get worse as the door works.
The gap test matters more than most homeowners realize. A misplaced spring or a slightly out-of-level track lets the door ride unevenly, and that unevenness shows up at the seals. In our experience, a bottom gap of an eighth of an inch is fine. A quarter inch or more is a problem. Anything you can slide a finger into is a call-back.
This section is where Spring Valley’s dry heat comes in. The temperature swings here work the rubber seals hard, and a door that was already sitting slightly wrong will start leaving real gaps in the first summer. If you’re noticing gaps on a freshly installed door, it’s not the rubber wearing out. It’s the alignment underneath. To see how a properly finished door should sit, the crew at Garage Door Installation in Spring Valley can show you the seal-tight standard before you sign anything.
Listening to the Cable Drum on the First Cycle
Stand in the garage and run the door up and down one full cycle while you listen. The drums are the two cylinders at the top corners where the lift cables wrap around. If you hear a grinding, scraping, or popping sound coming from either drum, the cable wasn’t seated in the drum groove. That means it’s riding on the wrong part of the drum, and it will fray within weeks.
A properly seated cable moves quiet and smooth. A misseated one will feel wrong before you can even see it. Put your hand lightly on the cable itself (only the cable, never the spring) after the door is fully up and down, and feel for a vibration pattern you can’t explain. Grinding is the sign. Popping is the warning. Either one is a call-back the same day.
Here’s how we explain it to homeowners: a cable that’s off its groove is a short fuse. It can hold for a month, then fail when the door is halfway down with a car underneath. On our calls in Spring Valley, this is one of the most common things we find on doors installed by outfits that packed up and left. If the cable is already showing wear, our team at Garage Door Repair in Spring Valley can reset it and check the springs while we’re there.
Winding Cones and Set Screws
This one is the most dangerous on the list, so read it twice. The torsion spring lives on a steel shaft, and the winding cones at each end are what hold the spring under tension. Those cones must be secured with set screws tightened into the shaft. A cone that was only threaded hand-tight, with no set screw or a loose one, is a projectile waiting for a reason.
You cannot inspect this safely yourself. The spring is under hundreds of pounds of stored energy, and one wrong move can seriously injure you. What you can do is ask. Before the crew leaves, ask them to point at each winding cone and show you the set screws seated on the shaft. A real installer will be glad to. An installer who waves you off has told you something.
If you’re not comfortable asking, watch what they do at the end. A careful installer checks both cones, tests the balance, and does it in front of you. That’s the level of care we’ve built into the Otto’s Garage Door Spring Valley home service because a door is 200 pounds riding on two springs. Respect it. For anything involving the springs themselves, call us at (888) 318-1978 rather than touching that shaft.
The 2×4 Auto-Reverse Test
This is the single most commonly skipped finish step on a garage door install, and it’s the one that can actually hurt someone. Place a short piece of 2×4 flat on the floor directly under the middle of the door. Hit the close button. The door must contact the board and reverse. If it keeps pushing, or stops down onto the board, the opener’s down-force calibration was never set. Nevada code requires a working auto-reverse, and “the installer tested it before they left” isn’t the same as you testing it.
Do this test once in front of the installer, and once a month after. A door that reverses on the board is a door that will reverse on a kid’s bike, a pet, or your foot. A door that doesn’t is a liability you’ll be carrying around until it’s fixed.
While you’re at it, watch the opener’s behavior. If the motor strains or sounds loud in either direction, the down-force was likely set too high to compensate for a door that was misadjusted. If the opener is straining, the problem is almost never the opener. It’s the door. Our team at Garage Door Opener Repair & Installation in Spring Valley recalibrates that force setting to the door, not to the brand on the box, whether it’s a LiftMaster or a Chamberlain unit.
Track Anchors: Drywall vs. Framing
Look at the brackets that anchor the vertical track to the wall on each side. Each bracket should be held by lag screws driven into framing lumber, not just drywall anchors. Tap the wall gently behind each bracket and listen. A solid, dull thunk means wood behind it. A hollow, papery sound means you’re hearing drywall, and the anchor is holding nothing.
The problem with drywall-only anchors is they work fine until they don’t. They hold for a few months, then the door starts leaning, then the track pulls loose, and by the time the homeowner notices, the door is out of alignment and the opener is fighting it. That’s the six-month failure pattern in one sentence.
Before the crew leaves, ask the installer to show you one anchor point at each vertical track. They should be able to point to a screw and confirm it’s in wood. If they can’t, or they push back, that’s your sign the work wasn’t finished. We’ve seen this on plenty of doors around Spring Valley where the install was rushed on a hot afternoon, and it’s one of the most common things we end up redoing.
Why Spring Valley Heat and Wind Make This Matter More
Spring Valley isn’t a mild climate for a garage door. Summer heat pushes 110 degrees and the daily swing between afternoon and overnight is real. That swing works the springs, the seals, and the metal lubrication harder than a coastal install would. A door that was slightly misaligned in a mild climate can end up dramatically off after a full summer here.
Wind is the other factor. The valley funnels gusts that hit a garage door broadside, and a door anchored properly to framing handles that fine. A door held by only a couple of drywall anchors starts to flex, and that flex shows up in the track first. If your street picks up wind on the east side of Spring Valley, this is where the anchor check earns its keep.
The other Spring Valley factor is the installer market itself. We’ve watched several national outfits roll through town and vanish after the install. They collected payment, did a quick-fit job, and left. That’s why the sign-off inspection matters here more than it does in a lot of places. When you’re ready to schedule, the team at Garage Door Installation in Spring Valley gives you a written price before the truck is ever sent. No surprise at the door.
The Sign-Off Checklist
Here’s the exact list to run before you make the final payment. Print it, or keep it on your phone. It takes twenty minutes.
- Do the gap test. Run your hand along the bottom seal and both side jamb seals with the door fully closed. Any airflow or daylight means alignment wasn’t finished.
- Listen to the first cycle. Open and close the door once from inside the garage. Grinding or popping from either cable drum is an immediate call-back.
- Ask about the winding cones. Confirm with the installer that both cones have set screws seated on the shaft. Do not inspect them yourself.
- Run the 2×4 auto-reverse test. Place a 2×4 flat under the door and hit close. It must reverse on contact.
- Check the track anchors. Tap the wall behind each vertical bracket. Ask the installer to show you one screw going into framing.
- Confirm the wall control and remotes. Test every remote and the wall-mounted button. Confirm the photo-eye safety sensors are aligned and stop the door when blocked.
- Get the written guarantee. Any crew worth hiring stands behind the work in writing. Ours is a 90-Day Done Right Promise written on every invoice. Yours should be at least as clear.
If all seven pass, you’re in good shape. If any one fails, hold the final payment until it’s corrected. That’s not being difficult. That’s the entire point of the day.
See the difference
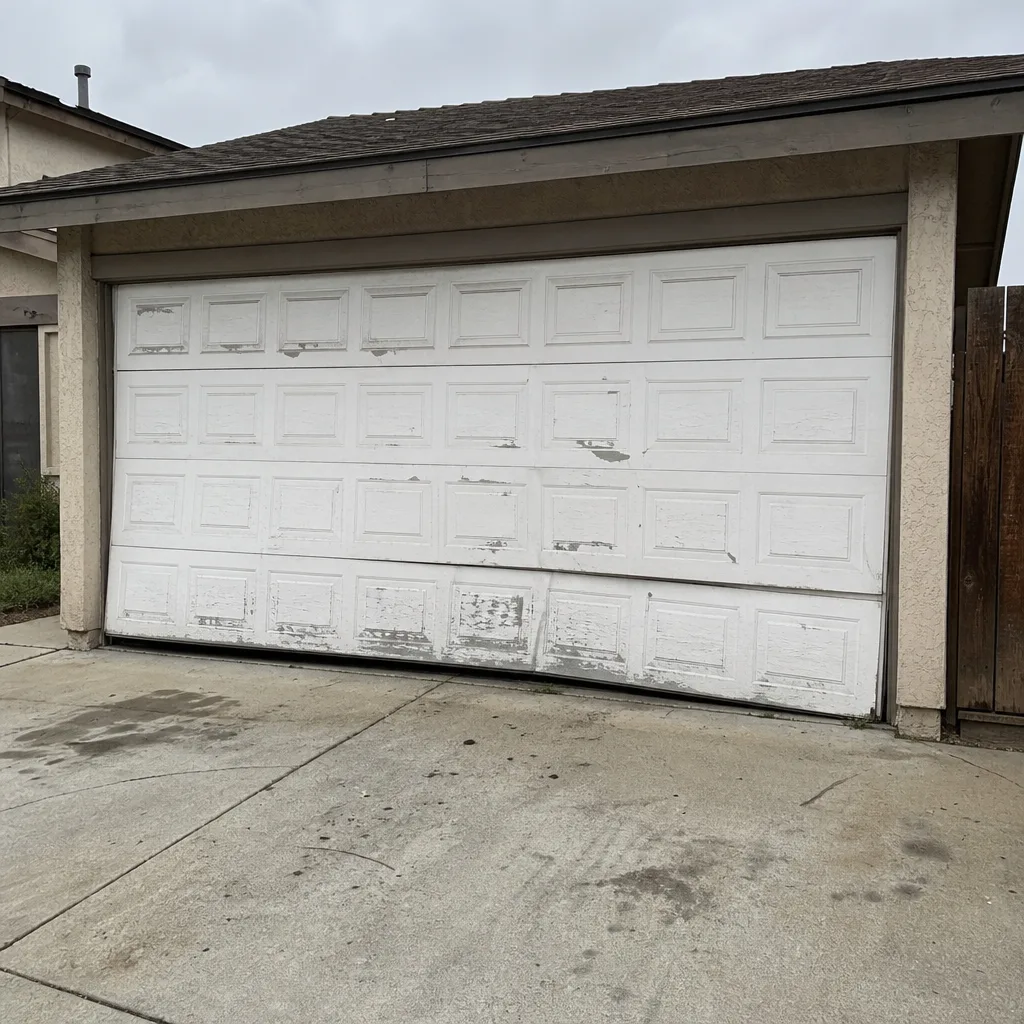 Before
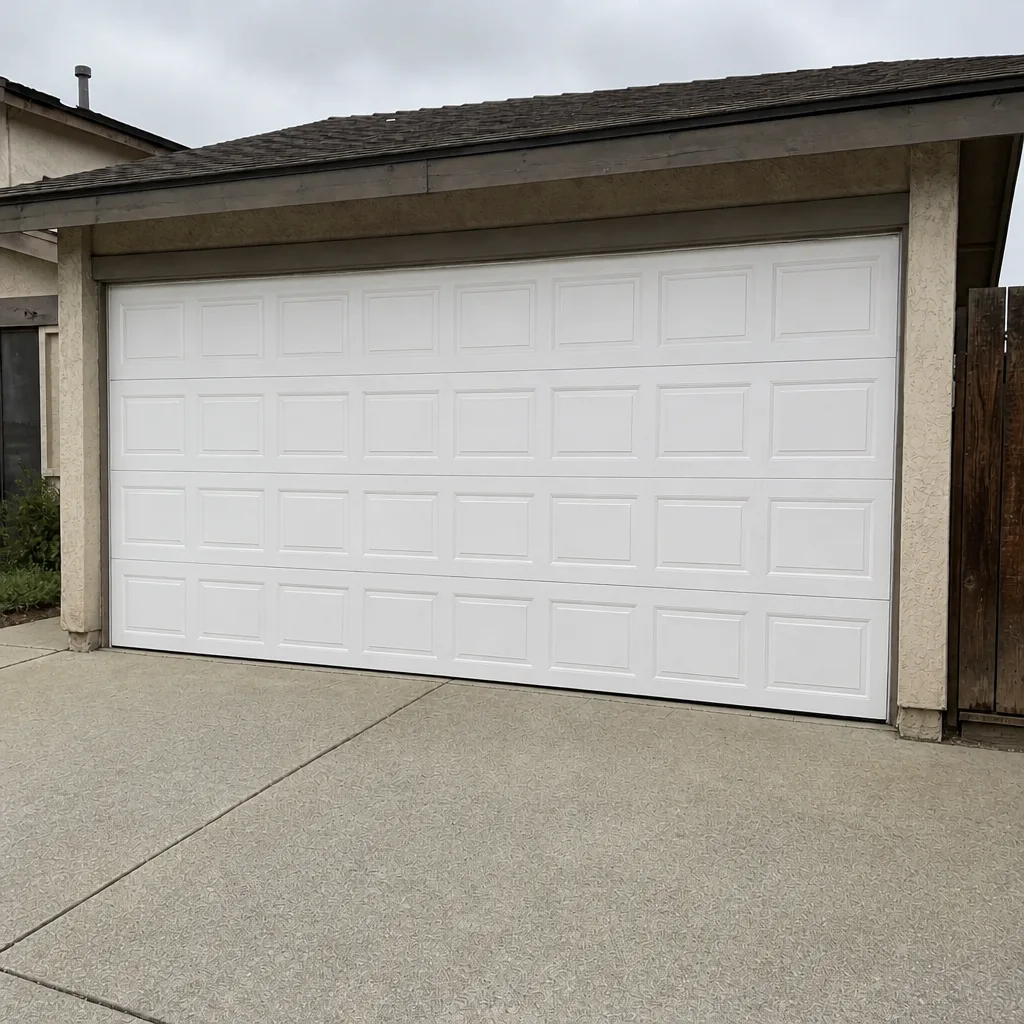 After
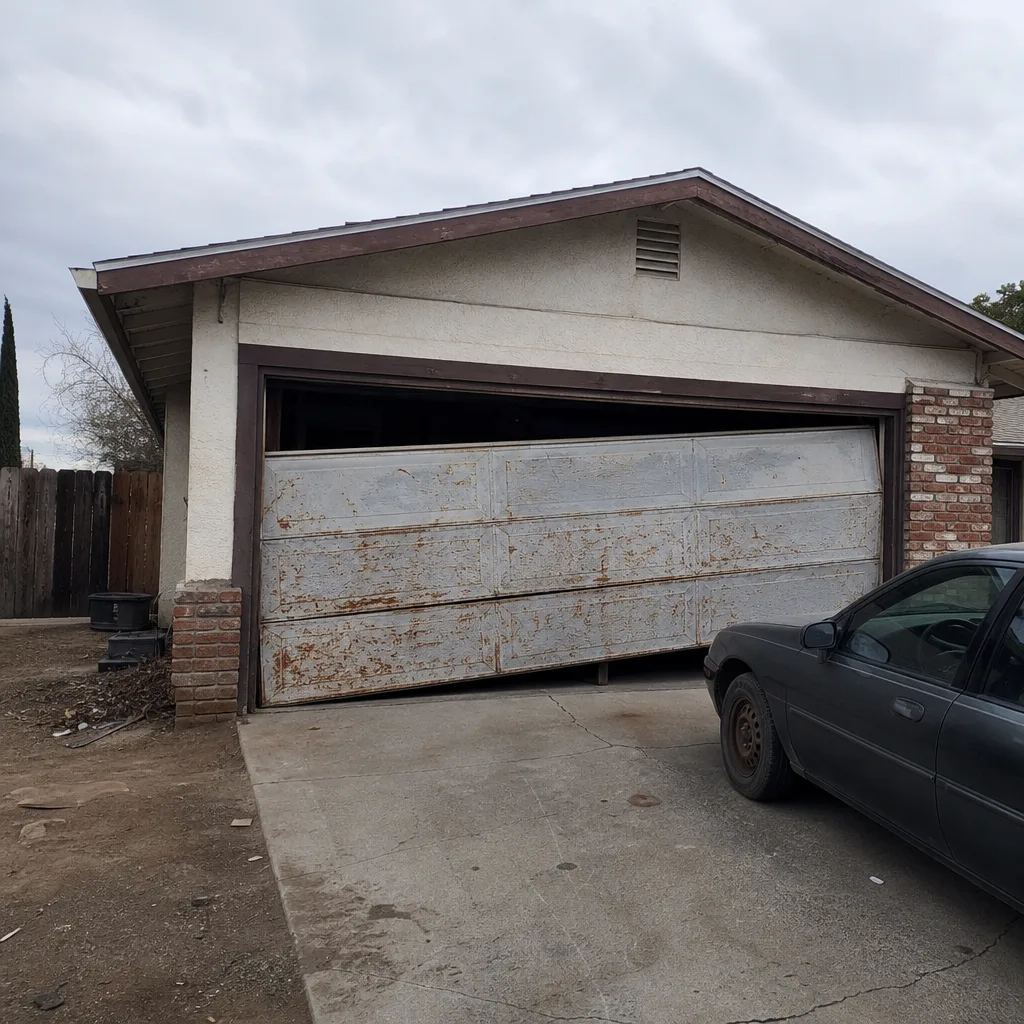 Before
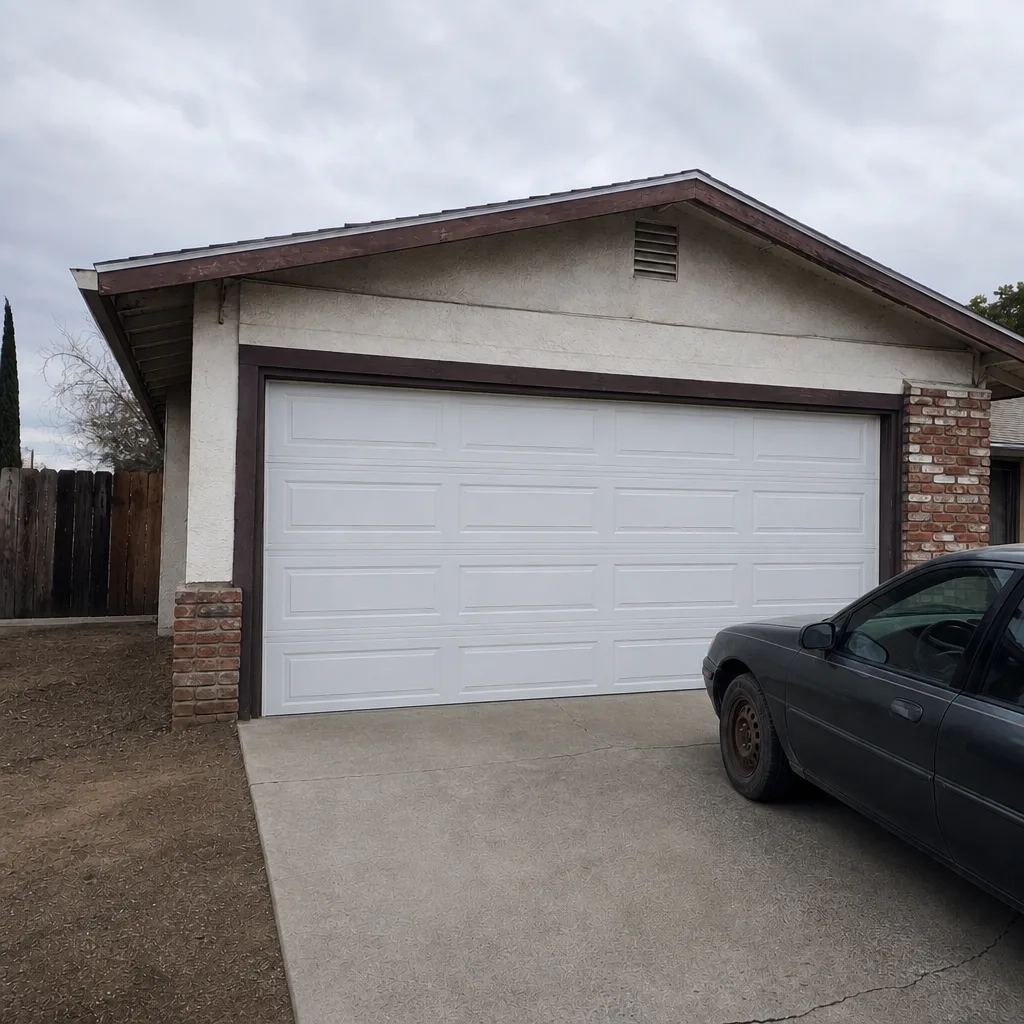 After
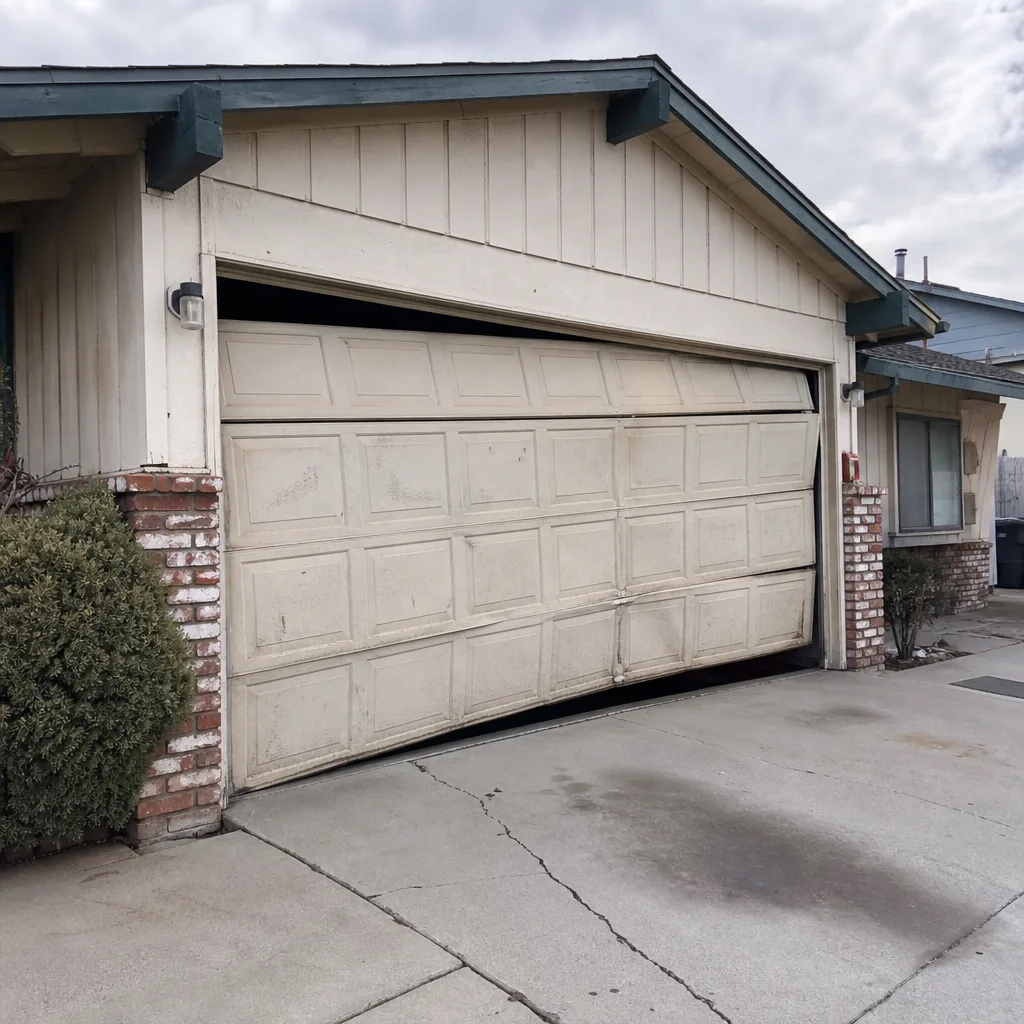 Before
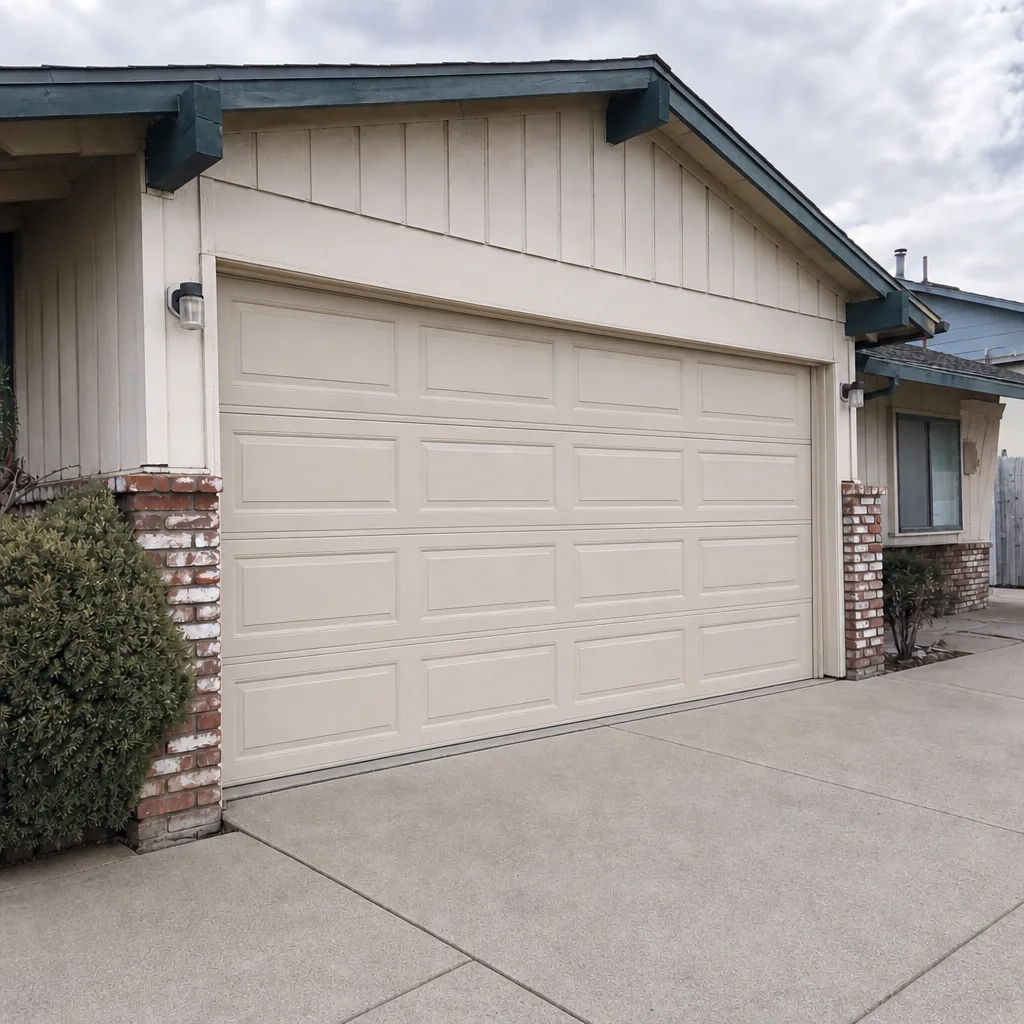 After
Common Mistakes to Avoid
- Signing off without running the door. A lot of homeowners watch the install, then say thank you and hand over a check without ever running the door themselves. Run it. Watch it. Listen to it.
- Trusting a drywall anchor. If the installer used drywall screws or plastic anchors in the vertical track brackets, the door is going to lean within a season. Spring Valley wind will find it.
- Skipping the auto-reverse test because it’s “already been done.” Even if they tested it, you need to see it reverse. It’s a thirty-second check that can prevent a serious injury.
- Paying the whole bill before the door’s been through a full cycle. Standard practice is the final payment after you’ve seen the door open and close correctly. That’s the last moment of leverage you have.
- Ignoring a grinding sound because it “works fine.” A door can work fine with a misseated cable right up until the day it doesn’t. Fraying doesn’t reverse on its own.
- Taking an installer’s word that the door is level. Level to the eye on a garage floor isn’t the same as level to a level. Ask to see one.
- Letting a national call center quote you and a subcontractor bill you. When the phone quote comes from three states away and the truck shows up from somewhere else, the number at the door tends to be different.
When to Call a Professional
You should call a professional if the door doesn’t pass the gap test, if you hear grinding from the cable drum, if the auto-reverse fails, or if the track anchors are in drywall. You should never touch the springs or the torsion shaft yourself, no matter how simple it looks online. A door is 200 pounds riding on two springs, and a spring that’s still under tension is genuinely dangerous. We’ve seen homeowners try to tighten a winding cone and end up in the ER. Don’t be that story.
If you’re not sure whether what you’re seeing is a real problem or a normal part of the install, that’s also a fine reason to call. Otto’s Garage Door Spring Valley offers free estimates in Spring Valley, plus a free second opinion on any written estimate, so call (888) 318-1978 and we’ll tell you straight whether you need anything at all.
Frequently Asked Questions
You can usually tell within the first hour, on the very first cycle, if you know what to check. Run the gap test, listen for grinding at the drums, and do the 2×4 auto-reverse test before the crew leaves. Most of the real problems are visible on installation day, and the rest show up within a few months as the door works and the heat and wind around Spring Valley put stress on it.
A gap of an eighth of an inch or less is normal. A quarter inch or more means the door wasn’t aligned to the opening, or the frame wasn’t squared, and the seal can’t do its job. If you can feel air moving through it or see daylight underneath, it’s worth having corrected. Call (888) 318-1978 for an exact quote; estimates are free and we’ll tell you whether it’s worth fixing now or can wait.
It means the lift cable wasn’t seated properly in the drum groove and is riding on the wrong part of the drum. Left alone, that cable frays and eventually fails, sometimes with the door halfway down. It’s an immediate call-back and something any installer should fix the day it’s noticed. Call us if the original company is already gone.
Yes. Nevada code requires a working auto-reverse, and “the installer tested it before they left” isn’t the same as you seeing it reverse on a 2×4. It’s a thirty-second check that can prevent a serious injury to a child, pet, or yourself. If it fails, have the installer recalibrate the down-force before you sign off.
They’re not fine for a garage door track. Vertical track brackets need to be anchored into framing lumber, not drywall, because the door flexes and pulls against those brackets every cycle. Ask the installer to show you one screw going into wood. If they can’t, hold the final payment until it’s corrected.
Ask for a published address and license number you can verify before the truck arrives. Ask if a live person answers the phone. Ask if the price is quoted before the visit and held at the door. If any answer hedges, move on. Otto’s Garage Door Spring Valley publishes all three, answers the phone around the clock, and has been locally owned and owner-operated since 2004, because a handshake guarantee should still mean something. Call (888) 318-1978 for a free estimate.
The Bottom Line
Bad installs don’t announce themselves. They wait six months, then show up as a misaligned door, a frayed cable, or an opener that’s fighting a problem it didn’t create. The good news is that every warning sign in this guide is visible or audible on installation day, and the whole inspection takes about twenty minutes. Run the gap test, listen for grinding, check the auto-reverse with a 2×4, and confirm the track anchors are in wood. Get the guarantee in writing. If you’re in Spring Valley and you’re not sure what you’re looking at, call us at (888) 318-1978 and we’ll take a look. Estimates are free, second opinions are free, and a live person answers the phone day or night.
Written by the team at Otto’s Garage Door Spring Valley.