
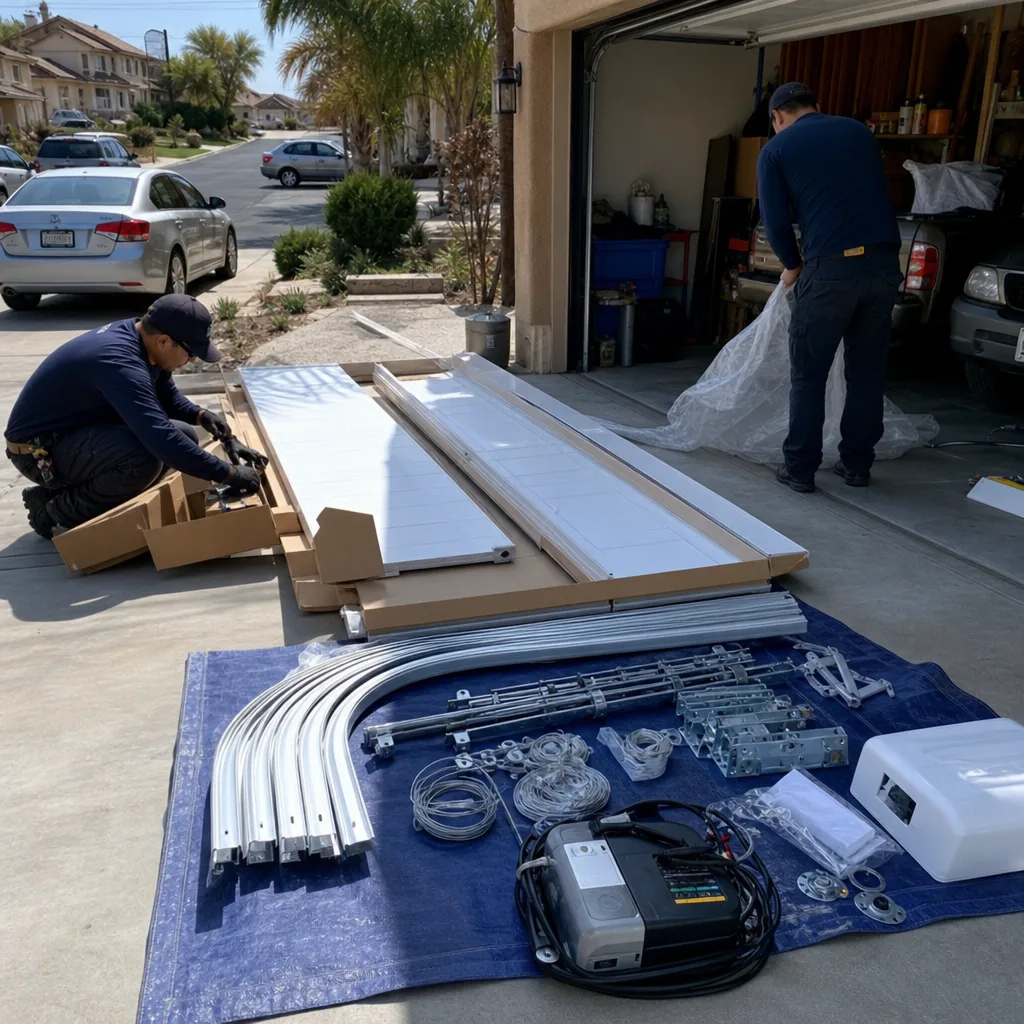
Last updated November 18, 2026
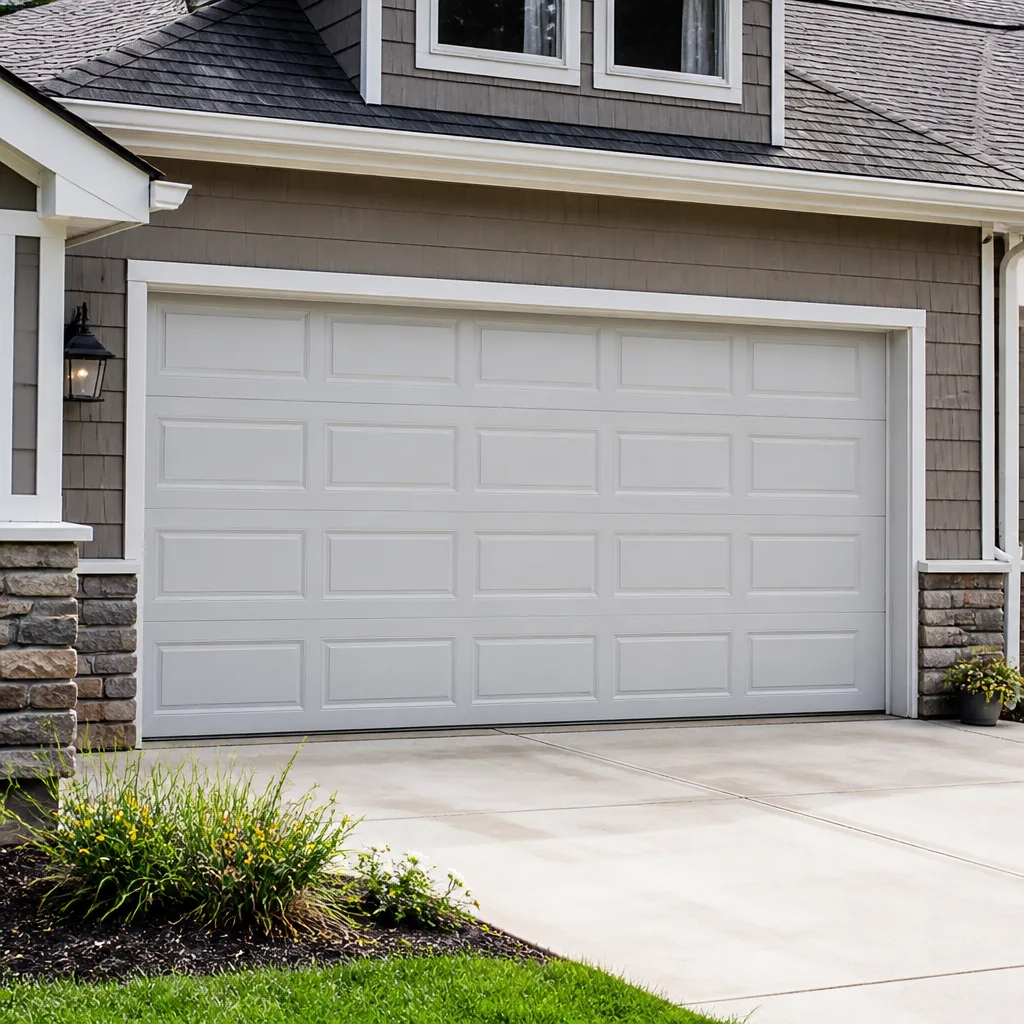 Raised-panel steel
 Carriage house
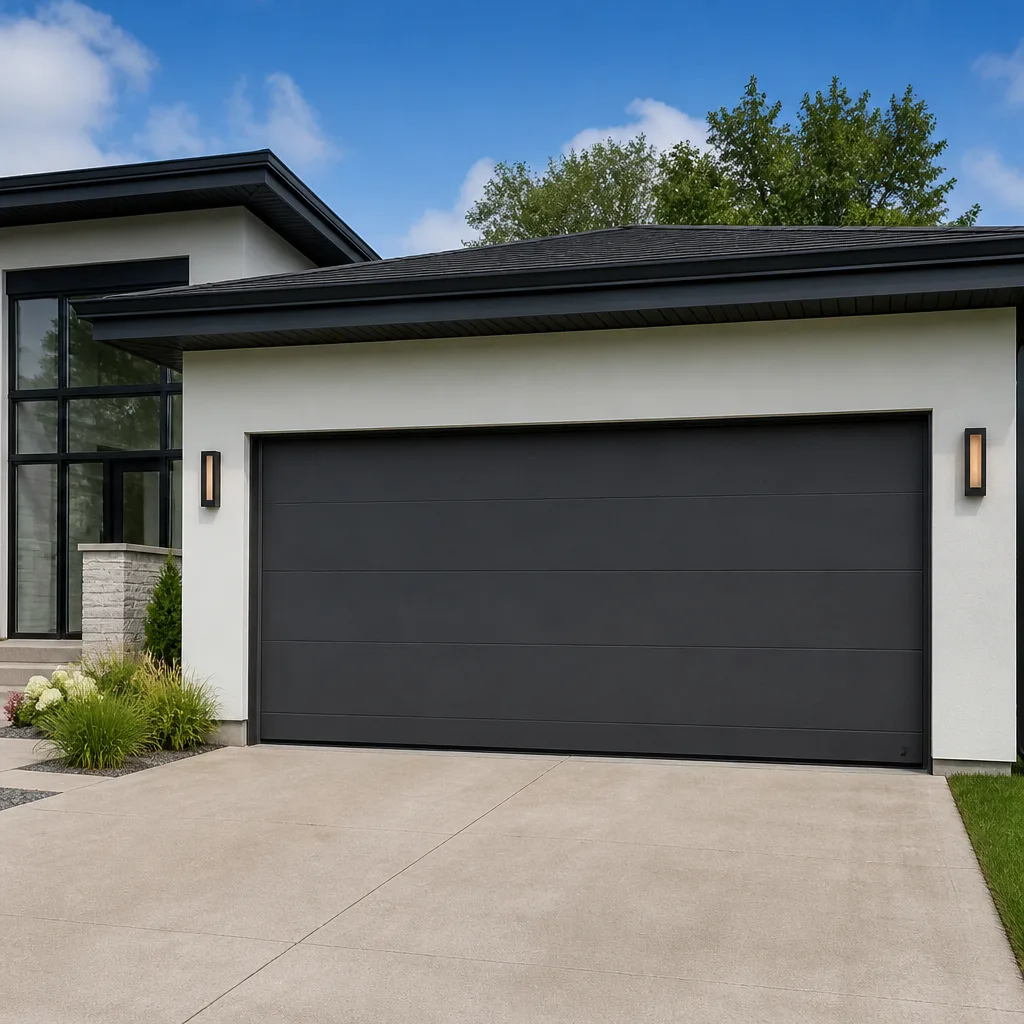 Modern flush
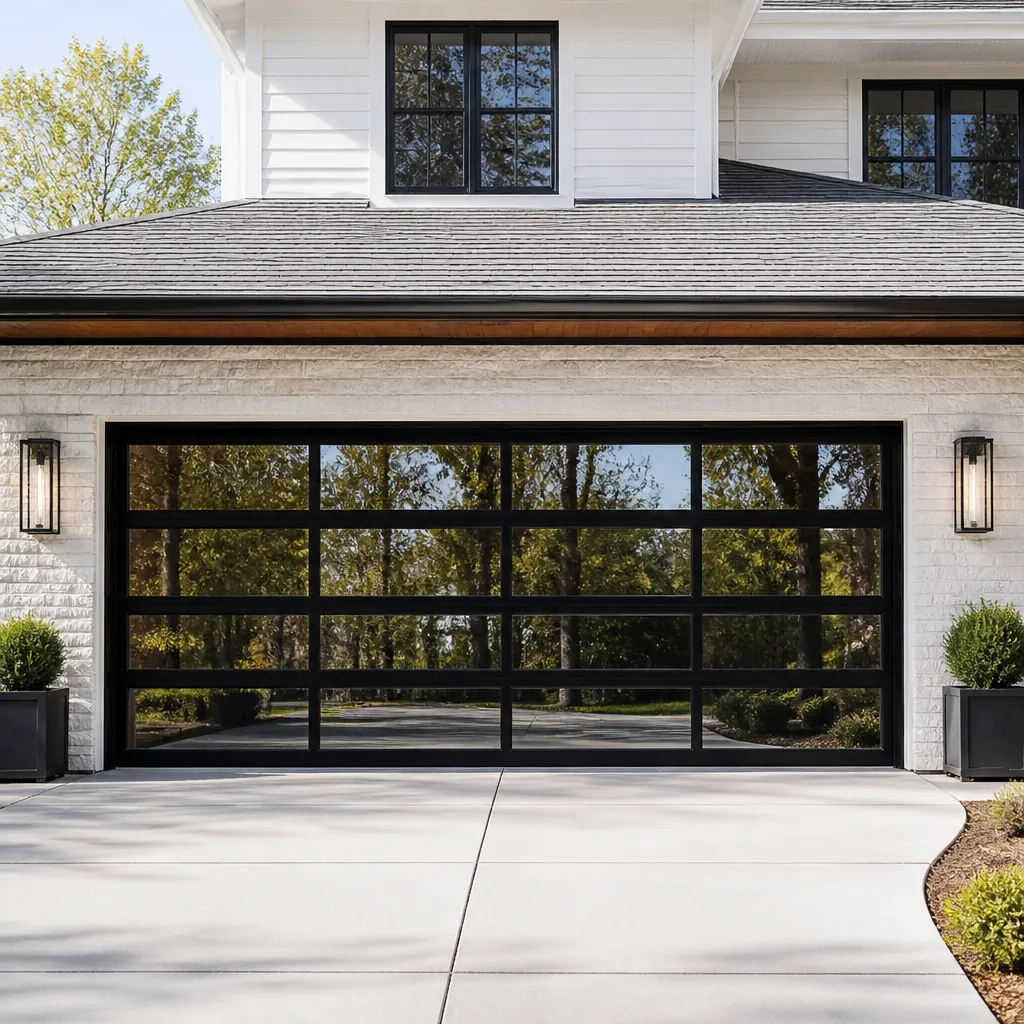 Full-view glass
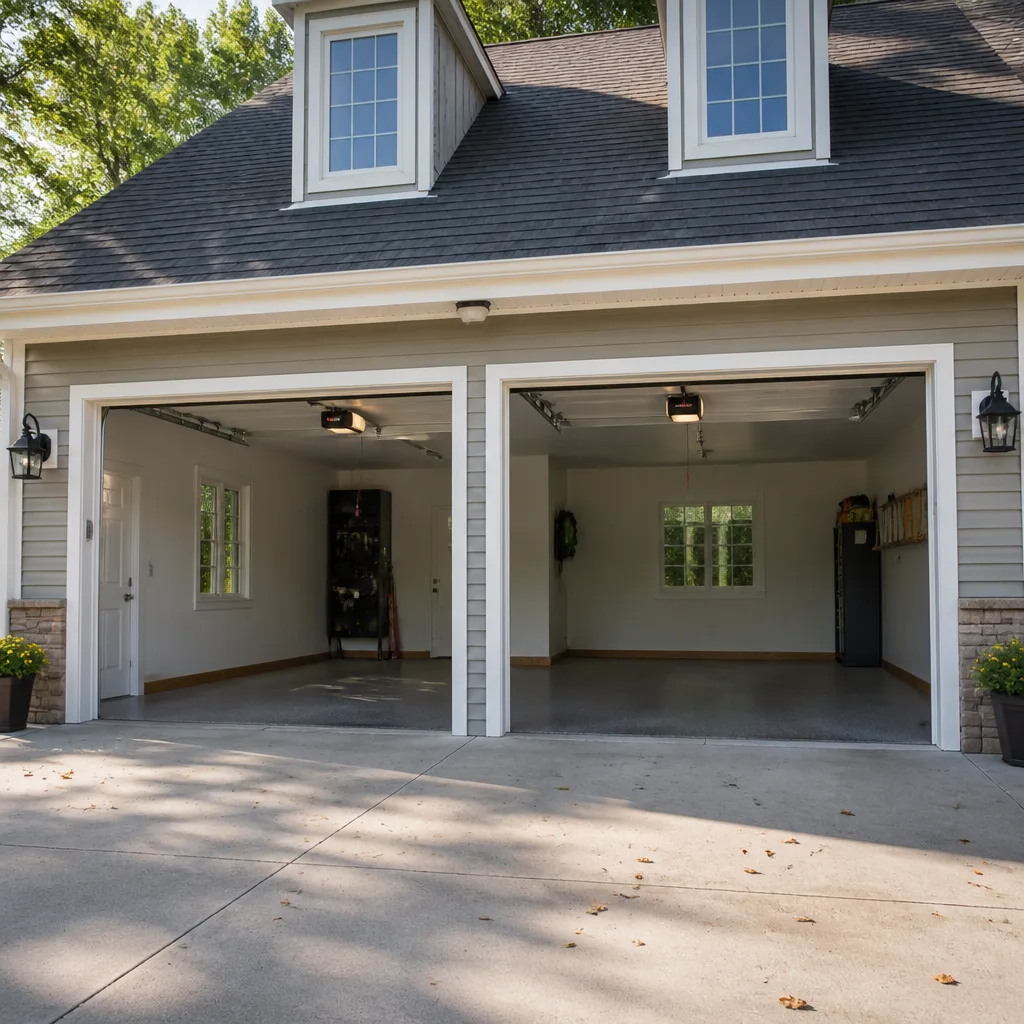 LiftMaster openers
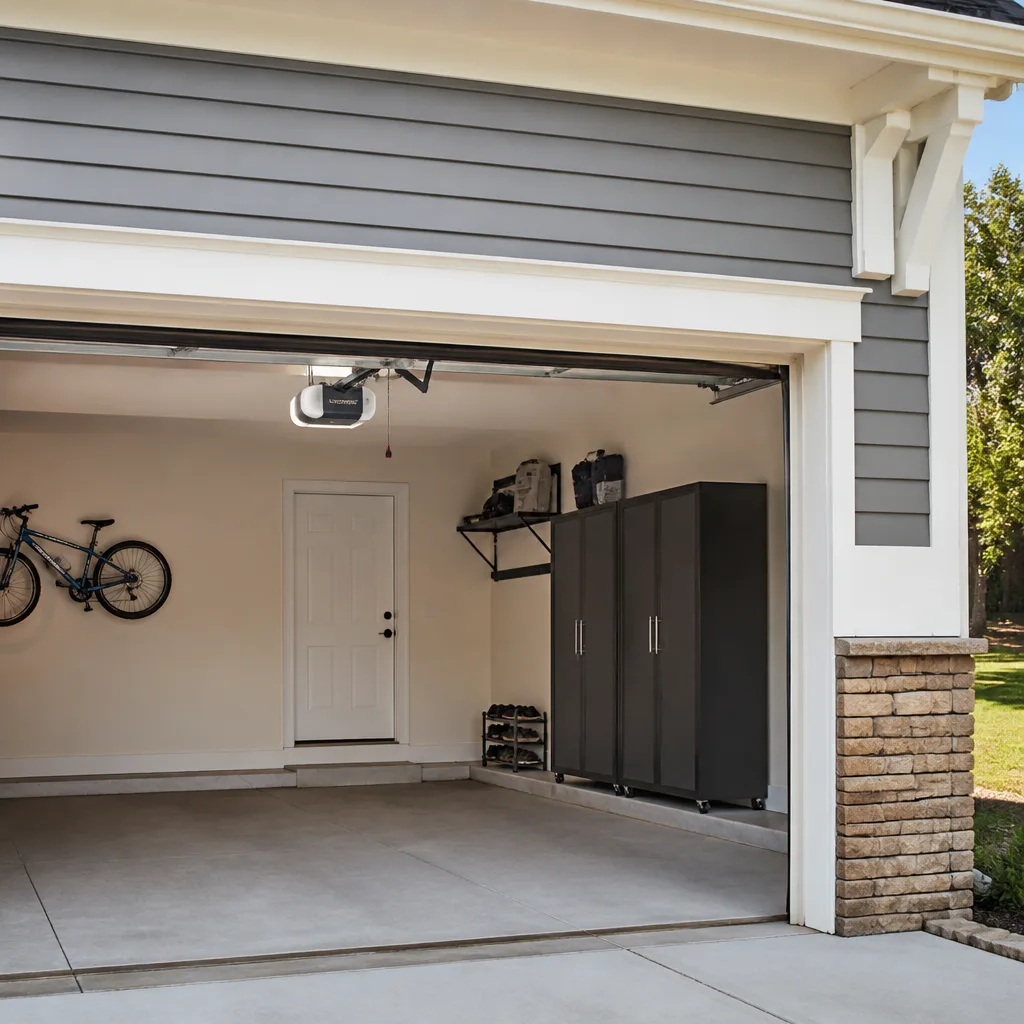 Chamberlain openers
Full 25-point door and opener safety check with every visit - springs, cables, rollers, tracks, and your LiftMaster or Chamberlain opener included
You get a price before we start. It does not change when the pro arrives.
Get your free estimateGarage Door Installation Troubleshooting: Common Problems and How to Fix Them
The most common call we get after a new installation isn’t a broken part. It’s a door that’s loud, slow, or uneven because someone skipped the final balance check before they left the job site. That’s the part nobody tells you: most post-installation problems aren’t defects at all. They’re installation errors that show up 30 days later when the hardware settles. The symptom you’re seeing right now maps to a specific installation step, and that map tells you who’s responsible and what the fix costs. This guide is your post-install quality-control checklist. We’ve walked homeowners through it across Spring Valley, and it works the same whether your new door is a Clopay or a Wayne Dalton.
Quick Answer
Most post-installation problems fall into two buckets: programming issues (travel limits, force settings, opener error codes) that you can often fix yourself in five minutes, and hardware issues (track out of plumb, spring imbalance, loose fasteners) that need a trained hand. Run a five-point inspection in the first week – travel limits, force settings, balance, reversal, and manual release – and you’ll know which bucket you’re in before the settling window closes.
Styles & brands we work with
- Raised-panel steel
- Carriage house
- Modern flush
- Full-view glass
- LiftMaster openers
- Chamberlain openers
Table of Contents
- The Five-Point Post-Install Inspection
- Symptom-to-Cause Map: Which Installation Step Failed?
- Opener Error Codes: Programming or Hardware?
- The Settling Adjustment: What Needs Re-Torquing at 30 Days
- What a One-Year Workmanship Warranty Should Cover (And What It Usually Doesn’t)
- How to Document a Claim Properly
- Common Mistakes to Avoid
- When to Call a Professional
- Frequently Asked Questions
The Five-Point Post-Install Inspection
Do this within the first week of installation, before the hardware starts settling. It takes about ten minutes and catches nearly everything a rushed installer misses. We’ve seen Spring Valley homeowners find a problem on step three that would have turned into a $300 repair six months later.
- Travel limits. Open and close the door fully. It should stop with the bottom seal resting flat on the floor, not hovering an inch above it and not pressing down hard enough to bow the panels. If it stops short or over-travels, the limit screws need adjusting.
- Force settings. Set a half-full cup or a roll of paper towels under the closing door. It should reverse on contact with light pressure – not crush the object, not stop dead without reversing.
- Balance test. Pull the manual release to disconnect the opener. Lift the door halfway by hand and let go. A properly balanced door stays put. If it drifts down or slams up, the springs are torqued wrong.
- Reversal test. With the door closing, wave a broom handle or a 2×4 in the safety beam path. The door must reverse immediately. Test both photo-eye sensors separately.
- Manual release. Pull the red cord. It should disengage cleanly with a firm pull, and re-engage with a single firm push of the door. If it sticks or won’t re-latch, the trolley is misaligned.
If all five pass, your installation was solid. If any fail, note which one and keep reading – the next section tells you what failed and who owns it. When we install a door in Spring Valley, we run this exact checklist before the truck pulls out, which is why our Garage Door Installation in Spring Valley jobs rarely come back for adjustments.
Symptom-to-Cause Map: Which Installation Step Failed?
This is the section worth bookmarking. Match your symptom to the cause and you’ll know whether to grab a screwdriver or call someone.
- Door won’t stay closed (bounces back up). Usually the limit screw – the opener thinks the down-travel is complete before the door actually reaches the floor. Programming fix, five minutes with the manual.
- Door reverses before hitting the ground. Two possibilities. Either the sensitivity/force setting is too light (programming) or there’s a genuine obstruction – a leaf, a pebble, a slightly misaligned photo eye. Check the sensors first. If they’re clear and clean, it’s the force setting.
- One side drags or scrapes. This is the big one. If one side of the door binds against the track, the track wasn’t plumbed correctly during installation. That’s a hardware error, not a settings issue, and it needs a wrench and a level.
- Door looks crooked when open. Spring imbalance. The two torsion or extension springs aren’t carrying equal load. This is installer responsibility and it’s a safety issue.
- Door is loud. Usually loose hinge bolts, dry rollers, or a track that’s slightly out of alignment. Sometimes it’s simply the wrong weight of hardware for the door.
- Opener strains or groans. If the opener is straining, the problem is almost never the opener. It’s almost always a binding door the opener is fighting against.
Print that list out. It’ll save you a diagnostic fee at least once. For the settings-side fixes, our Garage Door Opener Repair & Installation in Spring Valley page has brand-specific instructions for LiftMaster, Genie, and Chamberlain units.
Opener Error Codes: Programming or Hardware?
Most modern openers flash a code or a sequence of LED blinks when something’s wrong. The trick is knowing which codes mean “press this button” and which mean “that door is binding.”
Here’s the rule of thumb we use: if the code appeared out of nowhere and the door still moves smoothly by hand, it’s programming. If the door moves stiffly or the code keeps coming back after a reset, it’s hardware.
To test it yourself: pull the manual release, then lift the door by hand. It should glide up with one hand – a 200-pound door should feel like 15 or 20 pounds at the handle. If it fights you, the opener isn’t the problem and no amount of code-clearing will fix it. If it glides easily, the opener is fine and you’re looking at a settings or sensor issue.
Common patterns we see in Spring Valley:
- Chamberlain blinking 10 times. Photo eye issue – almost always a dirty lens or an obstruction, occasionally the sensor got knocked on a Saturday by a bike.
- Genie flashing red once then pausing. Usually a force setting or a travel limit that drifted.
- LiftMaster with a lock icon. The opener is seeing an obstruction on the door path – sometimes the emergency release trolley is riding wrong.
Brands differ, so hit the manual before you start pushing buttons. And never adjust a limit screw blind – work in quarter-turn increments and test between each one.
The Settling Adjustment: What Needs Re-Torquing at 30 Days
Here’s what most installers don’t tell you: hardware settles. The house wood around a new bracket compresses slightly. Bolts that were torqued snug on install day can loosen a quarter turn in the first 30 days of normal operation. This is normal, and it’s why a good installer offers to come back at day 30 or 60 for a quick tune-up.
What to check at the 30-day mark:
- Hinge bolts. Run a wrench across every hinge. Loose hinges are the number one cause of a door that suddenly gets loud.
- Track lag bolts. Where the track mounts to the jamb, check that the lag bolts are still tight. Gaps of a millimeter or more mean they need a quarter turn.
- Bracket fasteners. The brackets that hold the torsion shaft or extension springs. Do not touch the springs themselves – but you can look at the brackets and see if anything’s backed off.
- Opener mounting. The header bracket that holds the opener rail. This one loosens frequently if the installer drove lag screws into drywall-laminated header rather than solid framing.
- Roller alignment. Rollers should ride centered in the track. If one’s riding on edge, the track bowed slightly and needs a re-alignment.
One important safety note: do not touch the torsion springs, the cables, or the drums on a torsion system. Those springs hold up to 300 pounds of tension, and people have died adjusting them wrong. The brackets and bolts around them are fine to tighten. The springs themselves are not a homeowner job.
If the settling check turns up anything odd, that’s exactly what our Garage Door Repair in Spring Valley service exists for – a quick tune-up call, not a rebuild.
What a One-Year Workmanship Warranty Should Cover (And What It Usually Doesn’t)
A good workmanship warranty on garage door installation should cover labor and adjustments for at least a year – often longer. Here’s what that means in practice, and where the fine print usually cheats you.
Should be covered:
- Any adjustment to travel limits, force settings, or balance within the warranty period
- Re-torquing of any installation fasteners
- Track alignment and re-plumbing if the door came out of square after install
- Callbacks for noise or operational issues traced to installation error
- Replacement of any fastener that failed prematurely
Usually excluded, and this is where it gets slippery:
- Manufacturer defects – those go through the door brand, not the installer
- Damage from a car strike, a storm, or a stuck door where you forced the opener
- Spring wear – springs are consumable and covered separately at best (ours fall under our 90-Day Done Right Promise in writing, and manufacturiture coverage may apply)
- Opener parts, unless the installer supplied the opener
- Cosmetic issues like scratches and scrapes from normal use
Read the warranty before you sign. If it doesn’t spell out the exact terms in writing, ask for them in writing. We put ours on every invoice, and if it’s not done right, one call brings us back – no runaround.
How to Document a Claim Properly
If something fails in the first year after installation, document it right. Vague complaints get vague answers.
- Date and photograph. Write down the date you first noticed the issue and take photos (door halfway up, sensor position, any visible gap in the track). Timestamp it or text it to yourself.
- Note the conditions. “Door hesitates to close when temperature drops below 50 degrees” tells an installer ten times more than “door doesn’t work.”
- Test the five-point inspection and record which step failed. This proves the door wasn’t operator error.
- Find your original invoice and warranty. Note the install date – the warranty clock starts there, not on the sales date.
- Call in writing and verbally. An email creates a paper trail. A phone call gets a human. Do both.
- Do not modify anything before the callback. If you adjust a limit screw and the issue is actually a track alignment, you’ve just handed the installer an excuse to blame you.
We see this a lot in Spring Valley – no-questions-asked callback requests, but no inspection data to work with. Once you’ve got the record built, the installer works much faster and the claim gets honored.
Common Mistakes to Avoid
- Adjusting the force setting before testing the balance. If the door is actually binding, cranking up the force setting makes the opener fight harder and costs you $200 in parts.
- Touching the torsion springs because the door looks slightly off. That’s a two-hundred-pound spring under load, and one slip sends a bar through a windshield – or through you. Just don’t.
- Assuming the loud noise is “just the door settling.” A door that gets louder at 30 days has a loose hinge or bracket. Left alone for six months, it puts strain on the panels.
- Skipping the manual-release test. Especially important in Spring Valley where summer heat can bake the grease off the trolley – a stuck manual release can seal you inside during a power outage.
- Not testing the safety reversal monthly. The photo eye sensors are the cheapest safety device on your door, and the most likely to fail. Test them with a broom handle every month.
- Waiving the free second-opinion call. If your installer’s quote to fix something seems high, get a second set of eyes. A written free estimate never hurt anyone.
- Clearing spring-code error codes without checking the door by hand. The code is telling you the opener is fighting something. Reset it three times and you still haven’t fixed the problem.
When to Call a Professional
Some things you handle yourself. Some things you don’t. Call a professional if any of these are true: the door won’t stay level when tested by hand; you see a visible gap between track and jamb; there’s a spring noise that’s new (a twang, a bang, or a snap); the door drags on one side by more than a quarter inch; the opener reverses erratically and settings won’t hold; the manual release is stuck. All of those are signs of installation error or hardware failure, not user error. Beyond that, spring, cable, and bracket work always requires a trained hand – those components hold dangerous tension and deserve respect. Our technicians have up to 22 years of experience on exactly these calls. Otto’s Garage Door Spring Valley offers free estimates in Spring Valley – call (888) 318-1978.
Frequently Asked Questions
About 30 days. Wood compresses slightly around new fasteners, so lag bolts and hinge screws back off a quarter turn during the settling window. A quick tune-up at day 30 catches this before it becomes a noise problem.
Not normal – a properly installed door should be quieter than the one it replaced. New noise usually means loose hinge bolts, dry rollers, or a track alignment issue. Call the installer back; this is exactly what the workmanship warranty exists for.
Yes, and you should. Travel limits are a user-adjustable setting on every major opener brand – LiftMaster, Chamberlain, Genie all document it in the manual. Work in quarter-turn increments and test after each one. Never adjust a spring or cable.
Check the photo eye sensors first (clean the lenses, look for obstructions). If they’re clear, the force setting is too sensitive. If the door also drags when lifted by hand, it’s a spring or track issue and needs a callback.
Usually not. Springs are consumables and their coverage is a separate manufacturer warranty at best. Workmanship warranties cover the installer’s labor – adjustments, fasteners, alignment, callbacks. Read your warranty paperwork carefully, and ask for anything ambiguous in writing.
Test first, blame second. If the door glides easily by hand but the opener misbehaves, it’s likely settings or a defective opener. If the door itself binds, drags, or looks crooked, it’s installation error. The five-point inspection tells you which bucket you’re in before you call anyone.
The Bottom Line
Post-installation problems almost always trace back to a skipped installation step – a limit screw that was set too fast, a track that was plumbed a quarter-inch off, or a final balance check that never happened. Run the five-point inspection in your first week. Re-torque your fasteners at 30 days. Know the difference between a programming issue and a hardware issue before you call anyone. And read your workmanship warranty so you know what’s covered and what isn’t. Do those four things and your new door will run quiet and level for years. Just don’t touch the springs.
Call us at (888) 318-1978 for a free estimate, an honest second opinion on a written quote, or a quick tune-up call. Otto’s Garage Door Spring Valley – we’ll see you on Saturday at the feed store.
Written by the team at Otto’s Garage Door Spring Valley.
See the difference
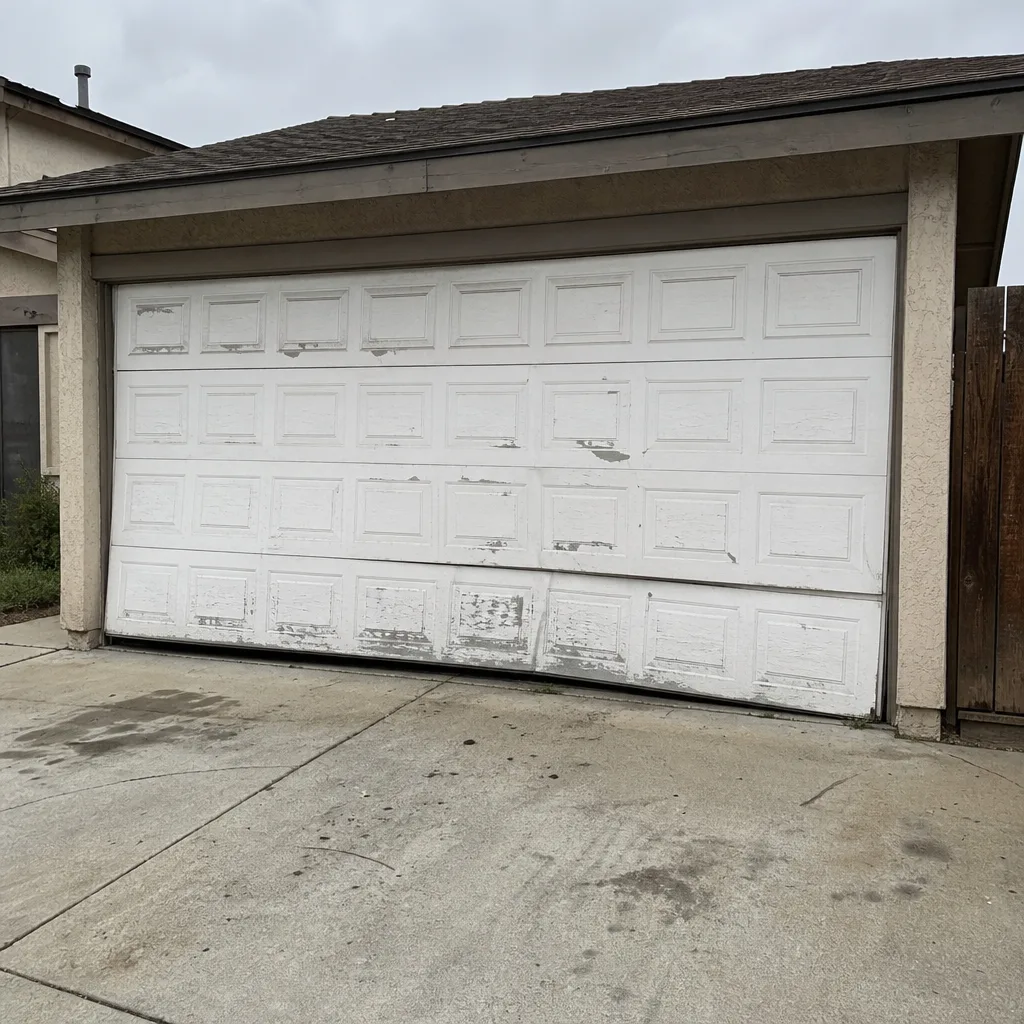 Before
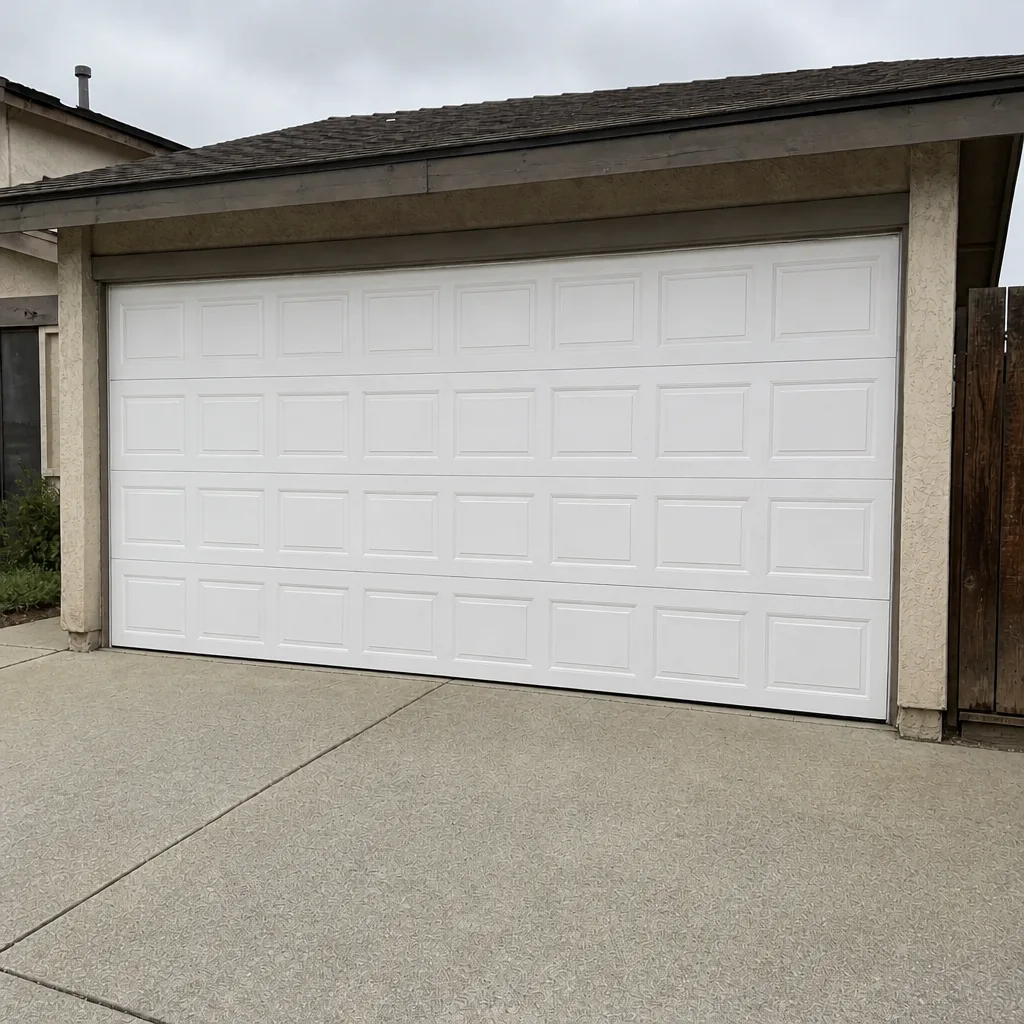 After
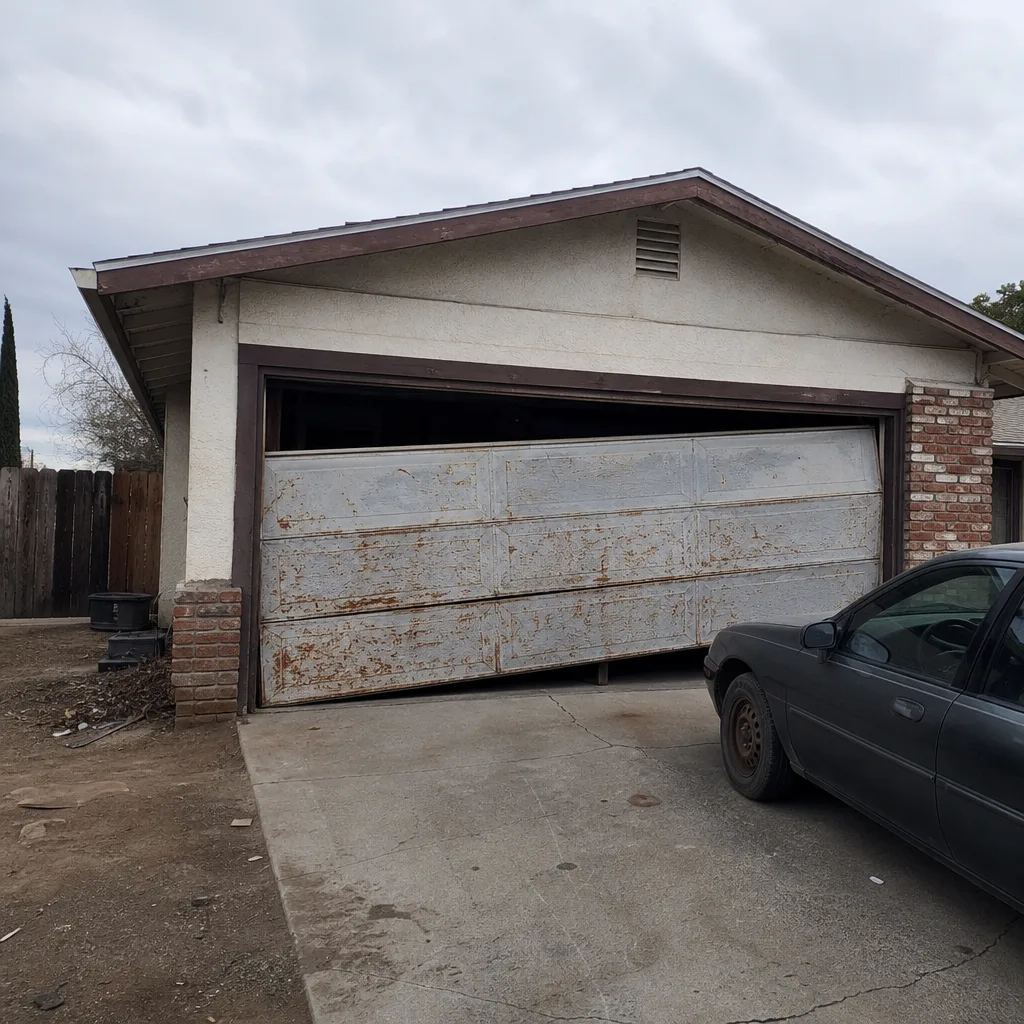 Before
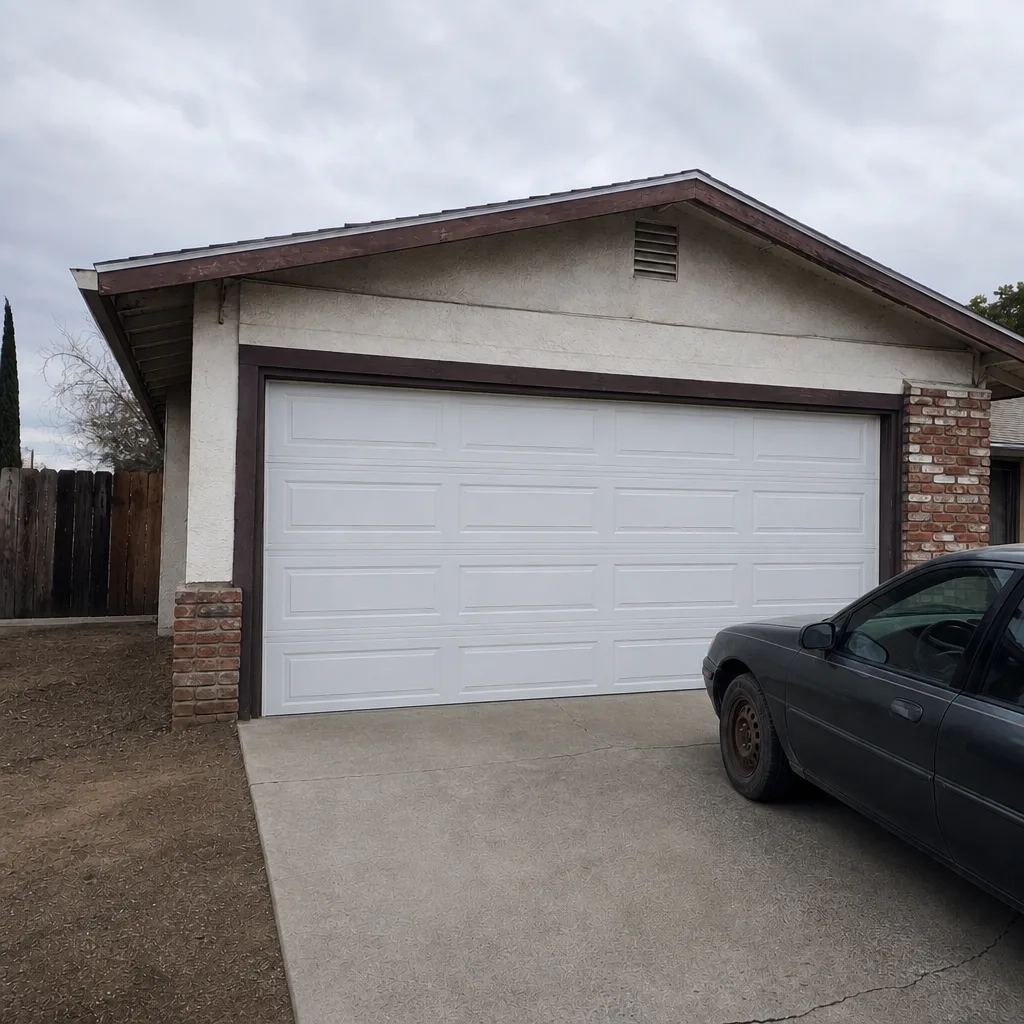 After
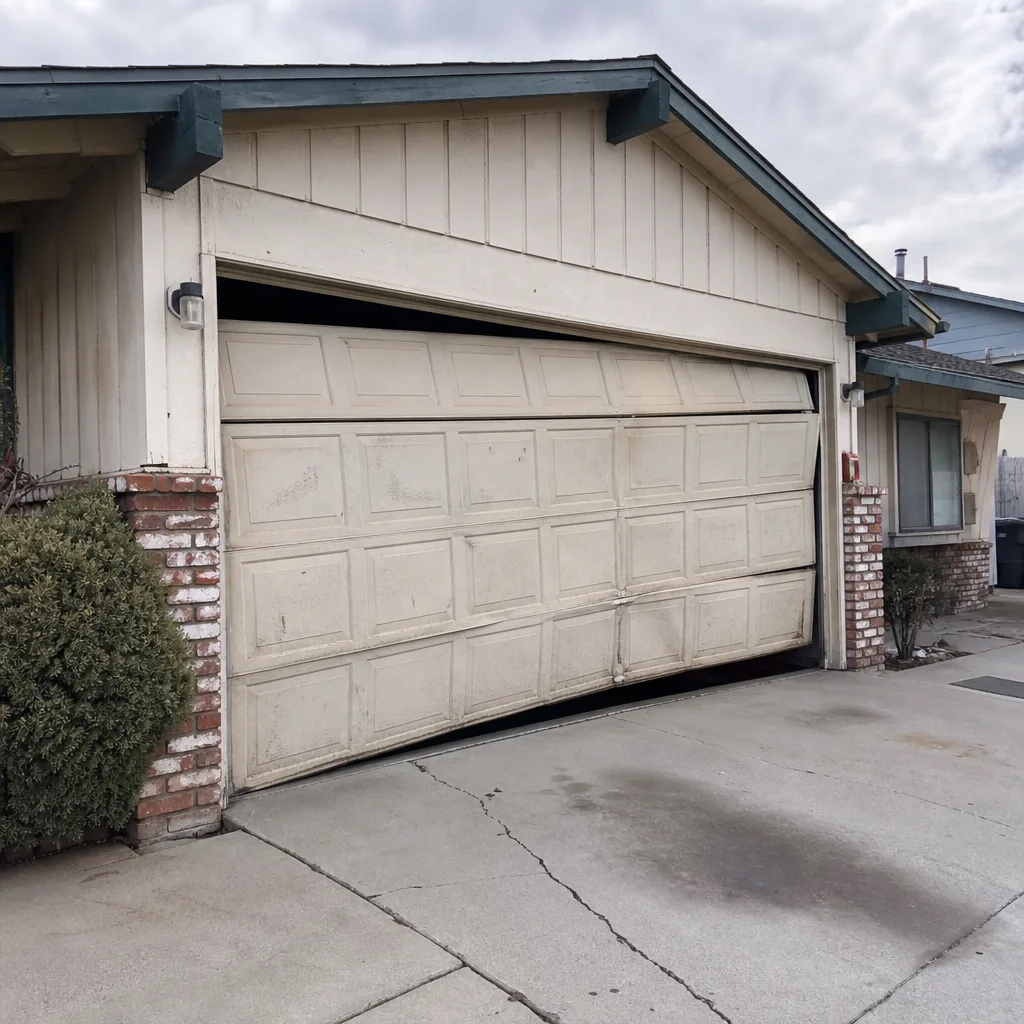 Before
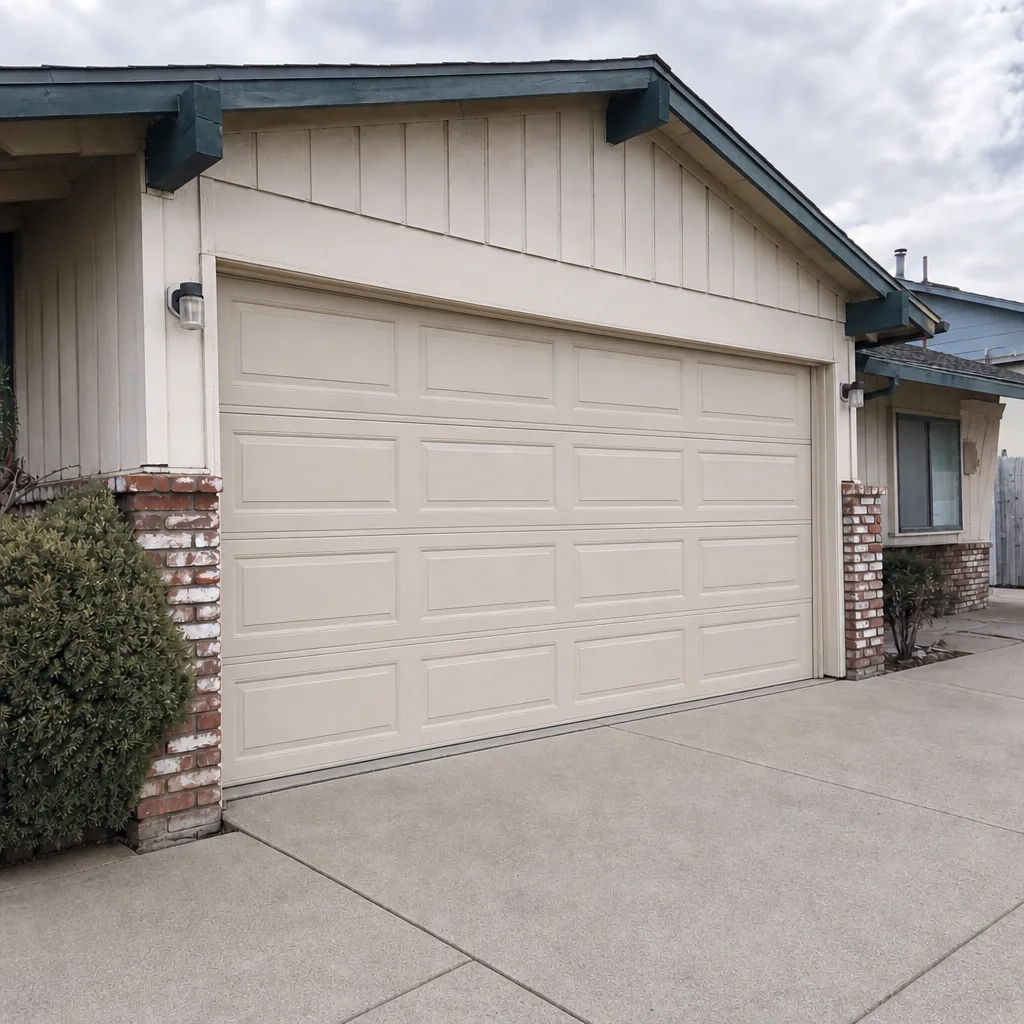 After