
Last updated November 18, 2026
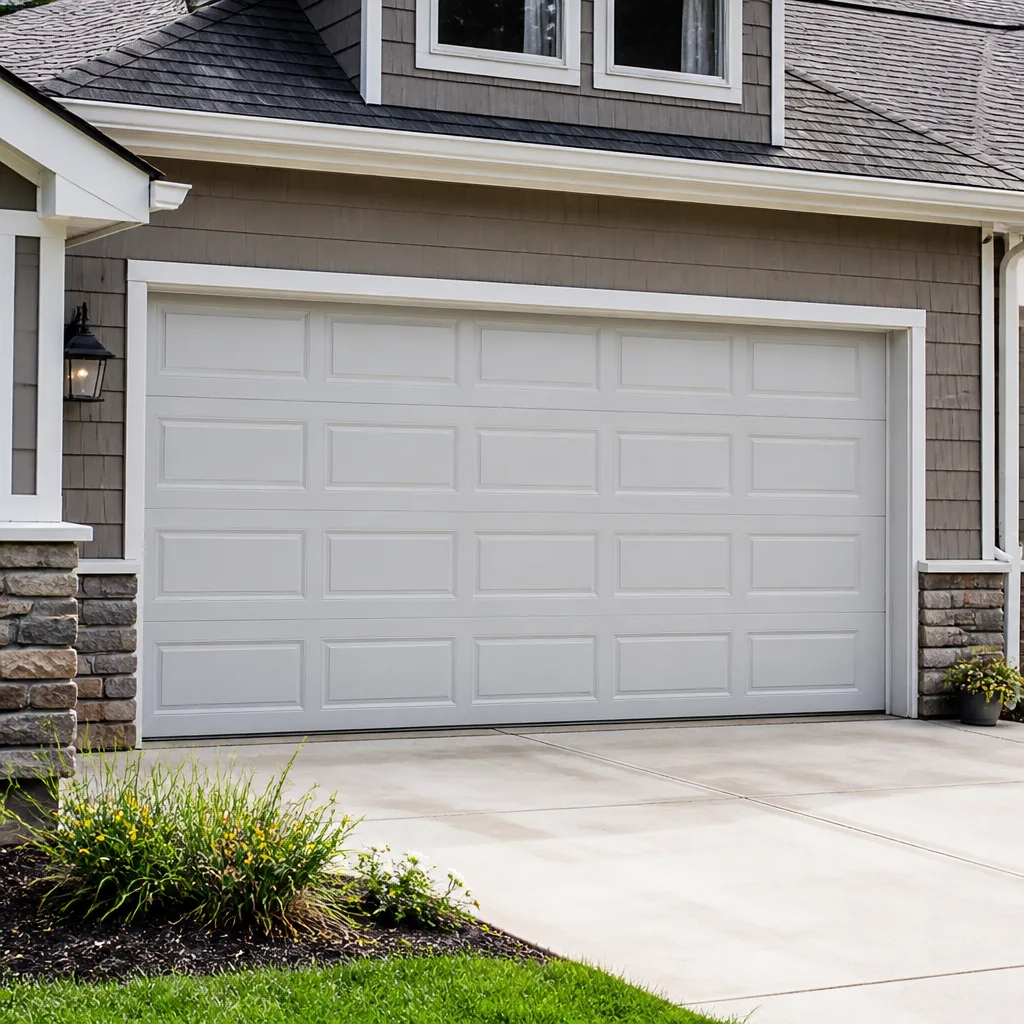 Raised-panel steel
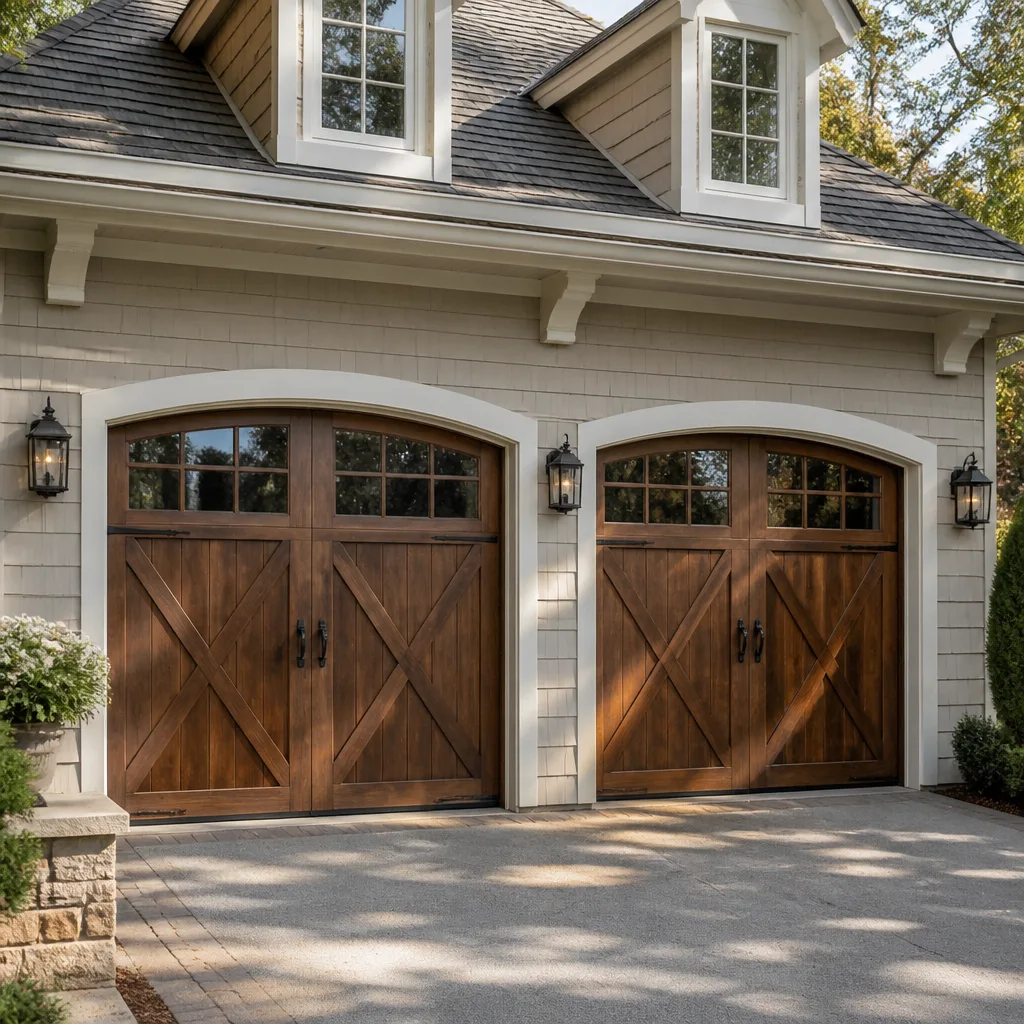 Carriage house
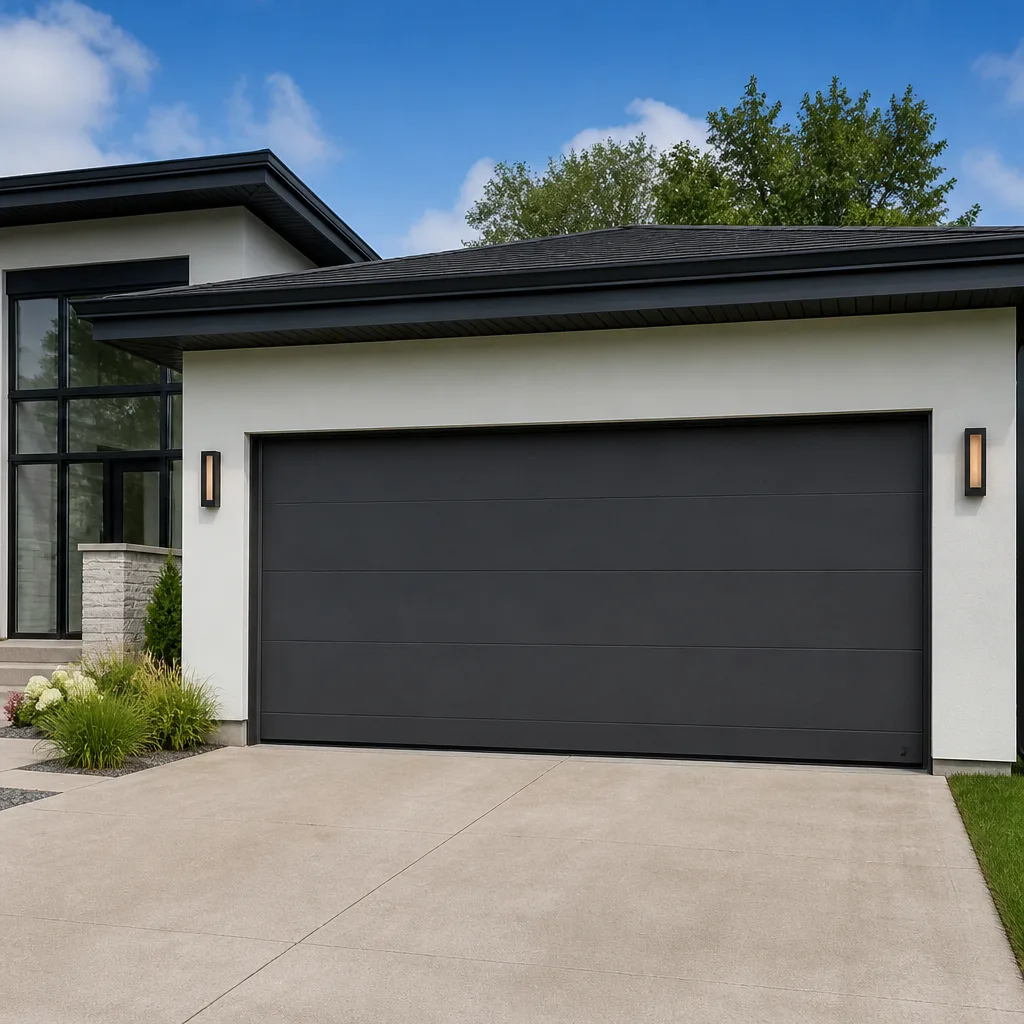 Modern flush
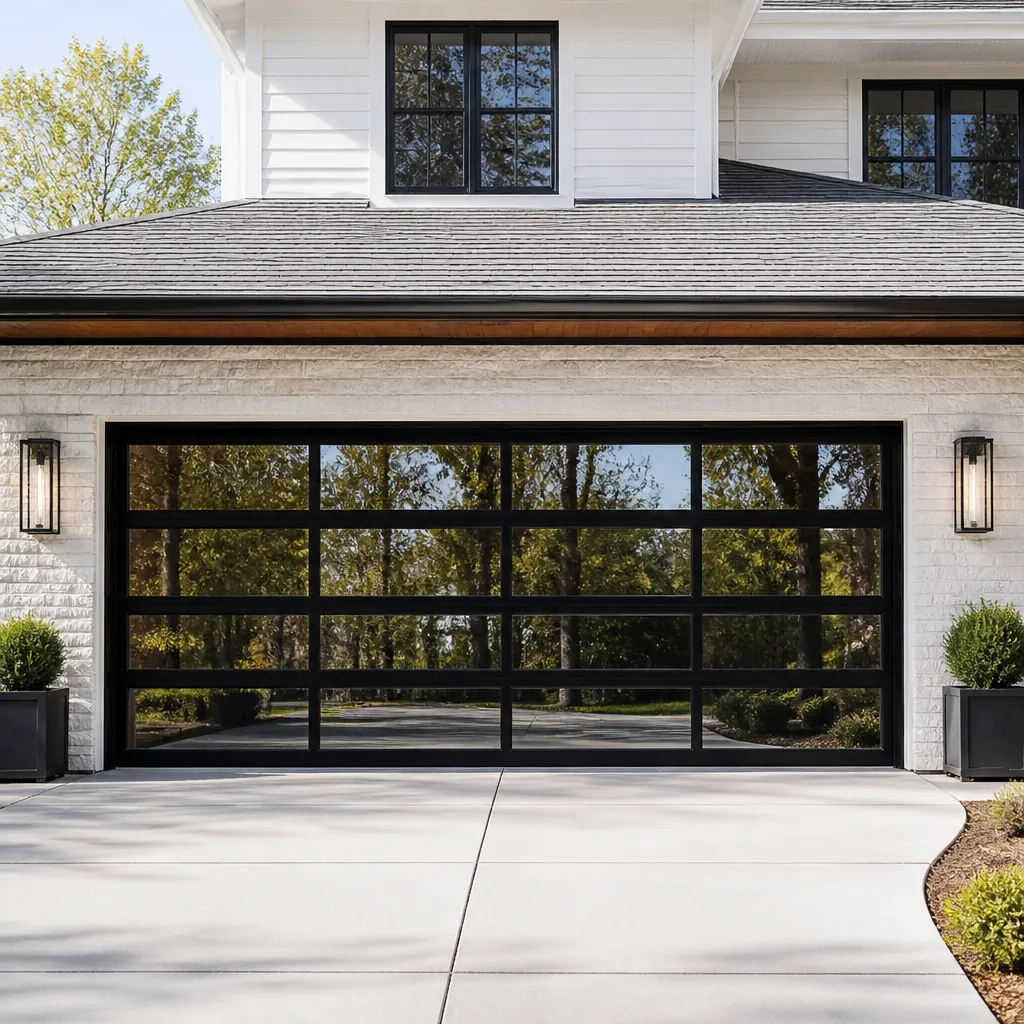 Full-view glass
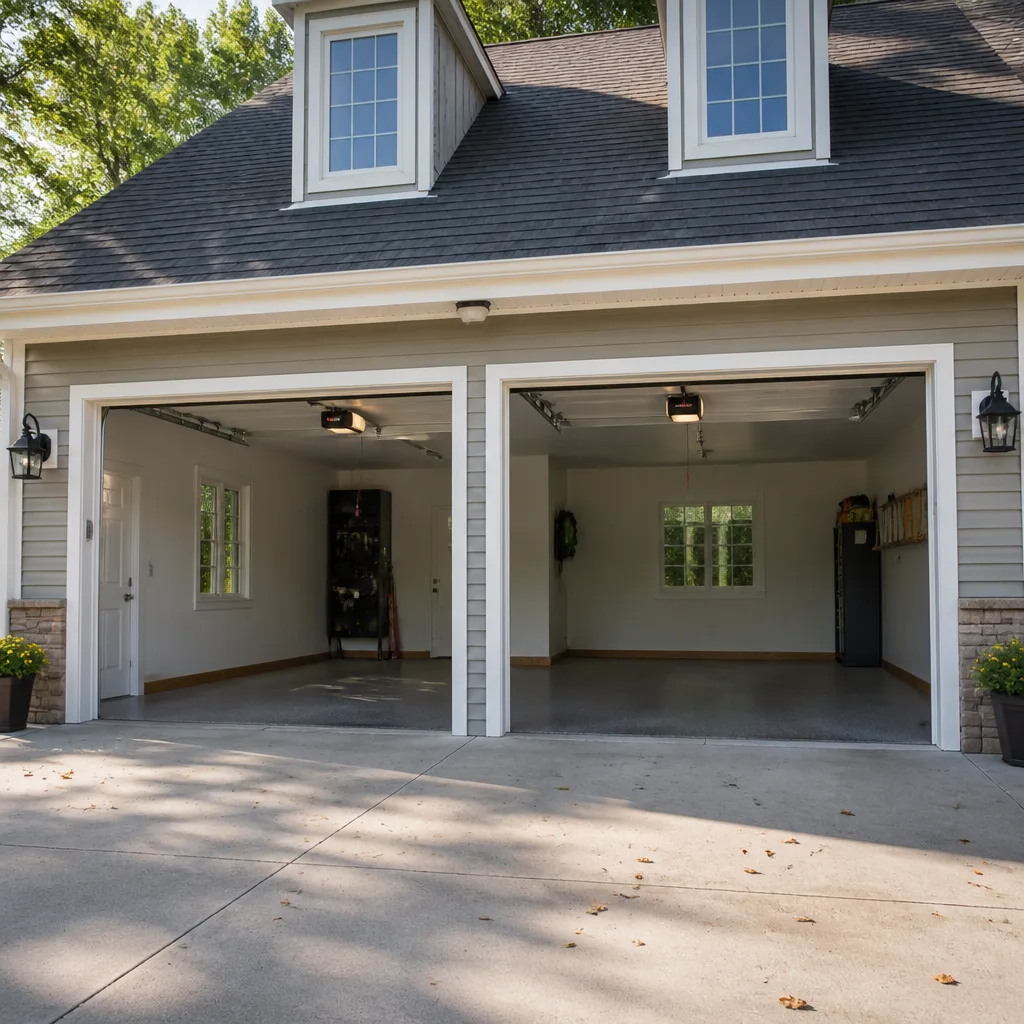 LiftMaster openers
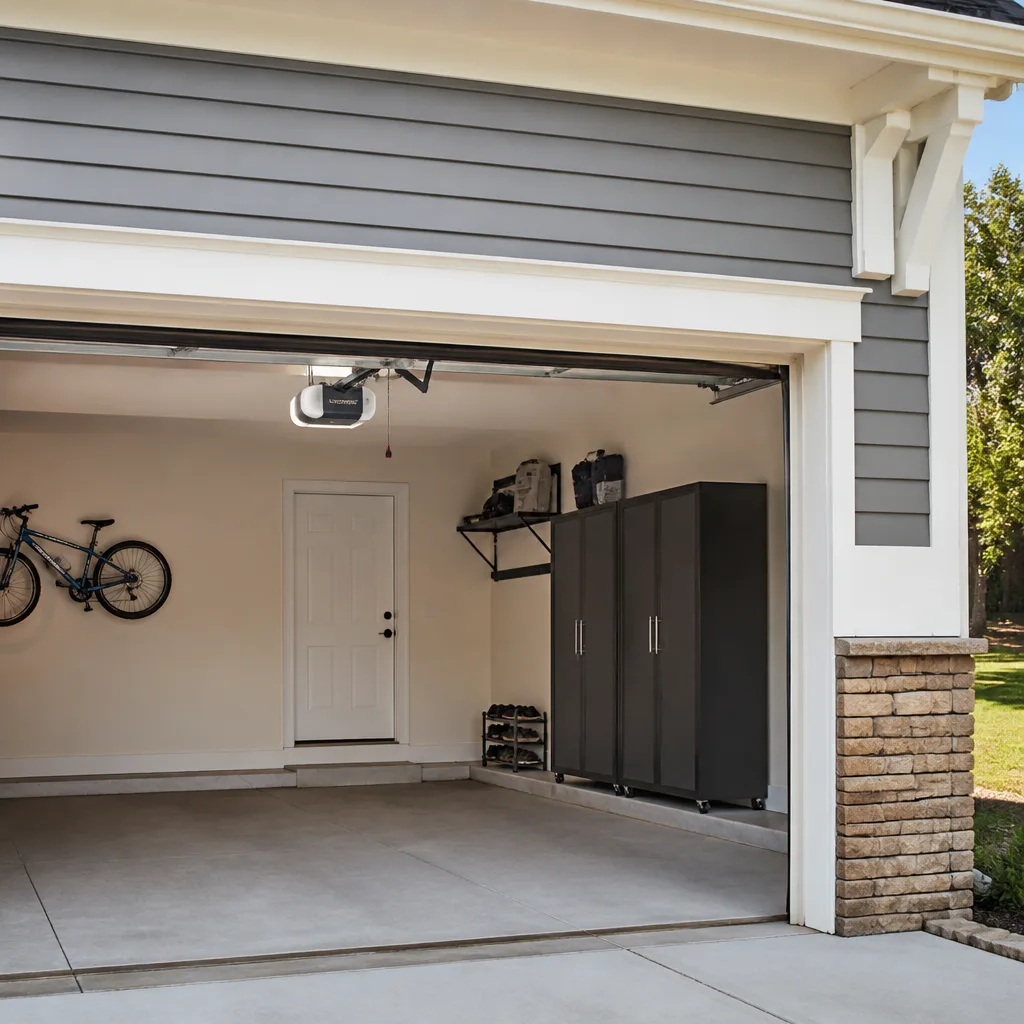 Chamberlain openers
Full 25-point door and opener safety check with every visit - springs, cables, rollers, tracks, and your LiftMaster or Chamberlain opener included
You get a price before we start. It does not change when the pro arrives.
Get your free estimateHow Long Does Garage Door Opener Repair & Installation Take? Timelines and What to Expect
Otto clocks his opener installs at 90 minutes for a straight swap and about 2.5 hours for a new run with fresh wiring. Then he’ll tell you the part nobody talks about: the last 20 minutes of calibration are the most important stretch of the entire job, and they’re the most skipped. That gap between “we’re done” and “it’s actually done right” is where a lot of installers cut corners to beat the clock, and it’s exactly what your warranty rides on. What follows is a straight breakdown of real timelines by job type, what that final 20 minutes should include step by step, the variables that push a simple swap past 90 minutes, and how to prepare so your Spring Valley appointment runs faster. No filler. Just the numbers and the process.
Quick Answer
A straightforward opener swap on the same bracket takes about 90 minutes, while a brand-new opener with new wiring and bracket runs 2.5 to 3 hours. Small jobs move much faster: a battery or remote swap is 5 minutes, and sensor realignment is 15 to 30 minutes. The part homeowners underestimate is calibration. The last 20 minutes of travel-limit setting, force calibration, and safety testing are what make the difference between an opener that lasts and one that fails in a year.
Styles & brands we work with
- Raised-panel steel
- Carriage house
- Modern flush
- Full-view glass
- LiftMaster openers
- Chamberlain openers
Table of Contents
- Timelines by Job Type
- The Final 20 Minutes: What a Real Install Includes
- What Pushes a Straight Swap Past 90 Minutes
- Same-Day Repairs vs. Full Installations
- How to Prepare Your Garage and Save 20-30 Minutes
- How to Tell It Was Done Right
- Common Mistakes to Avoid
- When to Call a Professional
- Frequently Asked Questions
Timelines by Job Type
Not every opener problem is the same size of job. A dead remote battery and a full opener replacement live at opposite ends of the clock. Here’s how the real time ranges break down, from smallest to largest.
- Remote or battery swap: about 5 minutes. If your remote stopped working and the opener motor is fine, this is the whole fix. We program a new remote or keypad in a couple of minutes on the spot.
- Sensor realignment: 15 to 30 minutes. The safety sensors at the bottom of the tracks drift out of line, get bumped by a lawnmower, or collect dust. Getting them aimed and tested is quick once we find the culprit.
- Logic board replacement: about 45 minutes. When the board is fried, the opener ghosts you: lights flicker, nothing moves, or it opens on its own. Board swaps take longer because we verify the new board before we button everything up.
- Full opener swap, same bracket: about 90 minutes. The existing bracket and rail stay in place and we hang a new unit. This is the most common larger job.
- New opener with new wiring and bracket: 2.5 to 3 hours. New electrical run, new bracket, new rail, full calibration. This is a half-day appointment, and we plan it that way.
If you want the full picture of what an opener service visit looks like for each of these, our Garage Door Opener Repair & Installation in Spring Valley page walks through each one. The timelines above are what we quote on the phone, and they hold when we get there.
The Repair Side vs. the Install Side
Repairs almost always run shorter than installations because you’re diagnosing and fixing one part, not setting up a whole machine. In our experience, the majority of opener calls in Spring Valley are sensor or logic board issues, and those land inside 30 to 45 minutes. Full swaps and new installs are scheduled jobs, not walk-ups, because they involve matching the right opener to your door weight and, in older homes, checking whether the wiring can handle a modern DC unit.
The Final 20 Minutes: What a Real Install Includes
This is the part that separates a proper install from a rushed one. If the tech is walking out less than 10 minutes after the opener starts running, ask why. A real calibration sequence takes about 20 minutes and looks like this, in order.
- Travel limit setting (about 5 minutes). We set how far the door travels up and down so it stops flush at the floor and doesn’t slam the header. Get this wrong and the door either doesn’t close all the way or strains the motor at the top.
- Up and down force calibration (about 5 minutes). The opener has to push and pull with the right amount of force for your specific door weight. Too much force and it won’t reverse on an obstruction. Too little and it stops halfway. We tune both directions to your door, not to a factory default.
- Auto-reverse safety test (about 3 minutes). This is the non-negotiable one. We place a test object in the door’s path and confirm the door reverses on contact and that the sensors stop it cold. This test protects kids, pets, and anything left in the doorway.
- Remote and keypad sync (about 4 minutes). Every remote and the exterior keypad get programmed and tested, including the one in the truck and the one on the wall.
- Battery backup confirmation (about 3 minutes). If your opener has a battery backup (many modern LiftMaster and Chamberlain units do), we pull the plug and confirm the door still cycles on battery, so you’re not sealed in during a power outage.
Twenty minutes, five steps. That sequence is what we mean by the 90-Day Done Right Promise: if it’s not calibrated right, we come back and make it right. If an installer skips this stretch, you inherit a door that reverses on its own, strains the motor, or won’t close in the cold, and none of that shows up on day one.
What Pushes a Straight Swap Past 90 Minutes
Sometimes a 90-minute job turns into three hours, and it’s rarely the installer’s fault. These are the three things we run into most in Spring Valley, and knowing them up front keeps the estimate honest.
- The original bracket is in the wrong spot. Newer openers use a different trolley length than the 1990s-era unit in a lot of homes. If the old bracket sits too close to the door, we have to move it, which means new mounting points and a longer job.
- Wiring that’s undersized for a DC unit. Older garages were wired for AC openers. A modern DC opener, or one with battery backup and Wi-Fi, may need a thicker gauge or a fresh run from the panel. If the run is unsafe, we address it before we hang anything.
- A header board that needs reinforcement. The opener rail puts weight on the header board above the door. In older homes, or after a bad previous install, that board can be loose. We add bracing so the new rail has something solid to hold onto. Rails don’t stay put on a sagging board.
None of these are surprises we spring on you at the invoice. Because we quote on the call and hold the number at the door, we ask about the age of your opener and the door weight before we arrive, so those variables are usually priced in. If we open the ceiling and find something we couldn’t see, we bring you into the conversation before we touch it.
Same-Day Repairs vs. Full Installations
A live person answers our phone 24/7, and for most opener repairs we can get to you the same day. Sensor realignment, remote programming, and logic board swaps are the kinds of jobs where same-day is realistic, because the parts are common and we keep the everyday ones on hand. But not every job is a same-day job, and we’d rather tell you the truth than over-promise and leave you waiting.
Full new installations are different. A straight swap on the same bracket usually goes same-day or next-day if the unit matches your door. But a new opener with new wiring and bracket is a scheduled appointment, typically measured and ordered, because the opener has to match your door’s weight, your ceiling height, and your electrical setup. If we need a specific model, that can mean a short order window, especially for a heavier door that needs a belt-drive or a specific horsepower. We’ll tell you on the call what’s realistic for your door in Spring Valley, and we won’t promise a window we can’t keep.
The rule of thumb: repairs are often same-day, installs are scheduled. That’s not a limitation. It’s how the work gets done right instead of done fast. If you’re replacing a worn-out opener, our Garage Door Installation in Spring Valley page lays out the measurement-and-order process. For a spring that let go at nine at night, that’s a different call, and we answer it.
How to Prepare Your Garage and Save 20-30 Minutes
A little prep on your end lets us get straight to the work. These three steps reliably shave time off any opener appointment.
- Clear 8 feet in front of the door and under the opener. We need room to set up a ladder and work the rail without moving your mower, trash bins, or the pile of boxes from last spring.
- Locate your breaker. Know which switch kills power to the garage so we’re not hunting for it. It’s also a safety thing: the opener has to be de-energized before we work on the motor or wiring.
- Have the old manual handy if you have it. A manual, or even the model number off the old unit, tells us the trolley length and force settings before we start, which can mean we bring the right bracket the first time.
Do those three and we’re often 20 to 30 minutes ahead of schedule. On a 2.5-hour install, that’s a meaningful chunk of your afternoon back. And it means we spend the saved time on calibration instead of clearing space.
How to Tell It Was Done Right
You don’t need to be a technician to spot a proper install. This is what we check before we call a job finished, and you can watch for the same things.
- The door reverses when you put a test object in its path. Try it yourself with a roll of paper towels.
- The door closes flush to the floor without a gap or a slam, and opens fully without straining at the top.
- The opener sounds smooth and even in both directions. If it grinds and groans, the force or limits aren’t set right.
- Every remote and the keypad work, and the wall button works.
- If it has battery backup, it still runs when you pull the plug.
- The technician walked you through the calibration and gave you a written guarantee. Ours is the 90-Day Done Right Promise on every opener job, on every invoice.
The Garage Door Repair in Spring Valley page covers the common repair issues that come up when an opener wasn’t set up right the first time. Most of those calls trace back to skipped calibration.
Common Mistakes to Avoid
- Letting the tech leave without a safety test. If the auto-reverse wasn’t tested in front of you, it wasn’t tested. That’s a two-minute check that protects your family, and skipping it is the single biggest red flag.
- Accepting a phone quote that isn’t held at the door. A price quoted on the phone should be the price on the invoice. We quote on the call and hold the number, but a lot of outfits don’t, and Spring Valley homeowners have been burned by exactly that.
- Buying a bigger opener than your door needs. A homeowner with a light single door gets sold a heavy-duty unit “for safety” and pays for horsepower they’ll never use. Match the opener to the door weight, not to a sales pitch.
- Skipping the calibration on a DIY install. The box says “easy install,” but the force and limits are the part that matters. A door that won’t reverse on an obstruction is dangerous, and it’s the first thing we re-check when a DIY job goes wrong in Spring Valley.
- Ignoring the wiring on an old garage. Putting a modern opener on undersized wiring can trip the breaker or, worse, overheat. If your garage is pre-1990, have the run checked before the new unit goes up.
- Not keeping the guarantee on paper. A verbal “we’ll take care of you” is worth nothing in six months. Get it written on the invoice, and keep the invoice.
- Assuming a slow door means a dead opener. If the opener is straining, the problem is almost never the opener. It’s usually a worn spring or a binding track, and replacing the opener won’t fix it.
When to Call a Professional
Some jobs are safe to watch and wait on, and some aren’t. Call us when the opener doesn’t reverse on a test object, when the door won’t close all the way and you’ve already cleared the tracks, when the motor hums but nothing moves, when you see a frayed cable or a broken spring above the door, or when a new garage door or opener doesn’t fit the opening and the wiring could be at fault. A door is 200 pounds riding on two springs. Respect it, and don’t reach for the torsion hardware yourself. If the opener is straining, leave the motor alone and let us look at the whole system. Otto’s Garage Door Spring Valley offers free estimates in Spring Valley. Call (888) 318-1978 and a live person will pick up, quote the job on the call, and hold that number at the door. No trip charge inside the county, and a free second opinion on any written estimate you already have.
Frequently Asked Questions
A straight swap on the same bracket takes about 90 minutes, and a new opener with new wiring and bracket runs 2.5 to 3 hours. The full install time includes about 20 minutes of calibration that a lot of installers skip. For an exact window on your door, call (888) 318-1978 and we’ll quote it on the call, free.
Yes for most opener repairs. Sensor realignment, remote programming, and logic board swaps are often same-day because the parts are common and a live person answers around the clock. Full new installs are scheduled, not same-day, because the opener has to match your door and may need ordering. Call us and we’ll tell you honestly what’s realistic for your door today.
They should set the travel limits, calibrate the up and down force, run the auto-reverse safety test in front of you, program every remote and keypad, and confirm battery backup if your opener has one. That sequence is about 20 minutes. If they walk out under 10 minutes after the door starts running, ask why, and call us for a free second opinion on the work.
Usually because the old bracket was in the wrong spot for the new trolley, the wiring was undersized for a modern DC unit, or the header board needed reinforcement to hold the new rail. We ask about the age of your opener and door weight before we arrive, so most of these get priced into the quote. If we find something we couldn’t see, we talk to you before we touch it.
Yes. We work on all the major brands, including LiftMaster, Chamberlain, Genie, and Craftsman openers, and doors from Clopay, Amarr, and Wayne Dalton. Our technicians have up to 22 years of experience across these brands. If you’re not sure what you have, snap a photo of the opener or read us the model number when you call.
Clear 8 feet in front of the door and under the opener, know where your breaker is, and have the old manual or model number handy. Those three things reliably save 20 to 30 minutes on any appointment. On a 2.5-hour install, that’s real time back in your day. Call (888) 318-1978 to schedule a free estimate and we’ll confirm what to have ready.
The Bottom Line
Opener repair and install timelines come down to job size and calibration. A 5-minute remote swap and a 3-hour new install are both normal. The number that matters most isn’t the total time, it’s the last 20 minutes. Travel limits, force settings, the auto-reverse test, remote sync, and battery backup are what make a door safe and a warranty worth anything. A rushed job can run “done” in 70 minutes and fail in a year. A proper one takes 90 and holds. When you’re ready to know exactly what your door needs, call us, and we’ll quote it on the call and hold the price at the door.
Ready to get your opener sorted? Call (888) 318-1978 for a free estimate from Otto’s Garage Door Spring Valley home. We answer around the clock, we quote on the call, and we hold that number when we get there. Free second opinions on any written estimate you already have, no trip charge inside the county, and 10% off for seniors and veterans, always.
Written by the team at Otto’s Garage Door Spring Valley.
See the difference
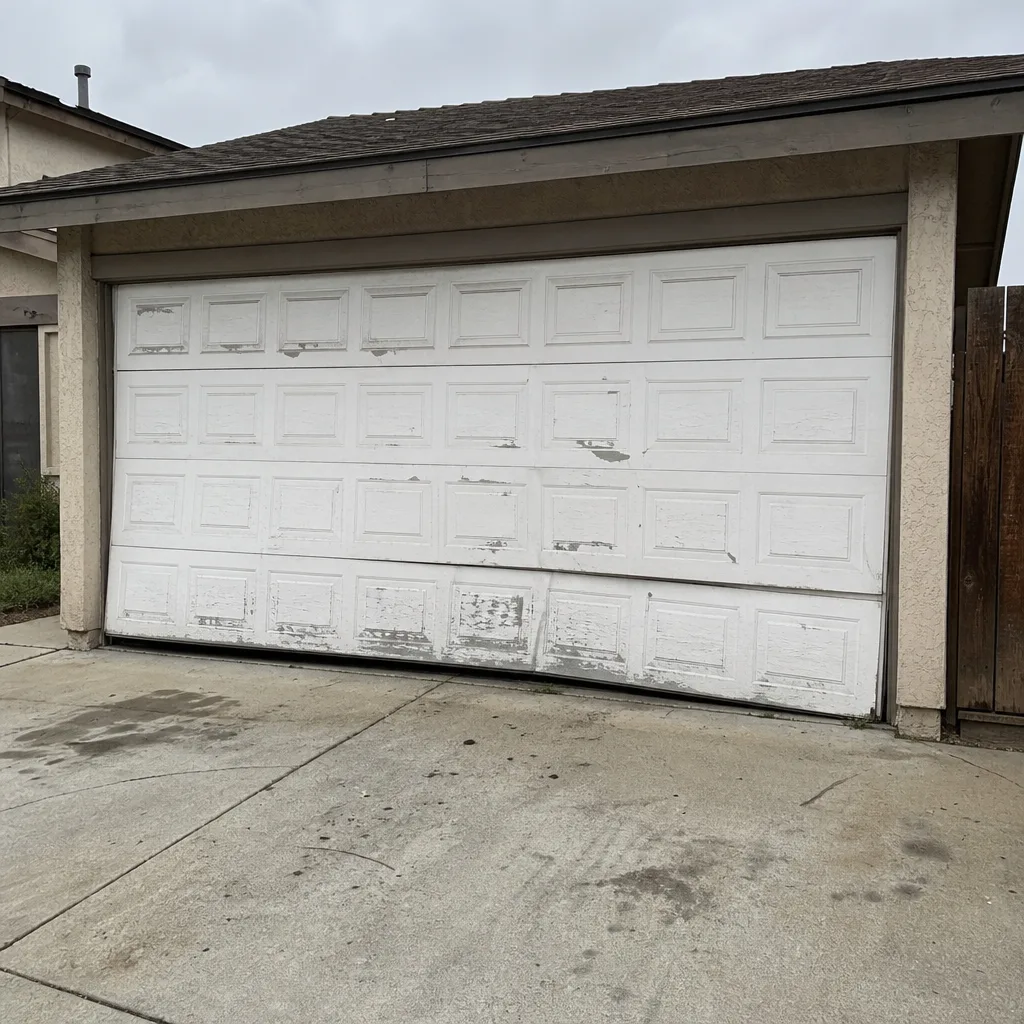 Before
 After
 Before
 After
 Before
 After