
Last updated November 18, 2026
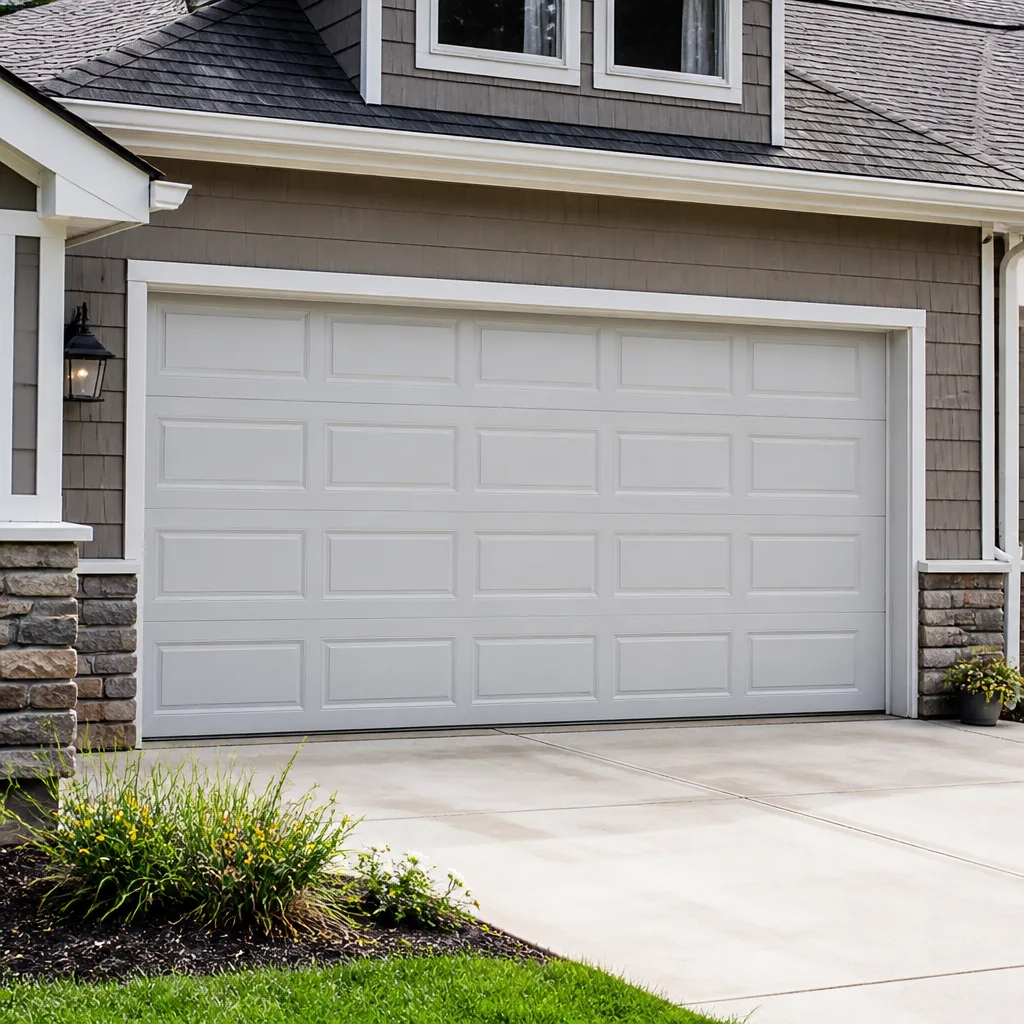 Raised-panel steel
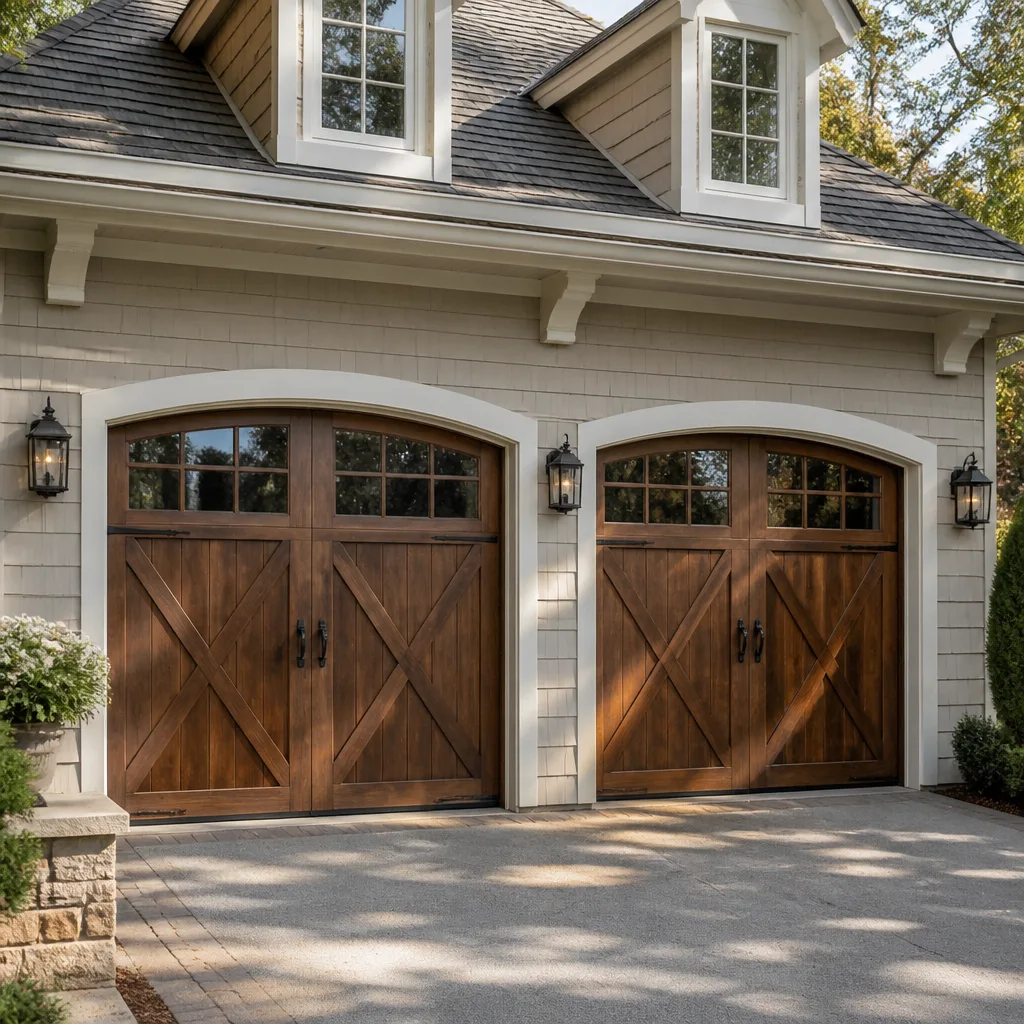 Carriage house
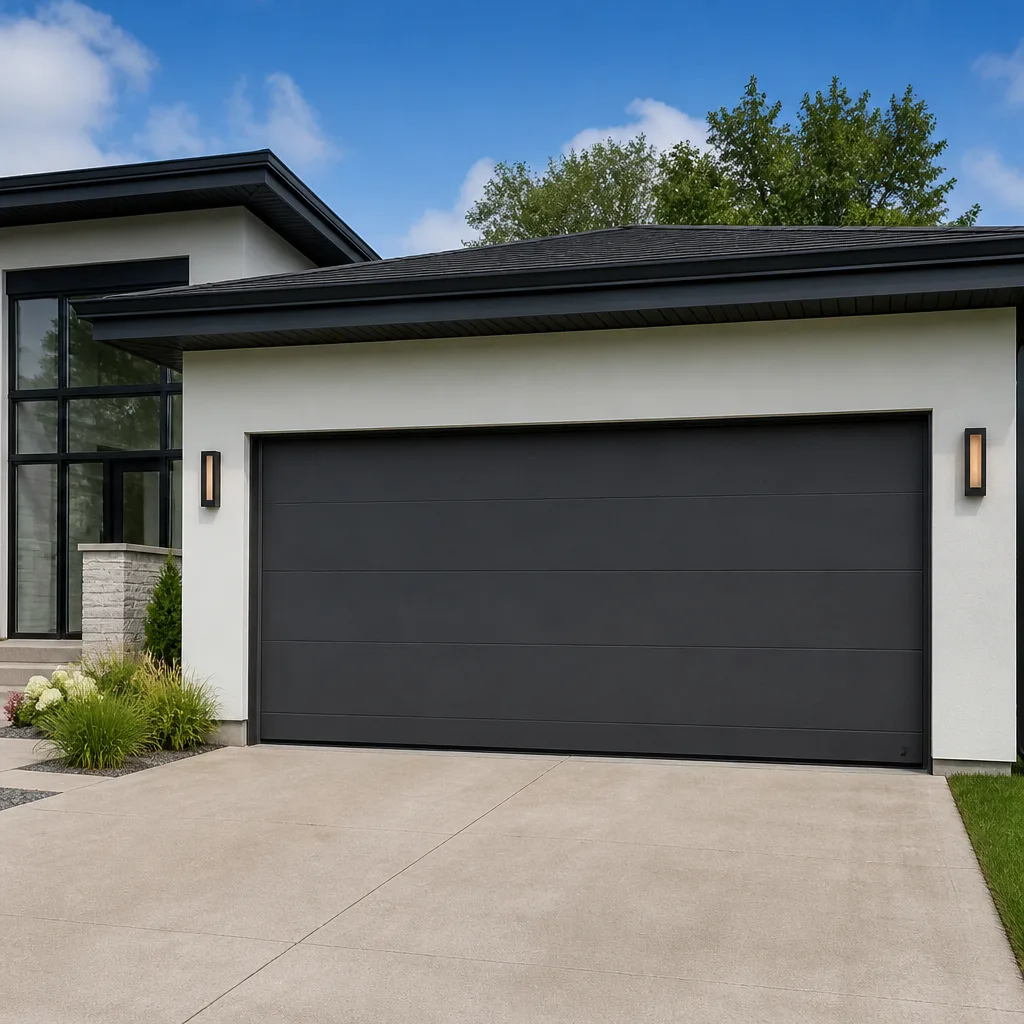 Modern flush
 Full-view glass
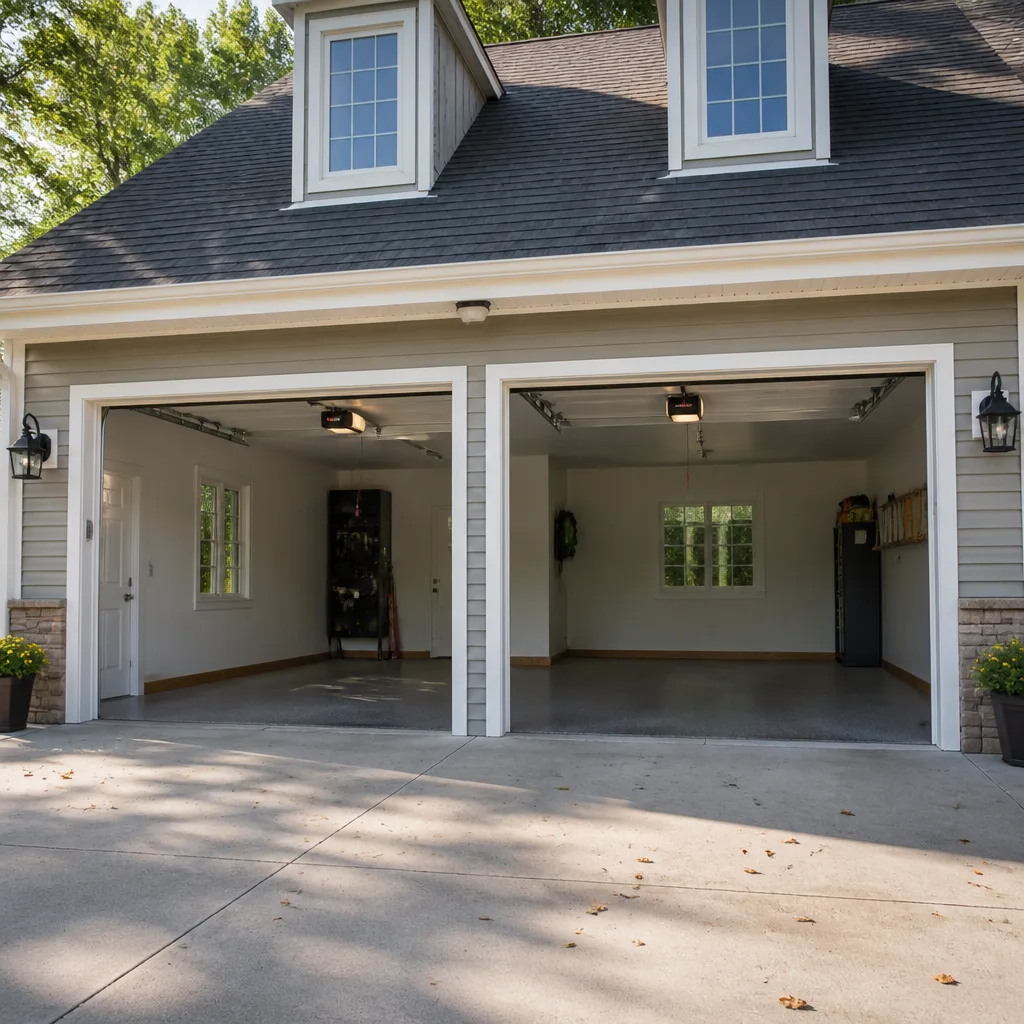 LiftMaster openers
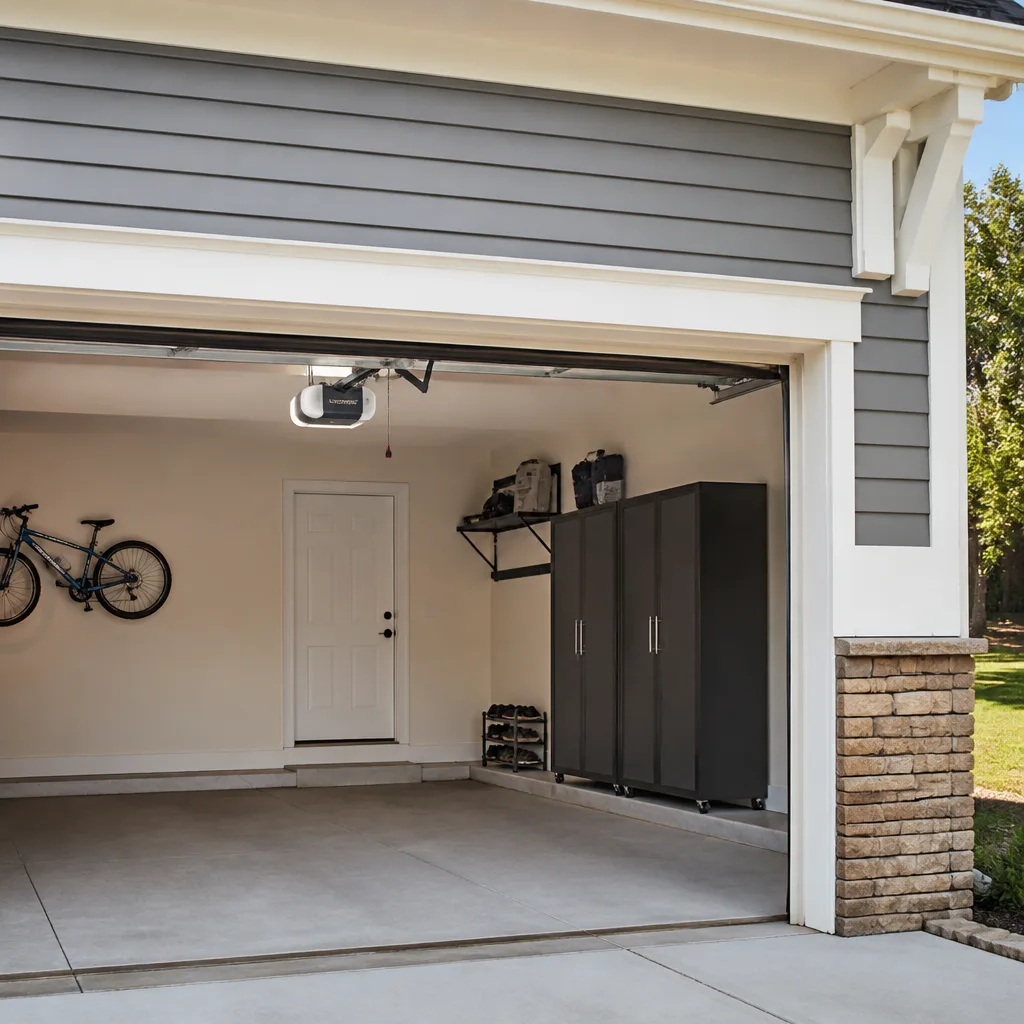 Chamberlain openers
Full 25-point door and opener safety check with every visit - springs, cables, rollers, tracks, and your LiftMaster or Chamberlain opener included
You get a price before we start. It does not change when the pro arrives.
Get your free estimateDIY vs Professional Garage Door Opener Repair & Installation: What’s Safe to Do Yourself
Otto isn’t here to scare you out of touching your own garage door. He’s replaced batteries, nudged sensor brackets back into line, and reprogrammed remotes for neighbors at zero charge on a Saturday morning, because those jobs are genuinely easy. Here’s the counterintuitive part: the folks who get hurt aren’t the beginners. They’re the handy homeowners who’ve rewired a basement and rebuilt a deck, walk up to a wound torsion spring with the same confidence, and discover that stored energy doesn’t care how many weekend projects you’ve finished. This guide draws the line honestly. You’ll learn exactly which tasks you can do yourself in Spring Valley, which ones will put you in the ER, and what a fair professional quote should actually cost.
Quick Answer
Safe DIY tasks are limited to remote reprogramming, battery replacement, sensor cleaning and minor bracket alignment, wall-button wiring swaps, and a logic board swap on a fully de-energized unit. The hard stop list is torsion spring work, capacitor discharge on older AC openers, and anything that means removing the header bracket while the spring is wound. Those three involve stored energy that can injure or kill, and they belong to a trained professional every time. Everything else on your opener is fair game.
Styles & brands we work with
- Raised-panel steel
- Carriage house
- Modern flush
- Full-view glass
- LiftMaster openers
- Chamberlain openers
Table of Contents
- The Real Dividing Line: Stored Energy, Not Skill
- The Honest Safe-to-DIY List
- The Hard Stop List and Why
- The Competence Trap Nobody Warns You About
- What a Professional Installation Includes That YouTube Misses
- How to Tell If an Opener Quote Is Fair
- Spring Valley Specifics: Heat, Dust, and Old Openers
- Common Mistakes to Avoid
The Real Dividing Line: Stored Energy, Not Skill
Most DIY-versus-pro conversations are framed around skill level. That’s the wrong axis. The right one is stored energy: which tasks put your hands near a torsion spring under tension or a live capacitor, and which ones don’t. Get that line right and the rest falls into place.
A standard residential garage door weighs somewhere between 150 and 250 pounds. It rides on two torsion springs wound to counterbalance that weight. When a spring is wound, it’s holding energy the way a drawn bow holds energy. Nothing about it is visible. The bar looks like a metal rod sitting in a bracket. It is not a metal rod sitting in a bracket. It’s a wound spring waiting for a reason to release. Every year, homeowners who decide to “just tighten it up” end up in emergency rooms with hand, wrist, and facial injuries from a bar that slipped.
Now look at the other side of the line. Reprogramming a remote for a Genie or LiftMaster unit involves pressing two buttons in sequence. Replacing a remote battery is a coin-cell swap. Cleaning a photo-eye sensor with a damp cloth takes ten seconds. These tasks do not involve stored energy. They involve small electronics and patience.
Spring Valley’s dry desert air doesn’t change the physics of a wound spring, but it does dry out lubrication and make springs fail faster. When we take calls in Spring Valley, the honest answer to “can I fix this myself” almost always starts with the question “does it put your hands near the spring or a capacitor?” If yes, no. If no, probably yes.
The Honest Safe-to-DIY List
These jobs are genuinely on the safe side of the line. If you’re reasonably comfortable with a screwdriver and you can follow a manual, you can handle all of these without calling anyone.
- Remote reprogramming. Lost the pairing after a power outage or replaced the remote? The learn button on the opener motor and the button on the remote do all the work. Your manual has the exact sequence, and it varies by brand, so don’t guess. Chamberlain and LiftMaster are similar; Genie is different.
- Battery replacement in remotes and keypads. Coin cell or AA, depending on the model. Nothing to it.
- Sensor cleaning and minor bracket alignment. The two photo-eye sensors at the bottom of the tracks need a clean lens and a clear line of sight. Wipe the lenses, check that the LED on each sensor is solid (not blinking), and nudge the bracket if a bump knocked it out of alignment. Loosen the wing nut, adjust, tighten. That’s it.
- Wall-button wiring swap. Replacing a worn-out wall button with a new one is a low-voltage job. Same gauge wire, same terminals, power off at the opener first. If the old button has two screws and the new one has two screws, you’re swapping wire for wire.
- Logic board swap on a de-energized unit. This one is at the edge of the list. The board itself isn’t dangerous once power is off, but you need to know your model. Take a photo of the wire positions before you disconnect anything. Replace like for like. If the board is failing, the opener is often near end-of-life anyway, which is worth considering before you spend on a part.
Notice what’s missing: anything that requires you to touch the torsion bar, the springs, the cables, or the header bracket. That’s intentional.
The Hard Stop List and Why
Otto isn’t here to scare you, but he is here to be honest. These are the jobs where a professional doesn’t just do it faster; a professional does it without risking a serious injury. Each one has a specific reason.
- Torsion spring adjustment or replacement. The wound spring holds enough energy that a slipping bar has caused fatal injuries. This isn’t a scare tactic; it’s what emergency room data shows. A spring job requires winding bars, a winding chart, and an understanding of what a spring is rated for by cycle count. We count spring cycles the way you count tire miles, and we’ll tell you what’s left on yours. That’s a trained eye doing a trained job.
- Capacitor discharge on older AC openers. If your opener is more than about fifteen years old and runs on an AC motor, there’s a start capacitor in the housing. Capacitors hold charge after the power is cut. Touching the wrong terminal before discharging can put you on the floor. A pro knows to discharge safely. A YouTube video usually doesn’t mention it.
- Any work that requires removing the header bracket while the spring is wound. The header bracket is what holds the whole torsion assembly to the wall. Remove it while the spring is under tension and you’ve released a wound spring into open air. This is why replacing the header bracket is always paired with unwinding the spring first, which is spring work, which is the first item on this list.
- Cable replacement. The lift cables running down each side of the door are under tension from the spring. A snapped cable can whip across a garage. Leave it.
For Spring Valley homeowners with older openers, we see more of the capacitor risk than you’d expect, because the dry climate lets the housing and motor soldier on for years past what the manufacturer intended. Age is the trigger. If your unit is a 2005-vintage Craftsman, don’t pop the cover without thinking.
The Competence Trap Nobody Warns You About
Here’s the part that surprises people. The homeowner most likely to get hurt on a spring job isn’t the person who’s never held a socket wrench. It’s the person who’s comfortable in a woodshop, has wired a subpanel, has replaced a water heater, and figures a torsion spring is one more mechanical thing to figure out.
That confidence is earned in a lot of places. It’s not earned here. Stored-energy physics is a different category of hazard. A water heater won’t kill you if you make a small mistake. A wound torsion spring might. Plumbers get splashed. Electricians get a shock. Spring work has a narrower margin for error than almost any other home job, and the feedback loop between “wrong move” and “hospital” is measured in a fraction of a second.
The true novice tends to read the warning labels, watch three videos, get nervous, and call someone. The experienced DIYer reads the same labels, decides the warnings are overcautious, and reaches for the winding bars. In our experience, the second person is more likely to be hurt.
If you take nothing else from this page, take this: on a garage door, overconfidence is a hazard all its own. Respect the spring. A door is 200 pounds riding on two springs. Respect it.
What a Professional Installation Includes That YouTube Misses
A straight opener swap looks simple on video. Remove four bolts, lift the old motor off the rail, hang the new one, pair the remotes, done. What that video skips is the calibration work that separates a job that lasts from a job that starts acting up eighteen months later.
Three things a real installation does that a DIY install usually misses:
- Torque arm alignment to true center. The torque arm connects the opener’s rail to the door. If it’s not aligned to the true center of the door’s travel, the arm puts uneven stress on the door panel and the opener’s gear assembly. A Wayne Dalton or Amarr door with a badly aligned torque arm develops creaks, then uneven wear, then a panel that starts to bind.
- Limit calibration by load test. The open and close limits are the points where the motor stops. Setting them by eye is close; setting them by running the door under load and confirming the stop point is correct. A limit set five degrees off can leave the door riding up against the header every cycle, wearing the panel edge and the opener gear.
- Down-force verification to code. The down-force setting tells the opener how much resistance to allow before reversing. Too much force and the door crushes what’s underneath. Too little and the door reverses on its own on cold mornings. This gets verified with a bathroom scale under the door’s path, and it needs to be within the manufacturer’s spec. A DIY install almost never does this.
Clopay doors are heavier than some other brands in their class, which makes torque arm alignment and down-force verification more important, not less. If you’re replacing an opener on a Clopay door in Spring Valley, those two settings are the ones to get right.
When we install an opener, the calibration is part of the quote. Not a line item, just how it’s done. If you want to see what a full replacement looks like end to end, our Garage Door Opener Repair & Installation in Spring Valley page has the walkthrough.
How to Tell If an Opener Quote Is Fair
Nobody wants to pay for three hours when the job is two. Here’s the labor reality so you can sanity-check any quote you get.
A straight opener replacement (replacing the motor unit on an existing rail and existing door) is typically a 90-minute to two-hour job for a trained pro. Removing and reinstalling the rail, mounting the new motor, reconnecting the arm, recalibrating limits and down-force, and pairing the remotes. That’s the scope.
A full new opener installation (new rail, new mounting hardware, new wall button, new safety sensors) runs closer to two to two-and-a-half hours on a standard door. Add time if the door is heavy, if the ceiling is high, or if the old opener came out with seized bolts.
Anything beyond about three hours for a standard residential opener swap should come with an explanation: rusted bolts, a failing header bracket, a track that needs re-alignment, damaged wiring. If you get a flat quote that implies four or five hours of labor for a plain swap and there’s no explaining why, ask. A reputable pro will walk you through it.
The other check that matters is the price stability question. Any quote you accept should be the price you pay at the door. At Otto’s Garage Door Spring Valley, the price Otto quotes on the phone is the price at the driveway. If the technician sees something on arrival that changes the job, you get told before any work starts, and you get to say yes or no. If you have a written estimate from another company and want a second look at it, our free second-opinion offer exists for exactly that.
Spring Valley Specifics: Heat, Dust, and Old Openers
Garage door openers age differently in Spring Valley than they do in a wetter climate. Three things make the local pattern distinct.
First, the heat. Summer attic temperatures in Spring Valley routinely push past what the opener’s housing was rated for. The logic board on an opener mounted to a hot garage ceiling can fail years earlier than the same board in a cooler climate. We see more logic board failures in Spring Valley than we’d expect from a national average, and it’s the heat.
Second, the dust. Desert dust gets into the sensor lenses and into the opener’s gear housing. Sensor misalignment is one of the most common Spring Valley opener complaints, and it’s almost always a lens that’s gotten dusty, not a sensor that’s failed. Cleaning it takes a rag. That one is a genuine DIY job.
Third, the door age. A lot of Spring Valley homes were built or re-doored in the 2000s, which means a fair number of openers are now on their second decade. That’s when capacitors start to swell, springs start to fail from cycle count, and down-force settings drift due to panel wear. If your opener is a spring-era unit, it’s worth having someone look at it before it fails with your car trapped inside.
We’ve seen the whole spread of Spring Valley doors, from older panel doors with standard extension-spring setups to newer Wayne Dalton and Amarr installs with modern openers. Every door has its own failure pattern, and knowing the local one is half the job.
Common Mistakes to Avoid
- Winding a torsion spring “just a little” to raise the door height. Either the spring is wound to the correct spec or it isn’t. A little extra is a lot more stored energy, and the bar doesn’t forgive miscalculation. This is the mistake that sends people to the ER most often.
- Reaching into an AC opener housing without discharging the capacitor. Power off is not the same as charge gone. Older Spring Valley openers sit with a live capacitor inside the housing for minutes after the breaker cuts.
- Adjusting the down-force setting by feel. A door that slams and bounces is a door that will crush a shoe, a pet, or a child’s toy. Down-force gets verified with a scale, not a hand.
- Ignoring a sensor that blinks instead of cleaning it. Half the “my door won’t close” calls we get in Spring Valley are dusty lenses. Clean first, then diagnose.
- Buying a new opener to fix a spring problem. If the opener is straining, the problem is almost never the opener. A door that’s binding or off-balance makes any motor work too hard. Fix the door before you replace the motor.
- Removing the header bracket to “reset” the spring assembly. Removing the header bracket with a wound spring is a one-way injury. This isn’t a maintenance task. Ever.
- Using the same limit setting from the old opener on a new install. Openers don’t share limit points between brands. A Genie’s limits won’t match a LiftMaster’s. Recalibrate from scratch.
See the difference
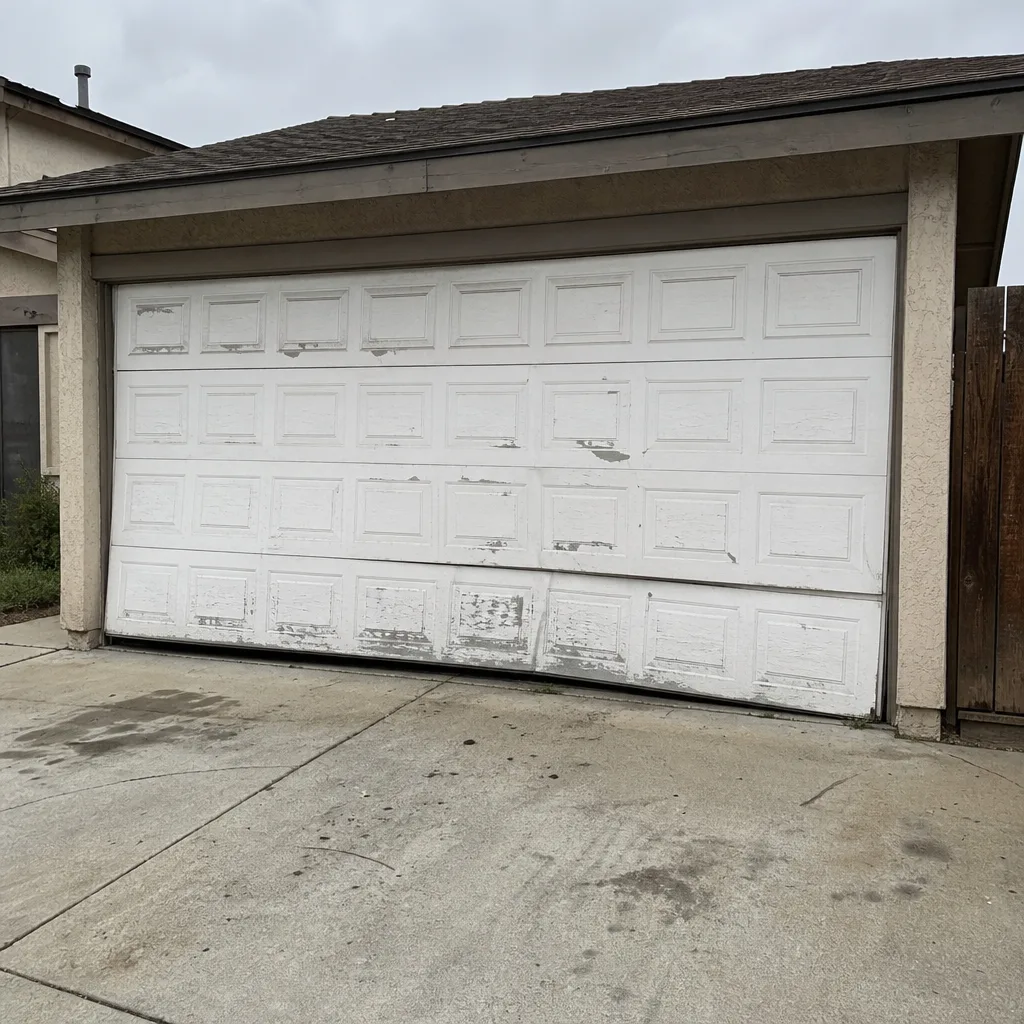 Before
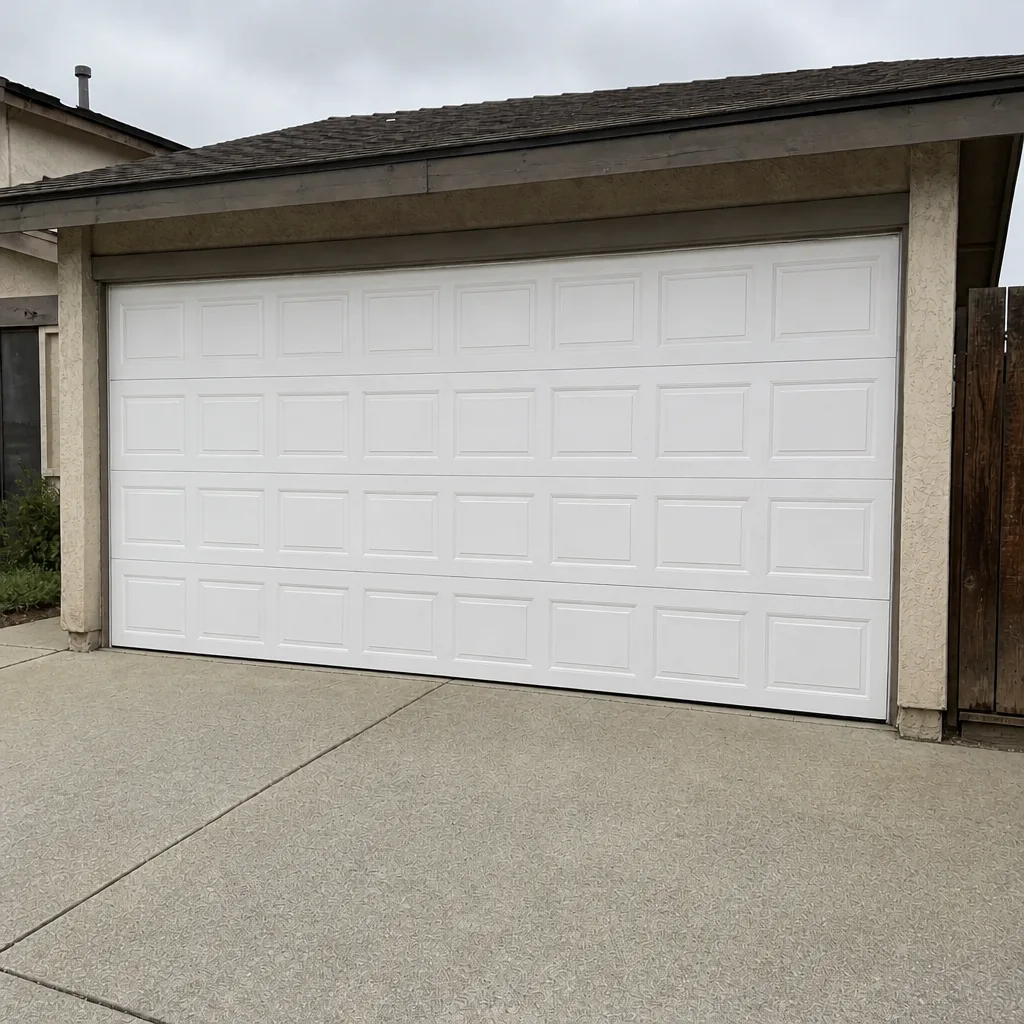 After
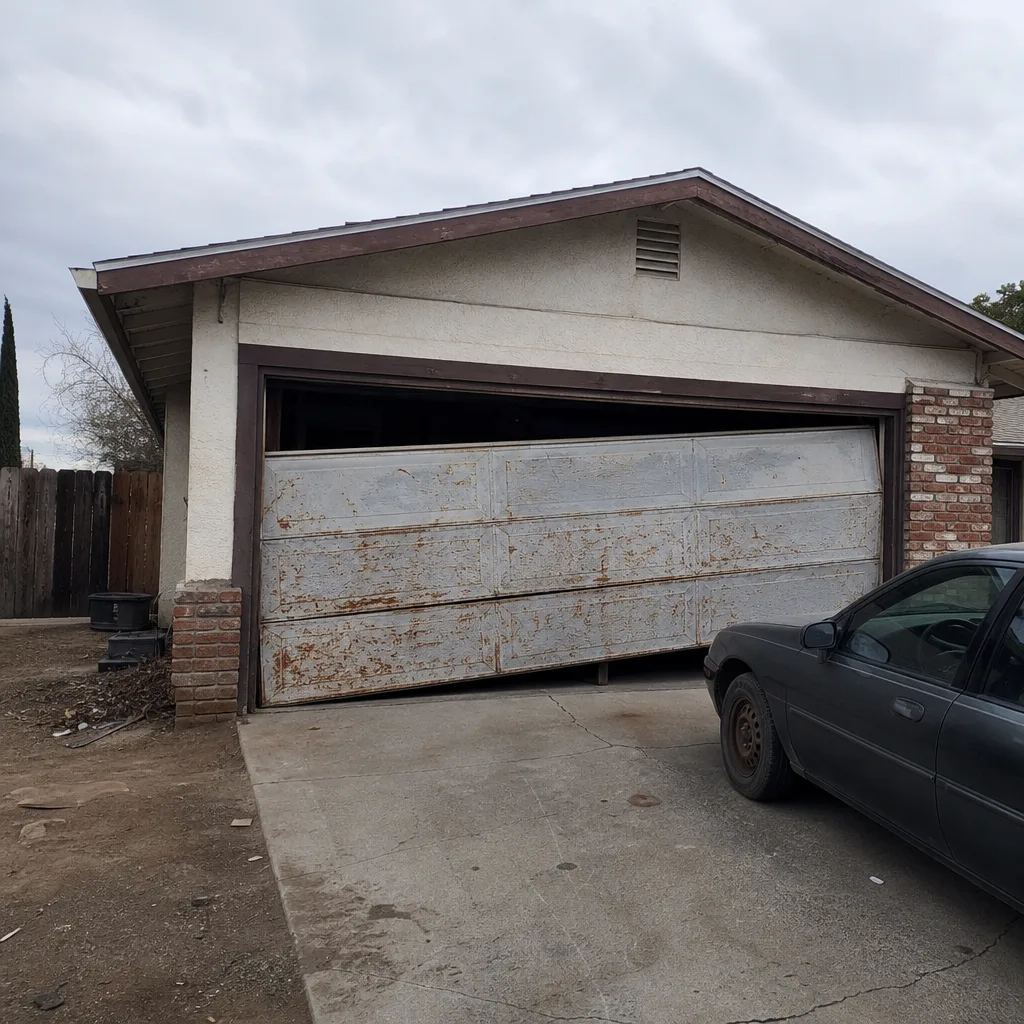 Before
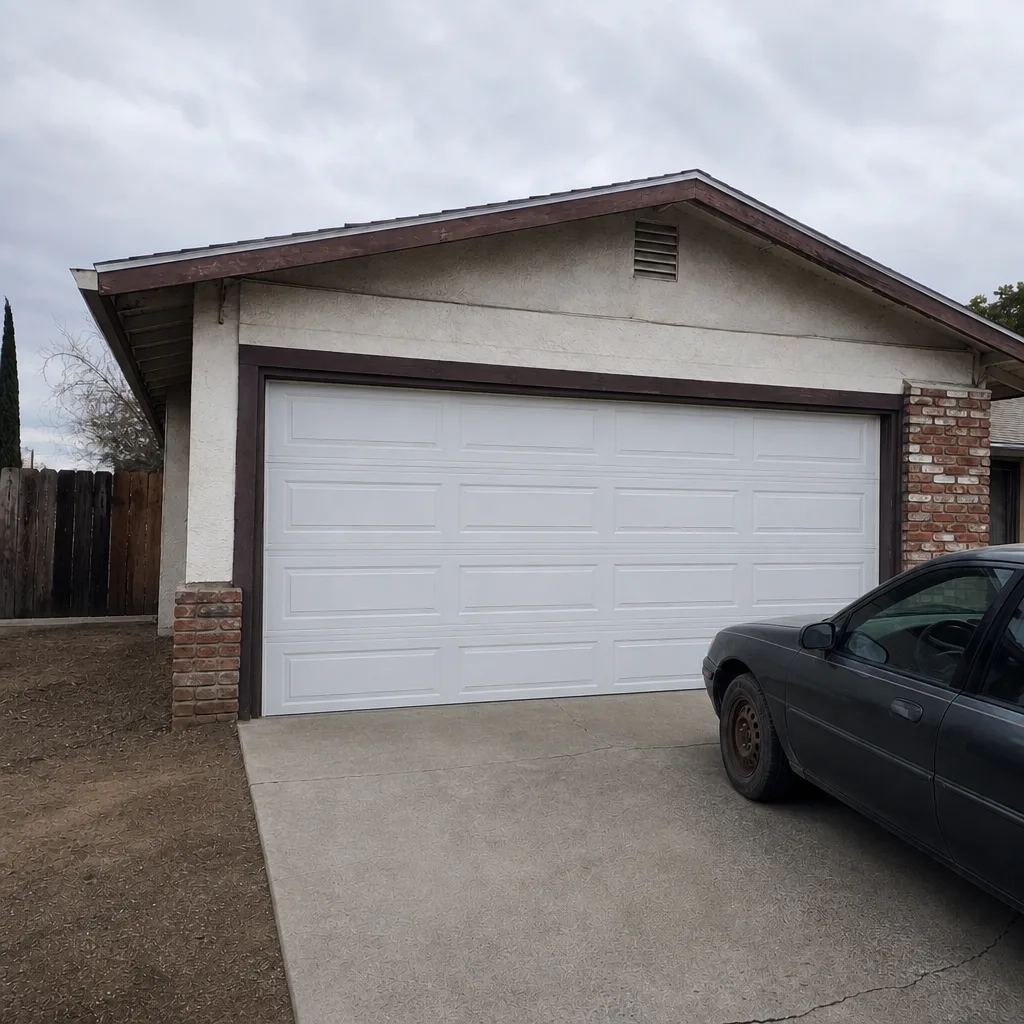 After
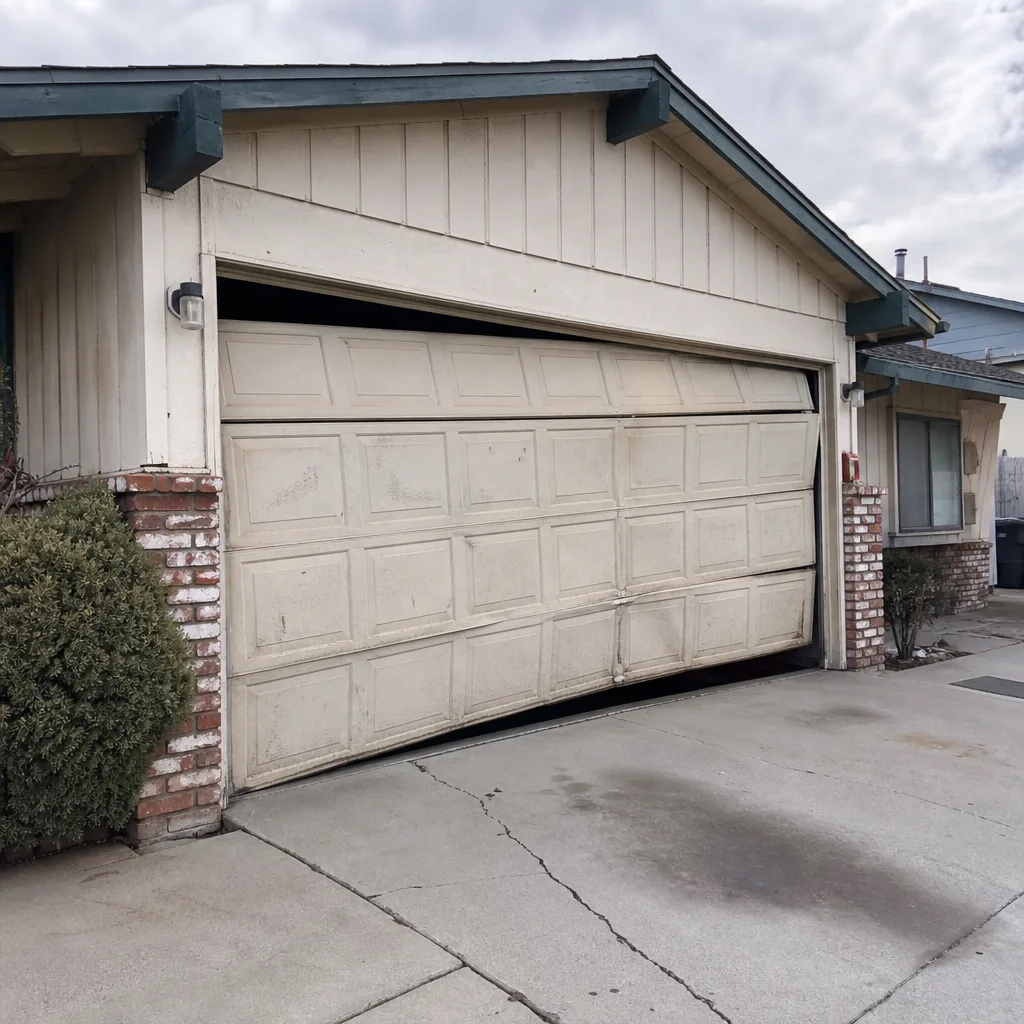 Before
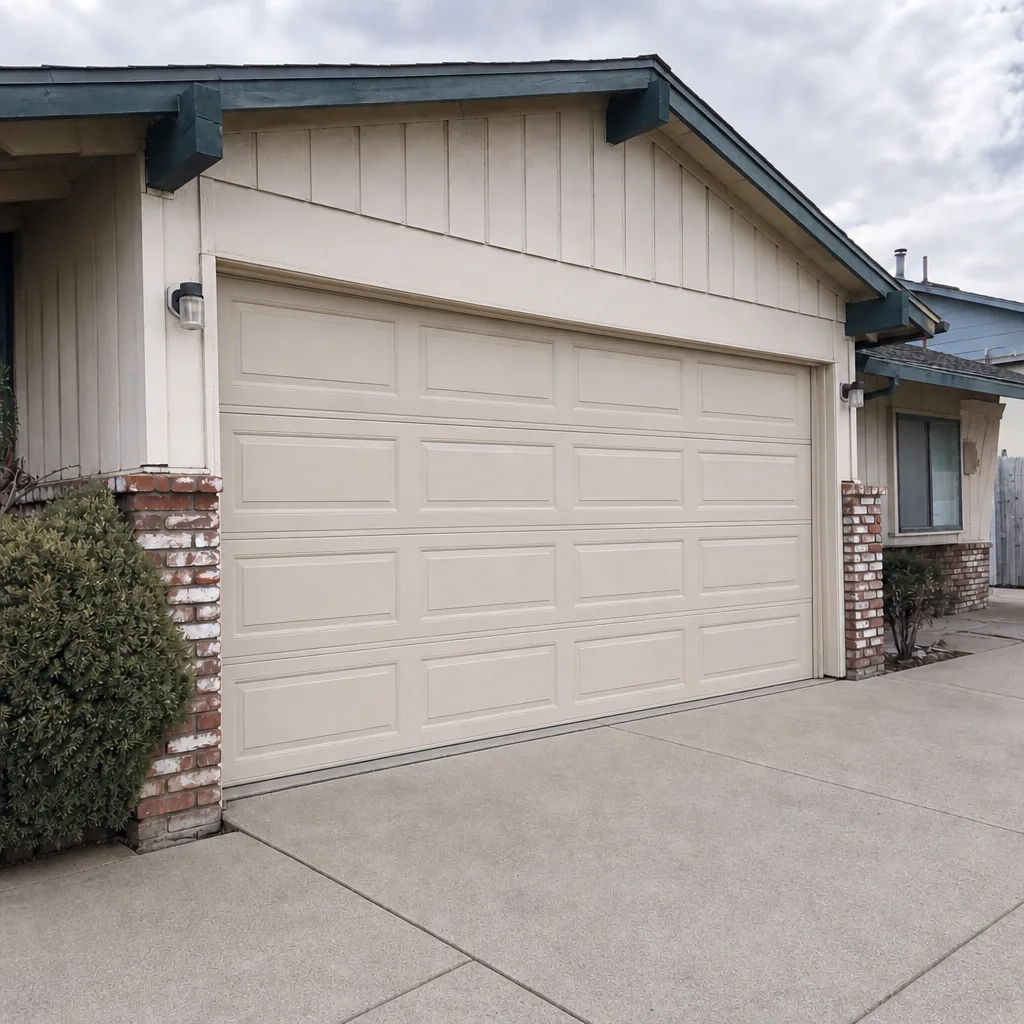 After
When to Call a Professional
Call for anything on the hard stop list: torsion springs, cables, header bracket work, capacitor service, and any job that puts your hands inside the opener housing on a unit more than a decade old. Also call if your door is binding, if the opener reverses on its own, if you hear a snap or a bang from the garage, or if the door is out of balance (you’ll know, because you can lift it halfway and it won’t stay). For anything on the safe list, do it yourself. The remote, the batteries, the sensor cleaning, the wall button: those are yours. When you’d rather have someone else handle the calibration, the spring check, or a full replacement, that’s what we’re here for. Otto’s Garage Door Spring Valley offers free estimates in Spring Valley: call (888) 318-1978 and a live person picks up.
If the issue turns out to be the door itself and not the opener, our Garage Door Repair in Spring Valley page covers panels, tracks, rollers, and springs. If you’re thinking about a full door replacement rather than an opener, start with Garage Door Installation in Spring Valley.
Frequently Asked Questions
Yes, if the door is in good working order and the springs are healthy. An opener swap on a balanced door is a legitimate DIY project for someone comfortable on a ladder with a screwdriver and a manual. The parts that most DIY installs get wrong are torque arm alignment and down-force verification, so plan to spend time on those two rather than rushing to pair the remotes and call it done. If the door is binding or the springs are failing, do not install a new opener on it, because you’ll burn out the new motor.
Yes. Torsion spring work is the single most dangerous task in the garage. A wound spring holds enough stored energy that a slipping winding bar has caused fatal injuries. There’s no DIY shortcut that makes this safe, and no video that changes the physics. Call a pro. This is the line, and it doesn’t move.
Expect the price to cover the opener unit and roughly two to two-and-a-half hours of professional installation labor, plus new sensors and a wall button if those aren’t included with the unit. Otto quotes the job on the phone and holds that price at the door. Call (888) 318-1978 for a free estimate specific to your door and opener.
No. The price Otto quotes on the phone is the price at the driveway. If something on arrival genuinely changes the job, like a rusted header bracket or a damaged track, you get told before any work starts and you get to approve or decline. The quote and the invoice match. That’s the whole point.
Dusty sensor lenses and heat-damaged logic boards. The desert dust settles on the photo-eye sensors at the base of the tracks, and a dusty lens will make the door refuse to close even though nothing has mechanically failed. The second most common is a logic board failure on openers mounted in hot garages, which is more common in Spring Valley than in cooler climates. Cleaning the sensor lenses is a sixty-second DIY job; if the board has failed, that’s a swap or a replacement, and it’s worth having someone look at the opener’s age before you decide which.
Yes. Our technicians are background-checked and work under a published address and license number any homeowner can verify before the truck arrives. When you call, a live person answers, often Otto himself, and the price he quotes is the price you pay. Our technicians have up to 22 years of experience across all major brands, including Genie, Chamberlain, LiftMaster, Clopay, Amarr, Wayne Dalton, and Craftsman.
The Bottom Line
The dividing line between DIY and professional on a garage door opener isn’t skill. It’s stored energy. Remote programming, batteries, sensor cleaning, wall-button swaps, and logic board replacement on a de-energized unit are safe for a careful homeowner. Torsion springs, cable work, capacitor discharge, and header bracket removal with a wound spring are not, and no amount of general handiness changes that. When a pro does the install, insist on torque arm alignment, limit calibration by load test, and down-force verification, because those are what make the job last. And when you’re ready for a fair quote from a name you’ll see again on Saturday, call (888) 318-1978 for a free estimate.
For more on what we do across the valley, visit Otto’s Garage Door Spring Valley home.
Written by the team at Otto’s Garage Door Spring Valley.