
Last updated November 18, 2026
 Raised-panel steel
 Carriage house
 Modern flush
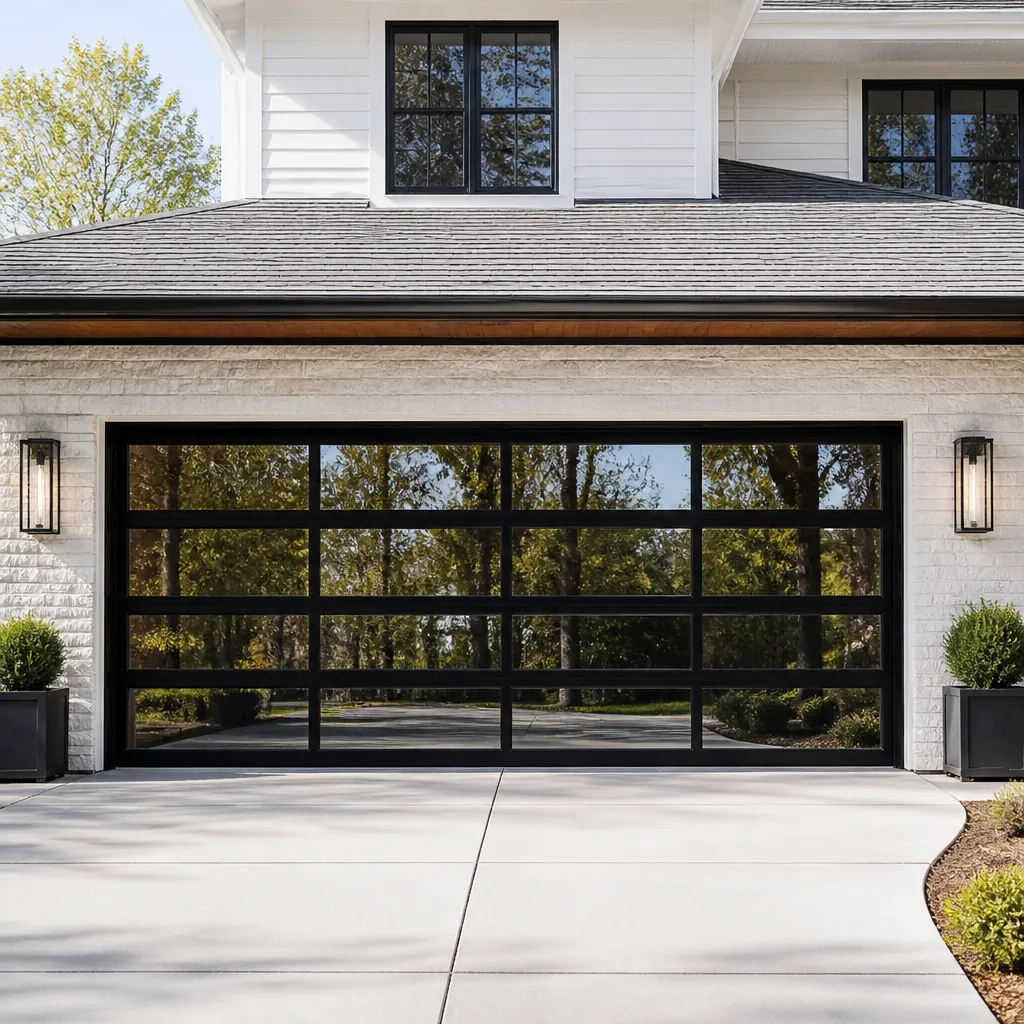 Full-view glass
 LiftMaster openers
 Chamberlain openers
Full 25-point door and opener safety check with every visit - springs, cables, rollers, tracks, and your LiftMaster or Chamberlain opener included
You get a price before we start. It does not change when the pro arrives.
Get your free estimateEmergency Garage Door Maintenance Schedule: What to Do and When
After a cable snaps, most people replace the cable and call it done. But the spring that snapped the cable and the drum that wore the cable were also at the end of their life, and nobody checked them because the job was “emergency cable replacement,” not “full inspection.” That gap is how a $220 repair turns into a $1,400 rebuild six months later. This guide is about the checks you do after the emergency, not the ones on your calendar. It covers what failed, what absorbed the stress, and what’s likely to go next – with the timing that actually matters in Spring Valley’s heat, wind, and dust.
Quick Answer
After any emergency garage door repair, schedule three follow-ups: a full adjacent-part inspection at the time of the repair (springs, cables, drums, rollers, hinges, and the opener’s force settings), a visual check at the 30-day mark for new wear or noise, and a documented baseline photo and note set so the next service call has something to compare against. If a door over 15 years old has had two or more emergency repairs in a year, the system is usually at end-of-life and replacement costs less than repair-stacking.
Styles & brands we work with
- Raised-panel steel
- Carriage house
- Modern flush
- Full-view glass
- LiftMaster openers
- Chamberlain openers
Table of Contents
- The post-emergency inspection checklist
- What to check after a Spring Valley dust storm or high-wind event
- How to document your door’s condition after an emergency
- The 30-day follow-up check
- When an emergency means end-of-life, not another repair
- Why adjacent parts fail after a big component goes
- Safety rules for the homeowner’s role
- Common mistakes to avoid
The post-emergency inspection checklist
The part that failed is the loudest. It’s the snapped torsion spring, the frayed lift cable, the cracked hinge, the stripped gear in the opener. It is almost never the whole story. Every garage door system is a network of parts sharing the same load, so when one lets go, the others took a beating on the way out. That’s why the inspection while the tech is already on-site is the most important 20 minutes of the whole job.
Here’s what to have checked while the truck is still in the driveway:
- Both springs, not just the broken one. Torsion springs are installed in matched pairs and cycled together. If one let go, the other has the same cycles on it. Replacing one is cheaper today and more expensive in eight to fourteen months.
- Cables on both sides. A snapped spring releases the tension the cables were holding. Look for fraying along the full length, kinks near the drum, and a drum that’s walked off its center.
- Drums and the center bearing plate. Drums wear in a groove where the cable rides. A groove deep enough to catch a fingernail means the drum should be replaced with the cable, not after it.
- Rollers and hinges. When a door slams or drops, rollers flat-spot and hinges bend. Nylon rollers over 7 years old are usually close.
- The opener’s force settings and travel limits. A door that’s been fighting a failing spring has been forcing the opener. Most openers, including LiftMaster and Chamberlain units, log that strain before they fail. If the opener is straining, the problem is almost never the opener.
- Panel condition. Look for bowing, cracked struts, or a bottom section that’s rusted through at the hinge line, especially on steel doors like Clopay or Amarr.
- The photo-eye and safety reverse. Test the reversal on a 2×4 laid flat under the door. This takes 90 seconds and is required by code on every opener installed since 1993.
In our experience across Spring Valley, we see about one in three emergency repairs where a second part is within 15% of its service life. The customer almost never knows until it’s pointed out. Ask before the invoice is written.
What to check after a Spring Valley dust storm or high-wind event
Spring Valley doesn’t get much rain, so people underestimate what its weather does to a garage door. Then a wind event blows through and the door starts grinding. Or a dust storm rolls in off the desert and every moving part on your door gets a fresh coat of fine grit that works its way into every roller, hinge, and pivot point. That’s an abrasive event, not a cosmetic one.
After a major wind or dust event in Spring Valley, check these specifically:
- Track alignment. High wind loads flex the door and can knock a track out of plumb by a quarter inch. That’s enough to make rollers bind. Run a level against the track; any visible pull means a service call.
- Roller lubrication and grit. Silicone-based lubricant on steel rollers, dry graphite or silicone on nylon tracks. Never grease – grease collects dust and turns into grinding paste.
- Hinge screws and lag bolts. Wind vibration backs them out. Walk the door and hand-tighten anything you can turn by hand, then have a tech torque the top bracket.
- Weather seal along the bottom. Desert grit chews the seal and every gap is a draft. A $30 seal swap saves $80 a year in AC in a Spring Valley summer.
- Panel dents and warping from flying debris. A bent section throws the whole door out of balance even if it opens.
- Opener logic board after a power surge. Monsoon season brings brownouts and surges. If the opener loses its limit settings after a storm, cycle the door manually once, then have the tech re-teach the travel limits before it’s driven again.
Spring Valley sits at the edge of the valley floor where wind funnels through with almost no tree cover to break it. Doors on the western and southern exposures take more of this than doors tucked into the interior streets. If your door faces open desert, add a quarterly track and roller check to your mental list – that’s the reactive-to-routine bridge nobody tells you about.
For Spring Valley repair and service, our team at Garage Door Repair in Spring Valley sees this most springs and early summer.
How to document your door’s condition after an emergency
Most homeowners never think about documentation until they’re staring at a second bill for the same door. Then the question is “was this already going?” and nobody can answer, because the first job left no record. That’s the practical reason to build a baseline right after any emergency: the next tech, and the next dispute, both have something to read.
Here’s how to do it in about 10 minutes:
- Photograph the full door closed and open from inside the garage. Include the springs, drums, and opener rail in at least one frame.
- Photograph the invoice and label any parts replaced. Note the brand, the size (spring length and wire gauge if it’s written on the invoice), and the install date. If the tech is using Clopay, Amarr, or Wayne Dalton parts, the model number matters later.
- Write down what the door sounds like now. “Quiet” is a baseline. Next time it squeaks, you know the squeak is new.
- Note the opener’s model and year – usually on a sticker inside the motor housing. LiftMaster and Chamberlain units have a date code on the label.
- Measure the door. Width and height, in inches. Every replacement quote starts with this.
- Keep a written note in the glove box or on the wall of who did the last service and when. Not for warranty filing – for the next tech, who needs to know what’s already been replaced.
Otto writes the baseline into every job: what was found, what was replaced, what was flagged as “watch this.” It’s on the invoice so the next call doesn’t start from zero. That’s half the reason the 90-Day Done Right Promise actually works – the record is there.
The 30-day follow-up check
The two weeks after an emergency repair are when most secondary failures show up. Not because the repair was wrong, but because the door has just been reintroduced to a load it hadn’t seen in a while, and everything downstream of the new part is getting tested for the first time. That’s the window where a subtle noise is the only warning you get.
At the 30-day mark, check:
- Do a manual lift test. Disconnect the opener and lift the door to waist height. Let go. It should stay put or drift slowly down. If it drops or needs real effort, the spring tension is off and you need a tech – do not adjust torsion springs yourself, they’re holding 200+ pounds of stored energy and a wrong move is a hospital visit.
- Listen for a new grinding or popping at the same spot on the cycle. A rhythmic click once per revolution is usually a roller or a hinge, not a spring.
- Feel the opener rail. If it shakes more than it did on install day, the door balance is drifting.
- Check the wall-mounted control and remotes. Weak range on older Craftsman remotes is usually a battery, occasionally the logic board.
- Look for fresh oil or metal dust at the bottom bracket, drums, and center plate. That’s a bearing wearing out.
- Walk the perimeter gap. Any light showing along the bottom or sides means a seal adjustment.
If nothing on that list is off, you’re clear for the next six months. If one thing is off, call it in while it’s small. A drum replacement today is $60 in parts and a service call. A drum that lets go at speed takes the cable, the panel, and sometimes the opener with it.
Opener-specific checks belong in their own guide, and we keep a full breakdown at Garage Door Opener Repair & Installation in Spring Valley.
Why adjacent parts fail after a big component goes
Every part on a garage door shares load with every other part. Springs hold the door’s weight. Cables hold the springs’ tension. Drums take the cable’s push. Bearings take the drum’s spin. The opener takes whatever slack the rest of the system leaves. When any one of them fails, the others absorb a spike – sometimes for a split second, sometimes for the weeks the door was sitting stuck before anyone fixed it.
The pattern we see in Spring Valley:
- Broken torsion spring is followed within six months by cable and drum failure on the opposite side, unless the cables were inspected at repair time.
- Snapped lift cable almost always means the drum on that side has a groove, and the opposite drum has matching wear from cycling.
- Dead opener motor usually traces back to a door that had been fighting a tired spring for months. Replacing the opener without the spring is the number one reason a new opener fails early.
- Bent bottom section is often the aftermath of a door that dropped rather than a door someone hit, and the drop means the springs and drums need inspection.
One hard number to keep in mind: a standard garage door cycles roughly 1,500 times a year – more if you’re a two-car household where the door opens for every departure. Most torsion springs are rated for 10,000 cycles. That’s seven years of average use. It’s not the years, it’s the cycles. If you’ve been in the same house ten years and you don’t know what’s on the door, it’s time to find out.
When an emergency means end-of-life, not another repair
There’s a decision point that most homeowners reach without noticing, because each repair looks small on its own. Two trips a year at $200 to $400 each adds up to a replacement. That’s repair-stacking, and the point of this section is to name it so you can see it coming.
Consider replacement instead of another repair when:
- Your door is over 15 years old and has had two or more emergency repairs in the last 12 months.
- The springs have been replaced twice in the door’s life. The third set is on a door that’s now carrying delamination, panel fatigue, and worn bearings.
- Panels are showing rust-through, bowing, or bottom-section damage on top of a mechanical failure.
- The opener is more than 10 years old and has just failed at the same time as a spring. Both are at end-of-life together and the door is fighting a system that’s already tired.
- The track is bent, out of plumb, or shows any rust-through at the fasteners.
For a Spring Valley home, a new door is also a utility decision. A properly sealed, insulated door cuts the cooling load in a garage that regularly hits 100 degrees in July. Old unsealed steel doors leak hot air both ways. That swings the numbers in ways a repair quote never will.
Replacement is scheduled work, not emergency work. Expect a measure, a written quote, and a lead time on the door and the crew. Spring Valley doors usually go in on stock sizes within a couple of weeks for common models; custom Clopay or Amarr sizes take longer. That’s fine – this is a job to do once and get right. Details at Garage Door Installation in Spring Valley.
Safety rules for the homeowner’s role
There’s a short list of things you can safely check after an emergency, and a longer list of things you can’t. Getting that line right is more important than the checklist itself. A garage door spring is a torsion bar under hundreds of pounds of stored energy. Cables under tension can whip. A door can drop. Those are the two or three parts you always leave to a trained tech with the right winding bars and the right gloves.
Safe for you to do:
- Look, listen, and photograph.
- Test the safety reverse with a 2×4.
- Lubricate rollers, hinges, and the track (silicone or dry lubricant only, no grease).
- Hand-tighten a loose hinge screw.
- Replace the opener’s remote battery.
- Clean and condition the bottom seal.
Leave to a professional, every time:
- Replacing or adjusting torsion or extension springs.
- Replacing lift cables or drums.
- Adjusting the opener’s force or travel limits after a failure.
- Realigning or replacing track.
- Removing a bowing or cracked panel.
- Anything that requires lifting the door with the opener disconnected while a spring is suspect.
If a spring or cable has just failed and the door is still standing, don’t run the opener. Don’t force the door by hand. Call a technician and get a live person on the phone – at Otto’s Garage Door Spring Valley, that’s a real human at any hour, and the quote happens on the call.
Common Mistakes to Avoid
- Replacing the failed part and skipping the inspection. The one part that broke is the cheapest part. The ones that absorbed the stress are where the next failure lives.
- Replacing one torsion spring instead of both. Matched pairs are cycled together. The second one fails within a year almost every time.
- Lubricating with grease or WD-40. Grease in Spring Valley’s dust becomes grinding paste. Silicone or dry lubricant only, and never oil the springs.
- Forcing the door by hand after a spring failure. A 200-pound door supported on one dead spring will come down. We’ve seen it. Don’t.
- Calling a national dispatch number and paying a phone quote that changes at the door. Ask for a written price before the tech leaves the driveway. Ask for the license number and the street address of the company. A real local shop has both.
- Ignoring the opener after a spring repair. If the opener ran on a failing spring for weeks, its gear, force settings, and logic board all need a look. Springs are the fix; the opener is the follow-up.
- Skipping the 30-day check. The one window where a small problem is still small. Ten minutes with a flashlight now saves a night without a car in three months.
- Not keeping the invoice. Every future tech, warranty, and dispute starts with what was replaced and when. If the last shop didn’t leave a record, that alone is a reason to find another.
See the difference
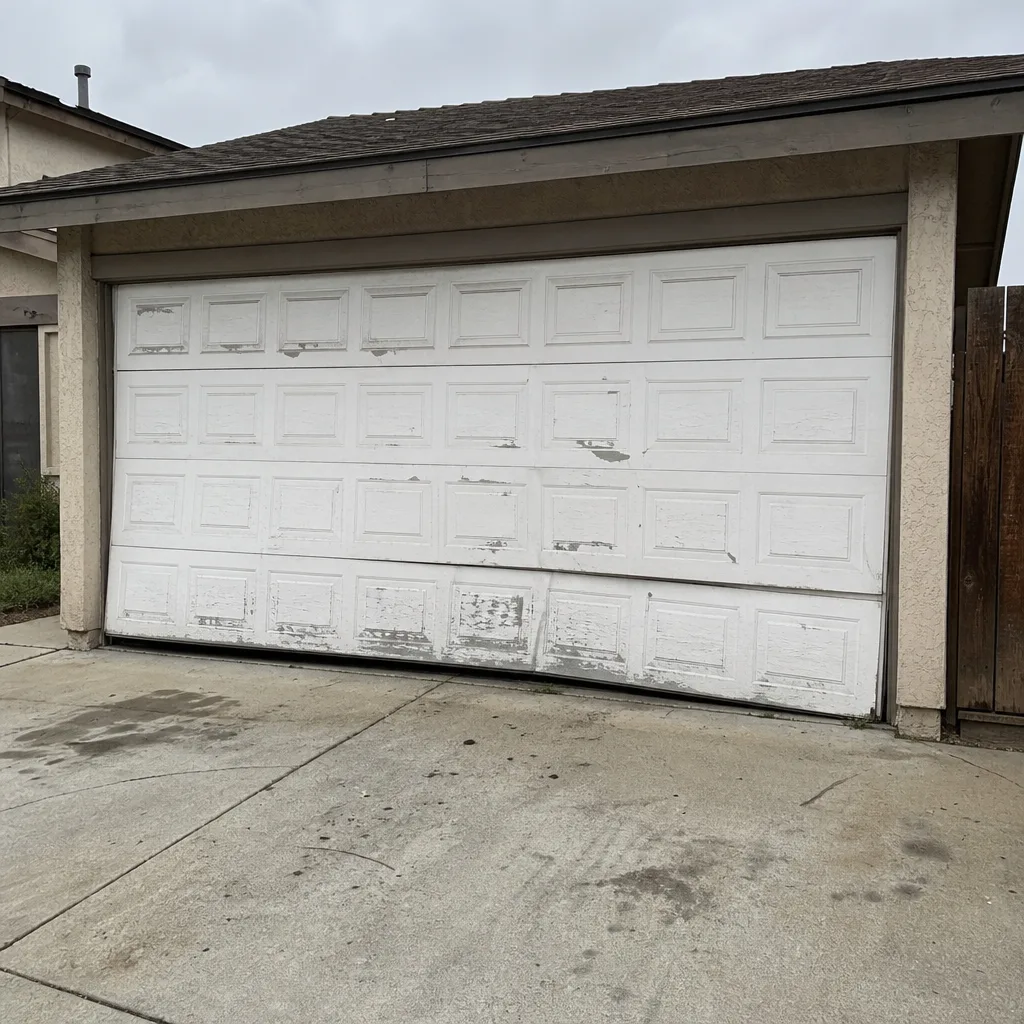 Before
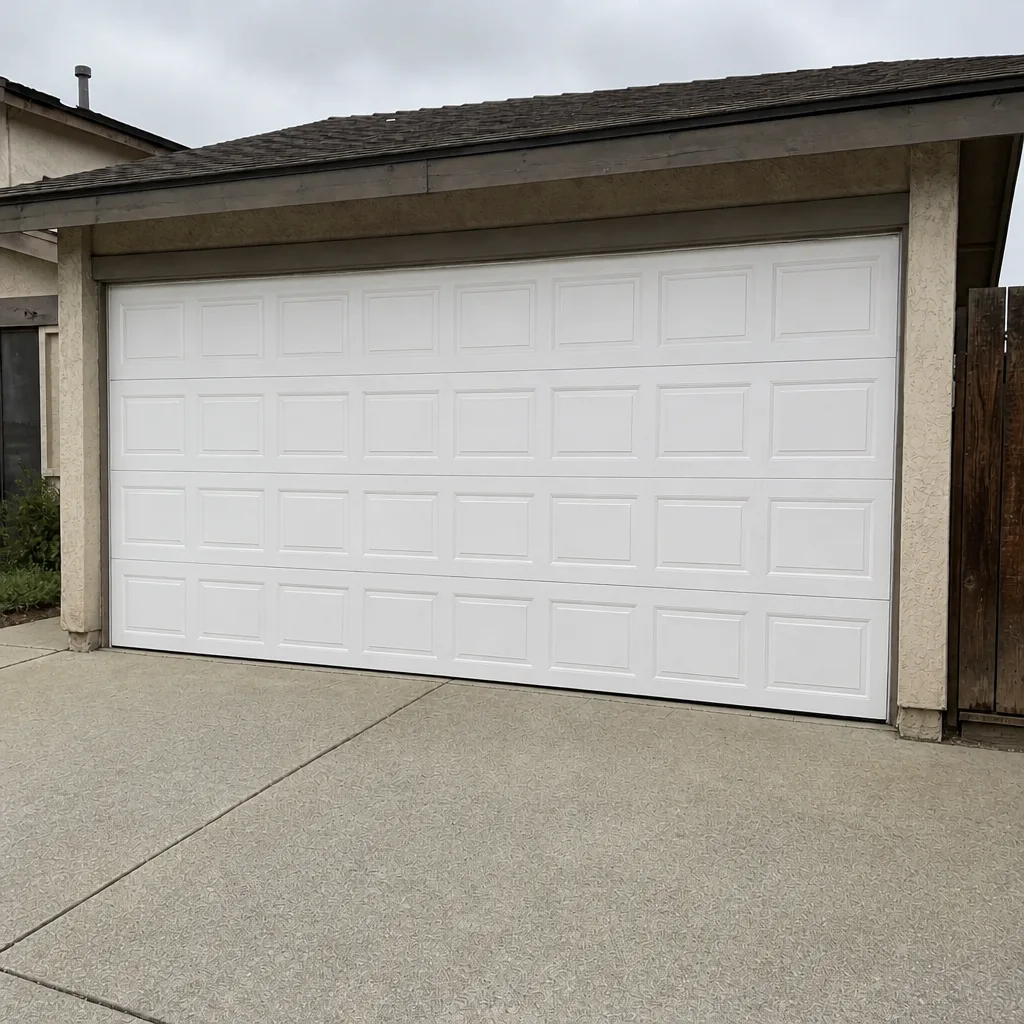 After
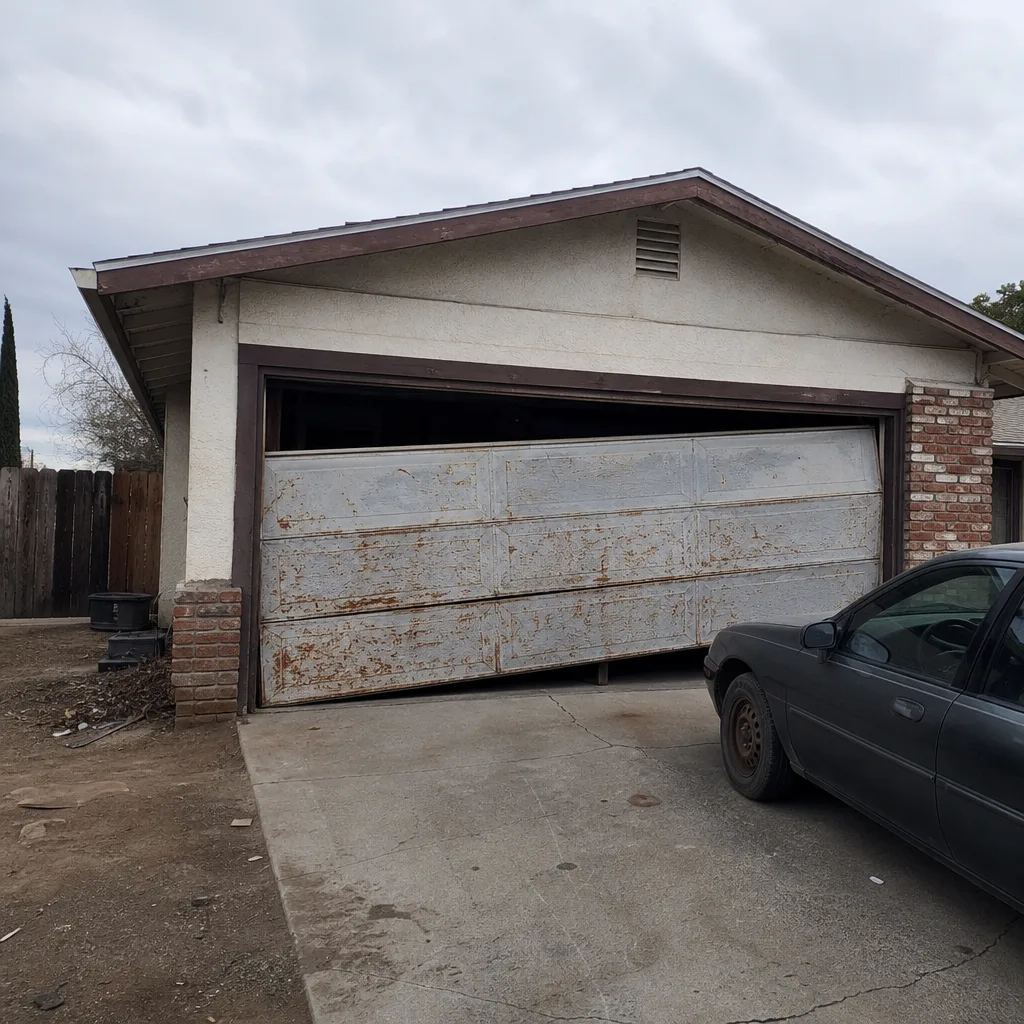 Before
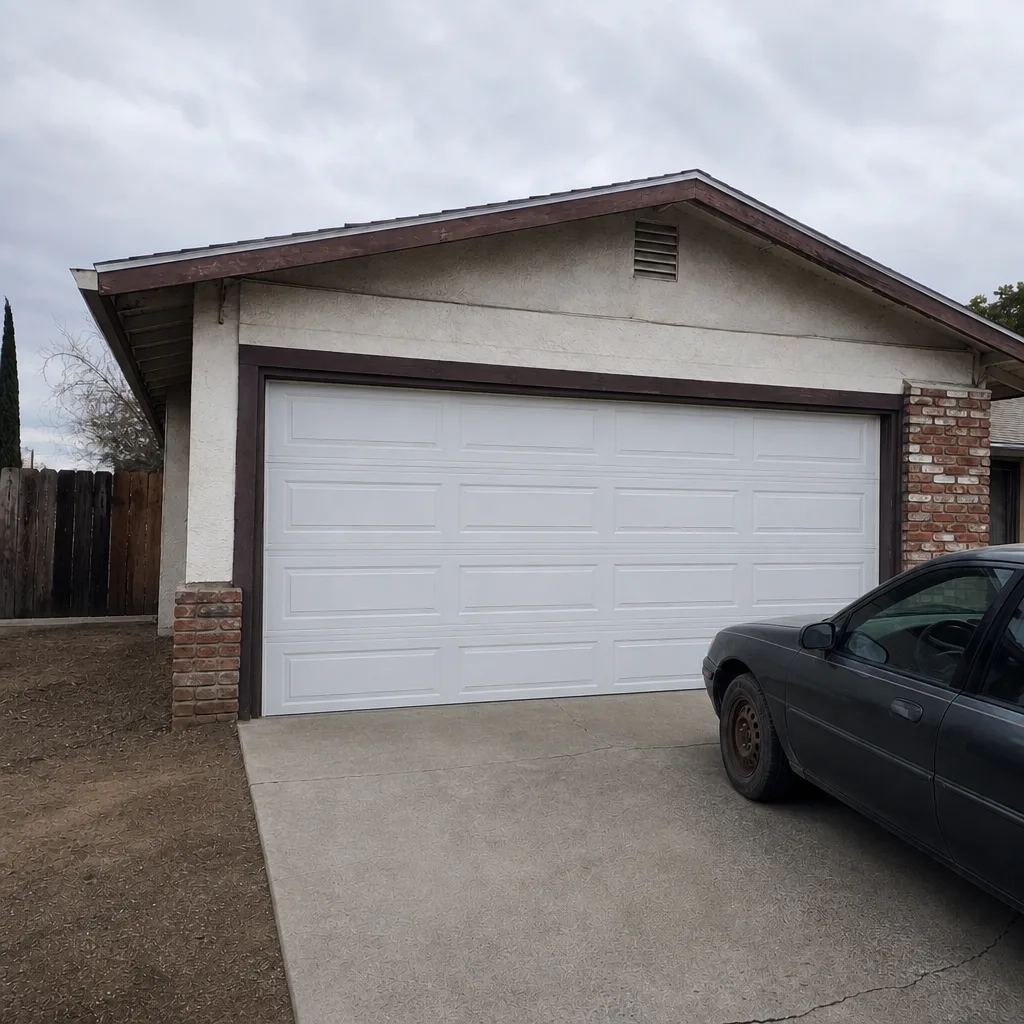 After
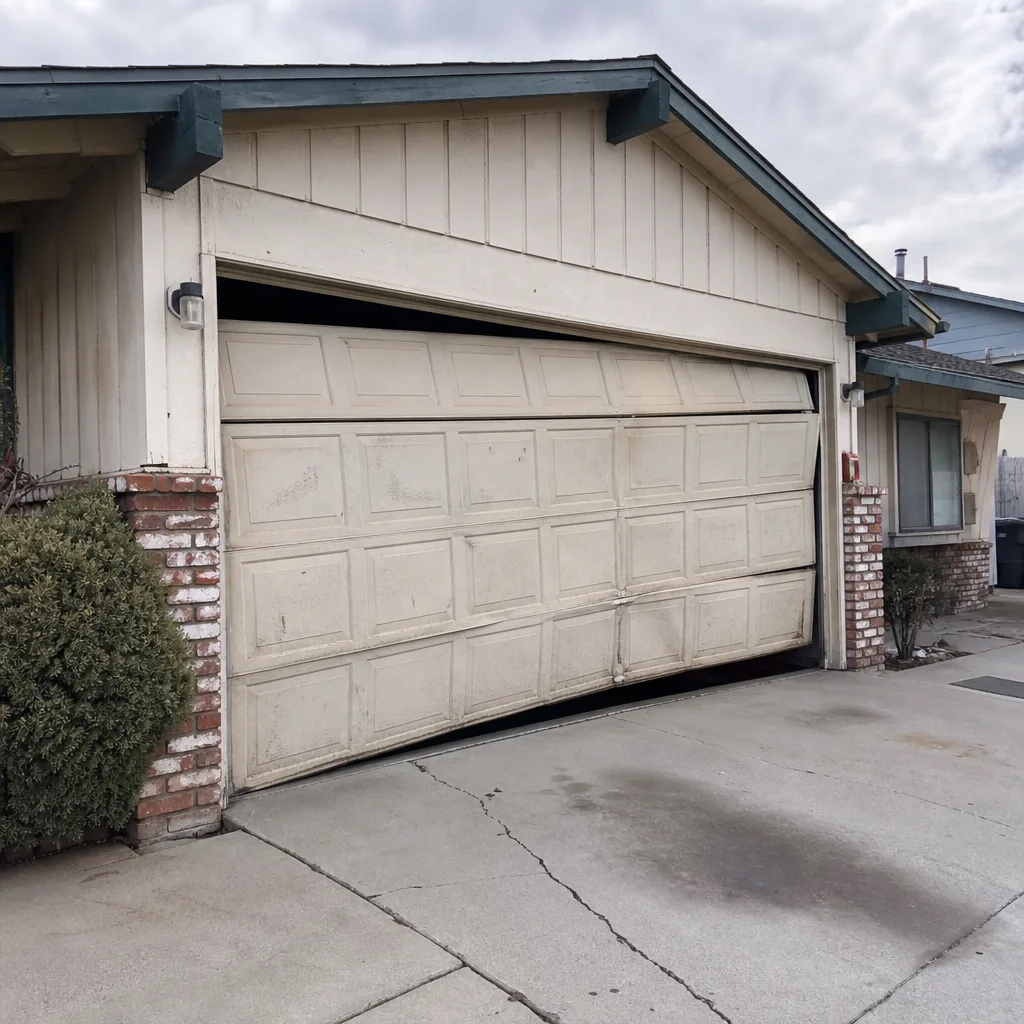 Before
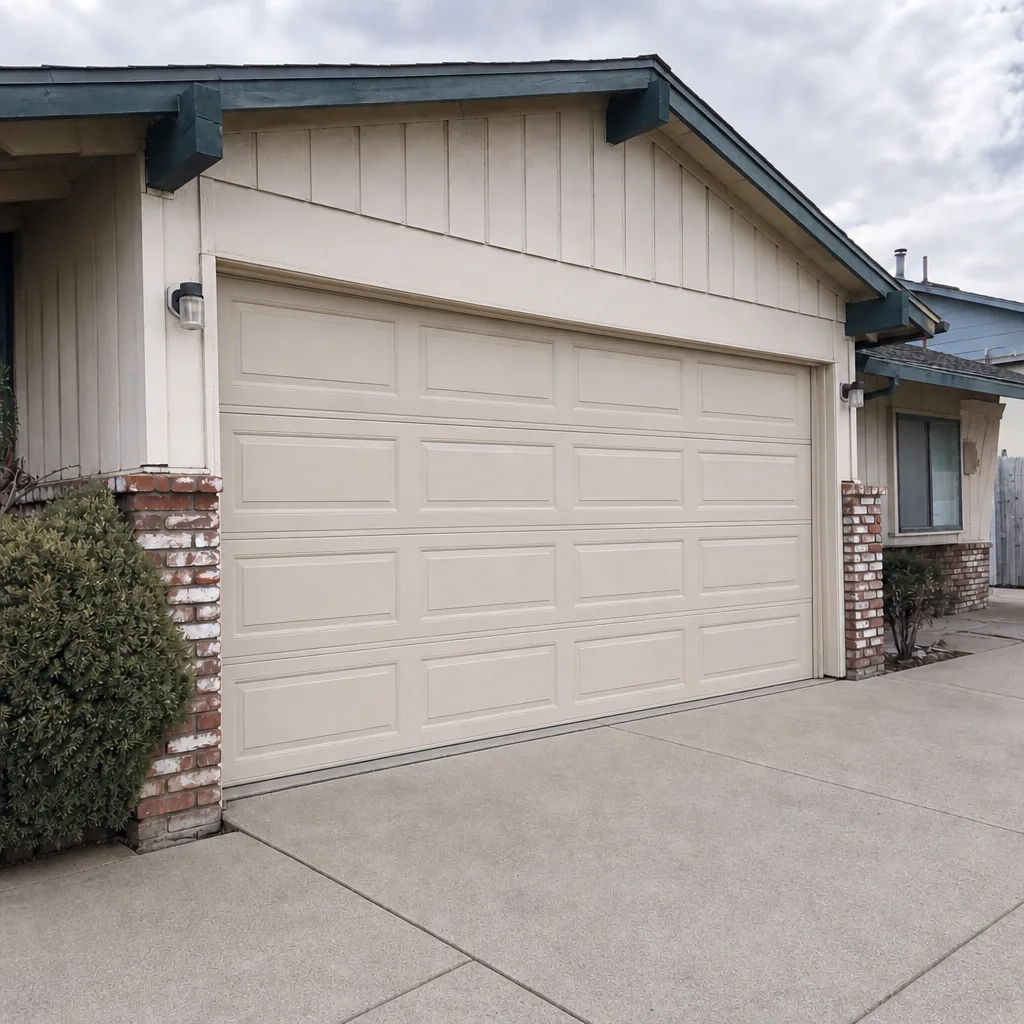 After
When to Call a Professional
Call a professional the moment a spring snaps, a cable frays, a drum walks off center, the door won’t close flush, the opener reverses for no reason, or you hear a loud bang from the garage with nothing obviously broken. Don’t run the opener on any of those. Don’t force the door. Don’t prop it open and “get to it this weekend” – a door held by one spring under tension is not a stable situation. If the panel is bowing, a hinge is cracked, or the track has pulled loose, that’s also a call. On the fence about whether it’s an emergency? Call anyway. The gut check on the phone is free and usually faster than guessing.
Otto’s Garage Door Spring Valley offers free estimates in Spring Valley – call (888) 318-1978. A live person answers, the price is quoted on the call, and it holds at the door. If the estimate from another shop is already in your hand, the second opinion is free and there’s no trip charge inside the county.
Frequently Asked Questions
Check three things: the invoice for what was replaced, the door’s sound and movement on manual lift (opener disconnected), and the parts that shared load with the failed component – springs, cables, drums, rollers, and the opener’s force settings. Any of those that weren’t inspected at repair time should be looked at by a tech within a week. Call (888) 318-1978 for a free post-repair check.
Yes, in almost every case. Torsion springs are installed in matched pairs and cycled together. If one broke, the other has the same cycles on it and usually fails within 8 to 14 months. Replacing both at once costs less than two separate emergency visits. Call (888) 318-1978 for a written quote on a pair.
Most show up in the first 30 days, which is why we recommend the 30-day follow-up check. Secondary failures after a spring or cable break typically show as new noise, drift in the door’s balance, or fresh metal dust at the drums. Anything unusual on that check is worth a call to (888) 318-1978.
Track alignment, roller condition, hinge screws, and the bottom seal need attention after any major dust or wind event in Spring Valley. Grit works into bushings and tracks, and wind can knock a track out of plumb by a quarter inch – enough to bind rollers. Have a tech walk it if the door feels or sounds different. Call (888) 318-1978 and we’ll tell you on the phone whether it’s a today problem or a this-week problem.
If the door is over 15 years old and has had two or more emergency repairs in 12 months, it’s usually at end-of-life. So is a door with two spring replacements, rust-through panels, and a 10-year-plus opener that just failed alongside a mechanical part. Replacement is scheduled work, not emergency work – get a free in-home measure at (888) 318-1978 and compare it against another repair.
No. The price quoted on the call is the price on the invoice at Otto’s Garage Door Spring Valley, and it’s agreed on before any work starts. If it changes on the driveway, that’s the wrong shop – call (888) 318-1978 and we’ll put the number in writing before we arrive.
The Bottom Line
Emergency maintenance isn’t about the calendar, it’s about the moment after the failure, the storm, or the sound you can’t place. Replace the failed part, inspect everything that shared its load, document the baseline in writing, and check again at 30 days. If your Spring Valley door has been stacking repairs for a couple of calls, that pattern is the real signal – replacement usually costs less than another year of small emergencies, and it’s a job you schedule instead of one that schedules you. That’s the whole point. Our team at Otto’s Garage Door Spring Valley home is here to walk you through the doorway diagnosis on the phone, and if you want to see what caring for a door across its whole life looks like, we keep a full guide at Garage Door Repair in Spring Valley.
Call (888) 318-1978 for a free estimate. Live person, any hour, upfront price on the call. Backed by the 90-Day Done Right Promise in writing on every job, a free second opinion on any written estimate, no trip charge inside the county, and a permanent 10% discount for seniors and veterans.
Written by the team at Otto’s Garage Door Spring Valley.