
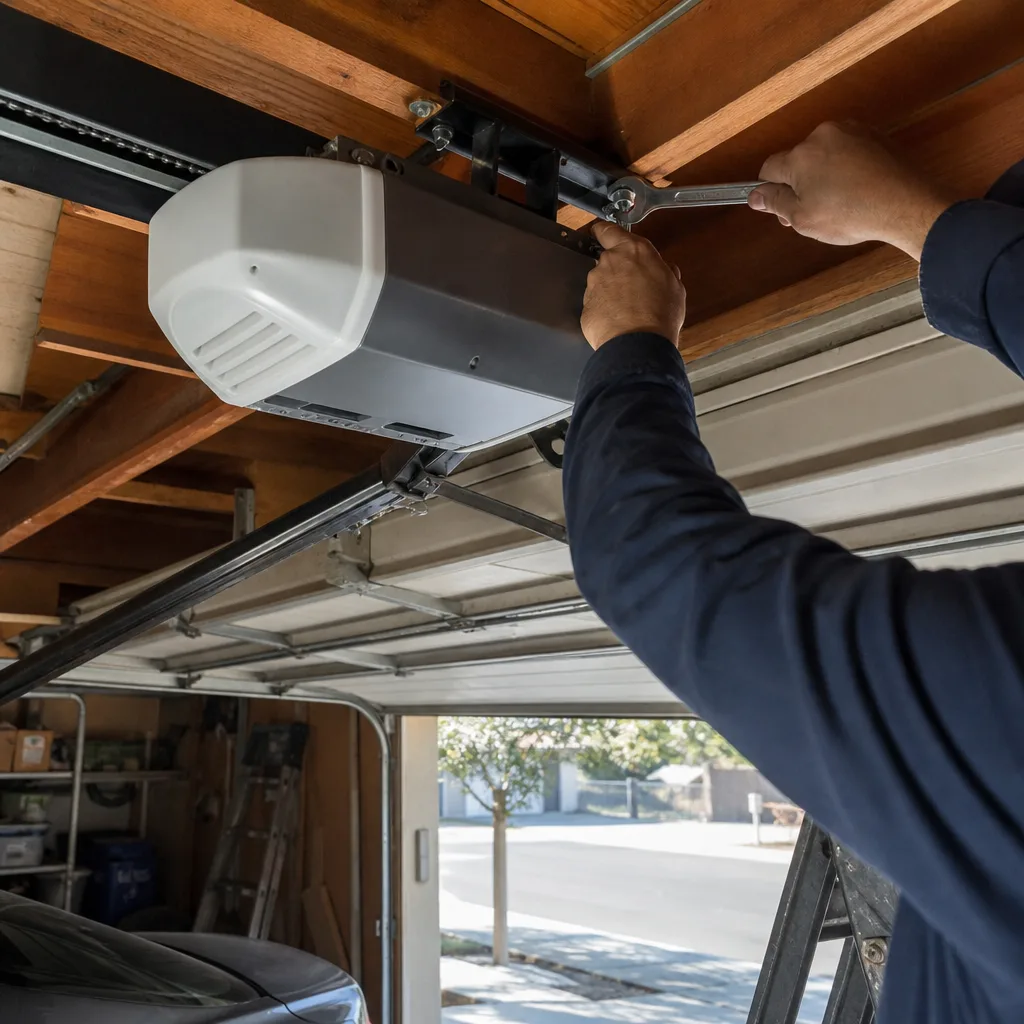
Last updated November 18, 2026
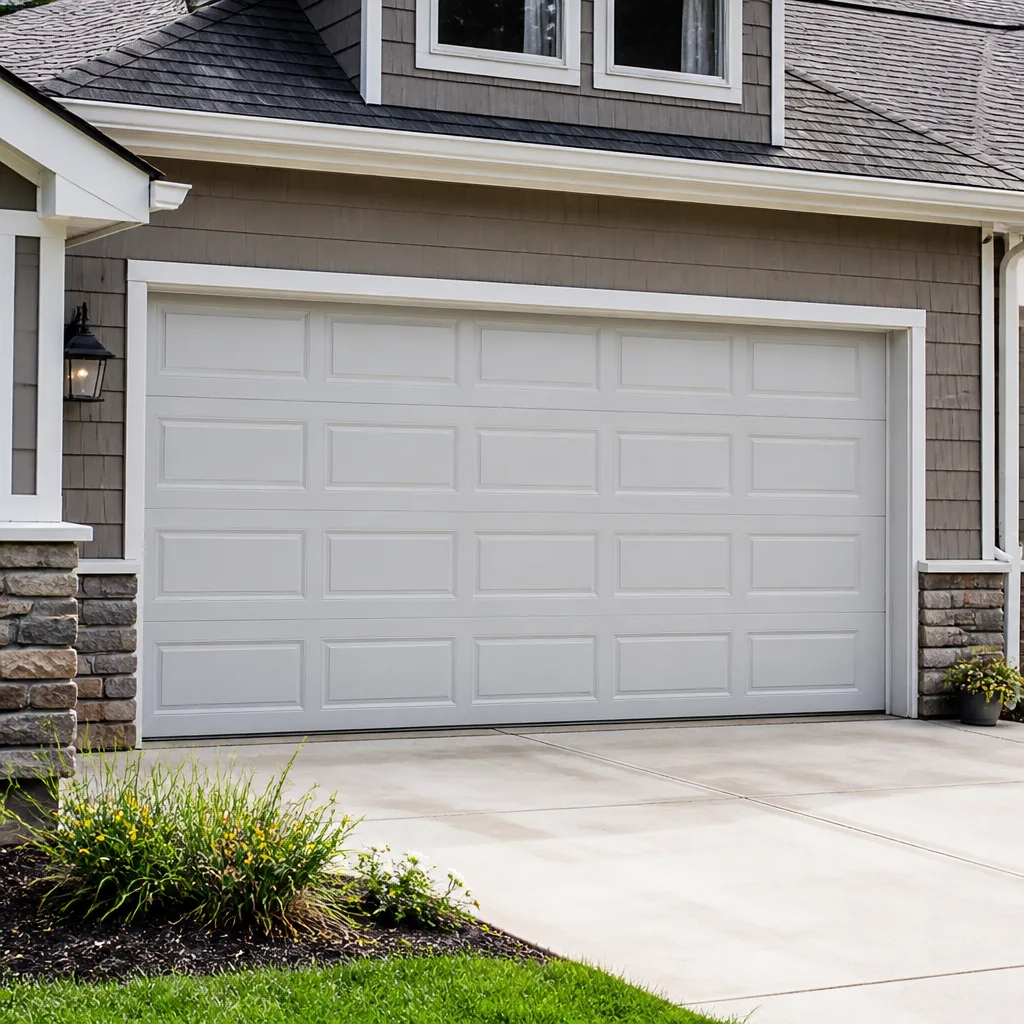 Raised-panel steel
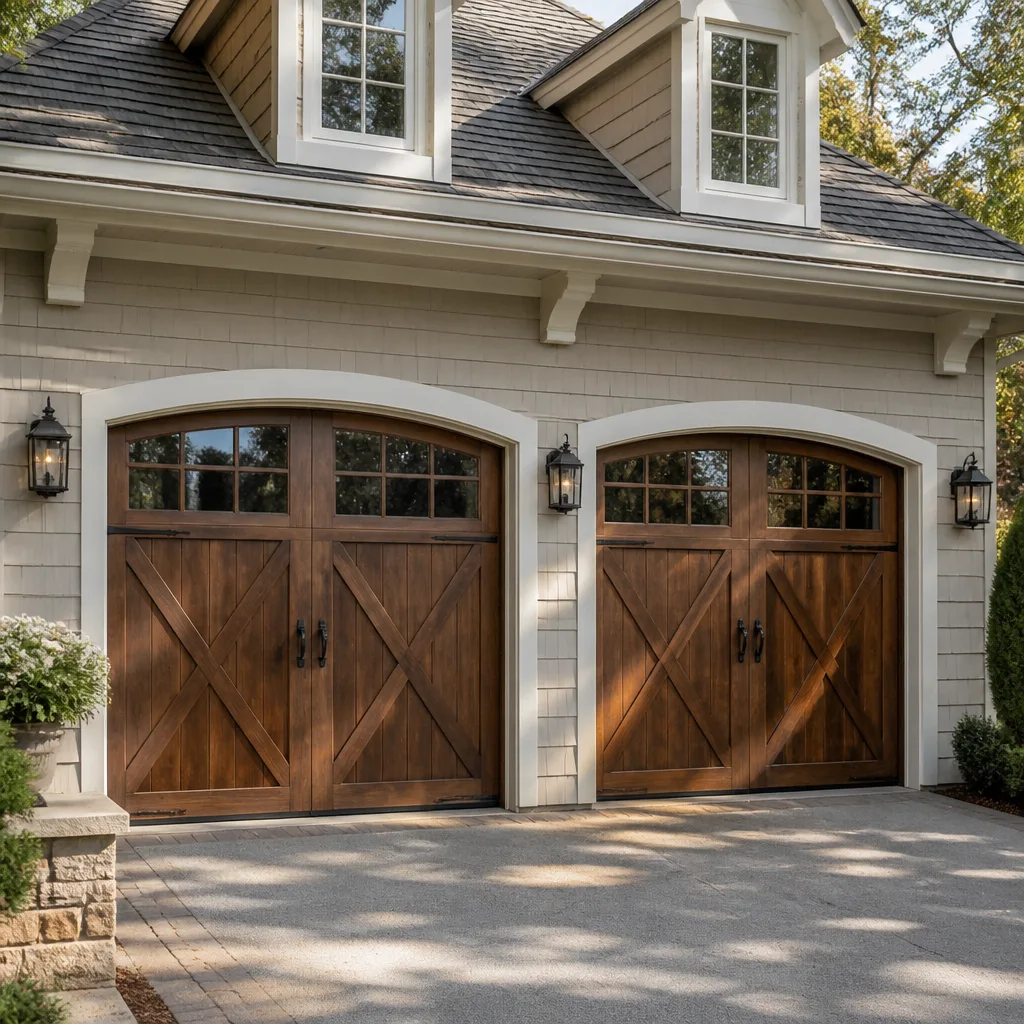 Carriage house
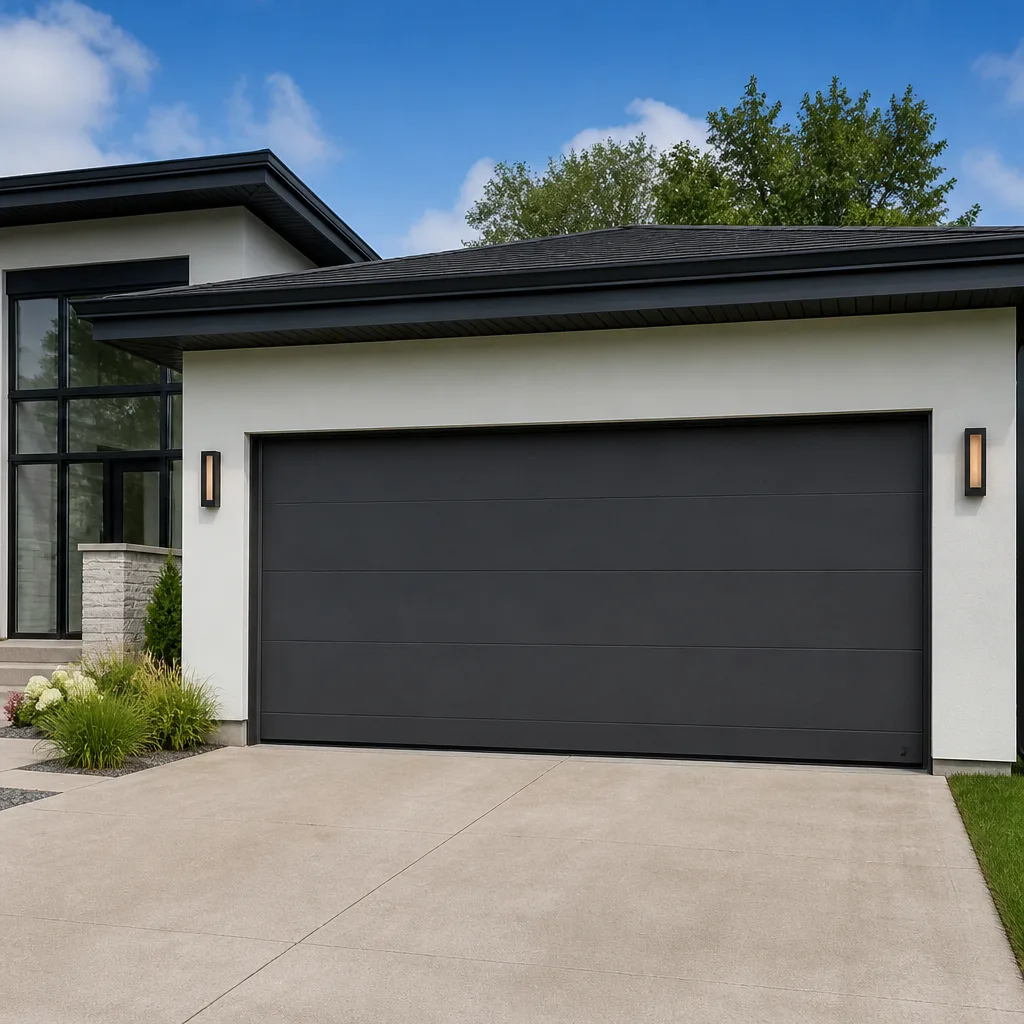 Modern flush
 Full-view glass
 LiftMaster openers
 Chamberlain openers
Full 25-point door and opener safety check with every visit - springs, cables, rollers, tracks, and your LiftMaster or Chamberlain opener included
You get a price before we start. It does not change when the pro arrives.
Get your free estimateDIY vs Professional Garage Door Parts: What’s Safe to Do Yourself
A torsion spring under full tension holds roughly the same energy as a loaded firearm pointed at your face. That’s not a scare tactic. It’s physics, and it’s why “I watched a YouTube video” is not sufficient preparation for every repair on your door. But here’s the part the safety warnings usually leave out: plenty of garage door work is completely safe to do yourself, and refusing to touch any of it wastes your money. The real line isn’t skill level. It’s which parts store deadly energy and which ones don’t. This guide draws that line clearly, so you’re not guessing in your driveway on a Saturday morning. We’re writing it from Spring Valley, where we’ve watched which fixes hold up and which ones turn into a Saturday night emergency call.
Quick Answer
You can safely handle weatherstripping, hinges, rollers, and photo-eye alignment yourself. Anything that stores energy – torsion springs, extension springs, cables, and bottom brackets – requires a trained professional with the right tools and the right knowledge. The dividing line is simple: if a part holds tension, don’t touch it. If it doesn’t, and you have the right tools, you probably can.
Styles & brands we work with
- Raised-panel steel
- Carriage house
- Modern flush
- Full-view glass
- LiftMaster openers
- Chamberlain openers
Table of Contents
- The One Rule That Decides Every DIY Garage Door Question
- Parts You Can Safely Touch Yourself
- Parts That Require a Professional (No Exceptions)
- Why Bottom Brackets Are Off-Limits Even Though They Look Harmless
- The Real Cost of a DIY Repair Gone Wrong
- What Tools You Actually Need (And What Gives You False Confidence)
- How to Describe the Problem So We Can Tell You Upfront
- What Spring Valley Homeowners Need to Know
The One Rule That Decides Every DIY Garage Door Question
Before we get to the lists, understand the physics. A standard residential door weighs 150 to 200 pounds. The springs are the only reason you can lift that door with one hand. A torsion spring on a seven-foot door is wound about seven to nine full turns from its relaxed state. That stored rotational force, released suddenly, becomes projectile energy. If it lets go while you’re winding it or working near it, it doesn’t just snap – it can shatter bones, remove fingers, and punch a hole through drywall.
Extension springs, common on older doors, carry the same stored energy in a different form. They stretch along the horizontal tracks overhead, and when they fail, they fly. That’s why modern safety standards call for a containment cable through the center. If your older door doesn’t have one, a spring failure becomes a projectile event with nothing to stop it.
The rule, then, is this: energy-storing parts belong to the professionals. Springs store energy. Cables transfer that energy. Bottom brackets hold those cables under tension. Those three categories are off-limits to anyone without proper training and the right tools.
Everything else – the parts that don’t hold force – is fair game for a careful homeowner with basic tools and a willingness to read the instructions. We’ve seen plenty of Spring Valley homeowners handle these fixes correctly. We’ve also seen the result when someone crosses the line into spring territory without understanding what they’re dealing with. That’s a different call entirely.
Parts You Can Safely Touch Yourself
These are the parts where a homeowner with an afternoon and the right tools can save real money without putting anyone’s fingers at risk. The common thread: none of these parts store or transfer spring tension.
Weatherstripping and Bottom Seal
That rubber flap at the bottom of the door cracks and goes brittle over a Nevada summer. Replacing a bottom seal is a routine job – slide the old one out of the retainer and slide the new one in. No tension, no springs. Same goes for the perimeter weatherstripping on the door jamb. Both jobs keep your cooling bill down in the summer heat, which matters in Spring Valley.
Rollers
Rollers wear out and start squealing or cause the door to ride rough. Replacing them is straightforward with a door held in the fully open position and clamped. The key is to replace one at a time. We keep Genie and standard nylon roller sets on hand because they’re the most common replacement. When the door is up, the tension is on the springs, not on the rollers. That’s why this one is safe.
Hinges
Metal hinges on the side of the door can bend from impact or just wear out. Replacing a hinge with the door fully open is a matter of removing two bolts and swapping the piece. Same principle: the springs are holding the tension, and the door is clamped open. You’re not working against the force.
Photo-Eye Alignment
If your door reverses for no reason, the safety sensors at the bottom of the tracks are almost always the culprit. These little eyes send an infrared beam across the opening. If they’re bumped out of alignment, the door won’t close. Straightening them or cleaning the lens with a rag takes five minutes. Most modern LiftMaster, Chamberlain, and Genie openers have an LED indicator on the sensor that tells you if it’s aligned.
Lubrication
A little white lithium grease or silicone spray on the hinges, rollers, and tracks keeps the door quiet and adds years to the moving parts. Don’t use WD-40 on the tracks – it attracts grit. A proper silicone or white lithium spray is the right choice for the rollers, and a dry PTFE spray works for the hinges.
Parts That Require a Professional (No Exceptions)
These are the parts where we say, plainly, don’t do it yourself. Not because we want the work. Because we’ve seen the aftermath and it’s not worth it.
- Torsion springs. Winding a torsion spring requires specific tooling – winding bars sized to the cone – and requires understanding how much tension is stored in the length of the wire. Without the right setup, you’re a fraction of a second and one slip away from a serious injury. A trained tech can do it safely because they’ve done hundreds of them, including the ones in Spring Valley.
- Extension springs. Same stored energy, different shape. If you’re replacing an extension spring on a door older than about 20 years, there’s a good chance you’re also adding the containment cable that wasn’t required when it was built. That’s a job for a pro.
- Cables. Cables carry the spring’s force to the bottom brackets. A snapped cable can do serious damage on its own. Replacing one without releasing spring tension first is a recipe for injury. We’ve pulled cables from doors in Spring Valley where a previous owner had tried a repair and the cable was only partially seated in the drum – the next door cycle would have released it.
- Bottom brackets. This is the one that catches homeowners off guard. More on that below.
- Opener springs and internal gears. A Genie or Chamberlain opener that’s grinding usually has stripped gears. Opening the case is fine for a visual check, but the repair itself is a job for someone who knows the assembly.
If you’re still working out which category your repair falls into, our Garage Door Repair in Spring Valley page covers the signs that tell you it’s time to call.
Why Bottom Brackets Are Off-Limits Even Though They Look Harmless
Bottom brackets sit at the base of the door on each side, holding the end of the cable. They look like ordinary metal brackets bolted to the bottom corner. A lot of homeowners look at them and think, “That’s just a bracket.” That’s the trap.
Here’s the math that matters: the spring at the top of your door is wound with enough force to lift a 200-pound door. That force is transferred through the cable, which runs down the side of the door and anchors at the bottom bracket. When you’re standing next to the bracket, you’re standing at the point where all of that stored spring energy meets the frame. If you unbolt the bottom bracket while the spring is still under tension, the bracket and the cable become a projectile. The bracket itself can leave a dent in your ceiling. The cable can do worse.
The homeowner instruction manuals that come with a new Clopay or Amarr door put this in the warnings section for a reason. It’s not that the bracket is complicated. It’s that you can’t safely touch it without first releasing the spring tension – and releasing spring tension is the dangerous part.
In our experience, this is the one part where homeowners most underestimate the risk. The bracket looks like a bolt-on accessory. It’s not. It’s the anchor point for a spring-loaded system, and it belongs to the pro. When we pull into a Spring Valley driveway and the bracket is the issue, we handle the whole job – release the tension, replace the cable, replace the bracket, and re-tension the spring with the proper tooling. It’s not a job for a homeowner with a wrench.
The Real Cost of a DIY Repair Gone Wrong
Let’s talk money, because that’s what drives the DIY decision in most households. A professional spring replacement typically runs in the $180 to $340 range for a standard residential door, depending on door height, spring type, and how accessible the winding cones are. A bottom bracket and cable replacement usually runs $150 to $280 for one side. Neither is a trivial expense. But compare it to the cost of a DIY job gone wrong.
An emergency room visit for a hand injury from a snapped spring or a cable cut typically starts at a few thousand dollars and climbs from there. That’s before the follow-up. Then you’re paying for the repair you tried to do yourself plus the damage it caused – drywall, ceiling, door panel, opener head, maybe the car parked underneath. We’ve seen a homeowner try a spring replacement on a Wayne Dalton door in Spring Valley, lose grip on the winding bar, and punch the bar straight through the garage ceiling. The cosmetic repair was more than the spring job would have cost.
- Professional spring replacement: $180 to $340, plus a 90-day written warranty from us.
- DIY spring replacement without injury: $40 to $70 in parts and an afternoon, assuming everything goes right. That’s a real saving, but it’s also the best-case outcome.
- DIY spring failure with injury and damage: medical costs plus structural repair plus the eventual professional visit – easily four to ten times the pro cost.
- Bottom bracket DIY failure: the bracket and cable are the energy-transfer point. If it fails while you’re next to it, the injury risk is the same as a spring failure.
The safe answer for energy parts is straightforward. Call us, and we’ll give you a written price before any work begins. We don’t change that number between the phone and the driveway. If you want a ballpark before you commit, our Garage Door Installation in Spring Valley page covers the other end of the job – what a full replacement looks like when the parts are past saving.
What Tools You Actually Need (And What Gives You False Confidence)
The tool bag matters, because the wrong tools give you a sense of readiness that isn’t real. There’s a difference between the tools that make a job go smoothly and the tools that make you think you’re ready for something you’re not.
Tools a Homeowner Actually Needs for Safe DIY Work
- A socket and wrench set in the sizes your hinges and brackets use. Most residential door hardware is 3/8-inch or 7/16-inch.
- A C-clamp or locking pliers to hold the door in the raised position while you work on rollers or hinges. This is a safety item, not a convenience item.
- A step ladder rated for your weight, tall enough that you’re not stretching.
- A silicone or white lithium spray for lubrication. A dry PTFE spray works for hinges.
- A flathead screwdriver and a putty knife for prying old weatherstripping out of the retainer.
- Replacement parts that match the door – know the brand and model before you buy. Calling your parts supplier with the door brand and age saves a return trip.
Tools That Give You False Confidence
A set of winding bars is not the same as training. Anyone can buy a set online, and we see doors around Spring Valley where a homeowner bought the bars but didn’t understand how to count the turns, how to hold the load, or what “properly wound” feels like. Winding bars without the experience to back them up are just a better way to get hurt. Same goes for cable pullers and the special tools for bottom bracket work.
What you actually need for the safe DIY list is a socket set, a clamp, a ladder, and a can of lubricant. That’s the honest tool list.
How to Describe the Problem So We Can Tell You Upfront
One of the most useful things we can do on a phone call is tell you whether your problem is a DIY fix or needs a visit. To do that accurately, we need a few specifics. Here’s the script we use when you call.
- What’s the door doing? Won’t open, won’t close, opens partway and reverses, squeals, grinds, or sags on one side. Each symptom points to a different part.
- What’s the door brand and age? Clopay, Amarr, Wayne Dalton, and the rest all have different hardware. Age tells us which springs and brackets are likely.
- Is the door manual or opener-driven, and what’s the opener brand? Genie and Chamberlain openers have different sensor behavior. If the door reverses with the opener, the fix is often a photo-eye alignment, not a spring.
- Can you see both springs – are they both in one piece? A snapped spring is visible. A door that won’t lift likely has a broken or badly worn spring, which is a pro job. A door that lifts but won’t stay up is a spring tension issue, also a pro job.
- What’s your address? For Spring Valley locals, this helps us tell you if we can be there today or tomorrow based on where we are in the schedule.
With those five answers, we can usually tell you on the phone whether it’s a fifteen-minute DIY fix or a visit. If it’s a DIY-level problem, we’ll tell you that. We’d rather see you at the feed store with a door that’s working than take the trip for a hinge swap. Our Garage Door Opener Repair & Installation in Spring Valley page has more detail if the issue points to the opener.
What Spring Valley Homeowners Need to Know
Doors in Spring Valley see a specific kind of wear. The dry heat is hard on weatherstripping and the rubber seals – they crack fast, and by the time the cold months arrive, you’re chasing drafts. A weatherstripping replacement is one of the most common DIY fixes we get asked about, and it’s the right one to handle yourself.
Springs are a different story. Heat cycling and the sheer number of open-close cycles on a residential door mean springs in Spring Valley wear on a predictable schedule. If you’ve got a door that’s 10 or 12 years old and the springs have never been inspected, you may be closer to a failure than you think. A failed spring isn’t a gradual decline – it’s a snap. Cables are the same. We show up to that kind of call a few times a month in Spring Valley, and the homeowner almost always says some version of, “I was just about to try that myself.”
If you’re unsure whether your springs are due, our team can do a quick visual inspection and tell you how much life is left. We count spring cycles the way you count tire miles, and we’ll tell you what’s left on yours. If the door is a Wayne Dalton or a Clopay from the last decade, we’ll know the likely spring specs before we arrive.
Our Otto’s Garage Door Spring Valley home page has the basics on what we do and how to verify us before we arrive – published address, license number, all of it.
Common Mistakes to Avoid
- Buying winding bars as if they were the only tool you need. Winding bars without the experience to manage spring tension are worse than no bars at all, because they get people to stand right next to the spring.
- Assuming the bottom bracket is a “bracket job.” It’s an energy anchor. Opening it without releasing tension first is how people get hurt.
- Using WD-40 on the tracks. It attracts grit and makes things worse. A dry silicone spray is the right lubricant for rollers and hinges.
- Buying the wrong roller size online. Rollers come in 1-inch, 2-inch, and 3-inch diameters, and the door only opens right with the size it was built for. Measure before you order.
- Replacing one broken spring and leaving the other. On a two-spring door, both springs are usually the same age and the same wear. Replacing one and leaving the other often means the second one fails within a year. The right call is to replace both.
- Trying to tension a spring based on how many turns “feels right.” The correct number of turns depends on the door height and the spring wire size. Guessing puts the door at risk of not lifting properly or not staying down.
- Calling a national 1-800 number and getting a quote that changes at the door. We’ve heard from Spring Valley homeowners who got quoted one number on the phone and billed another at the visit. A written price before the work begins is the standard to insist on.
See the difference
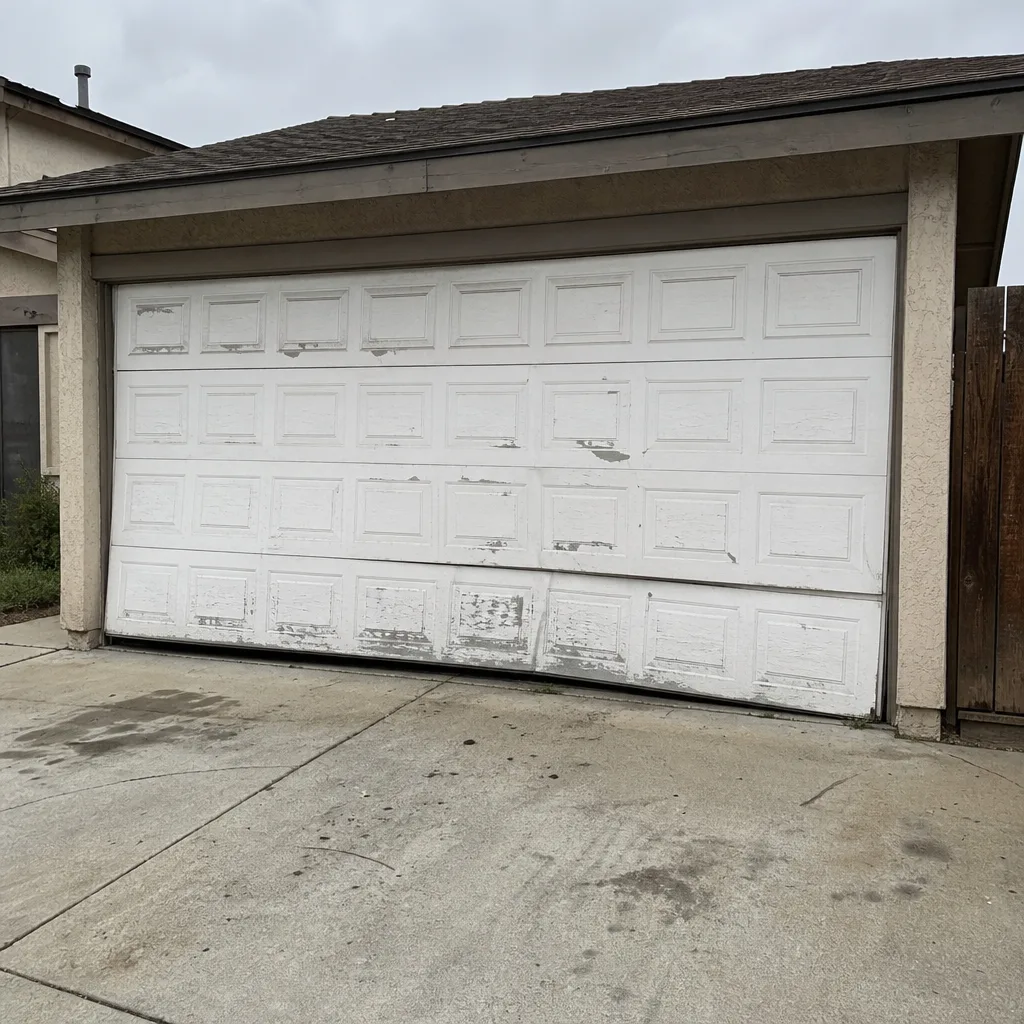 Before
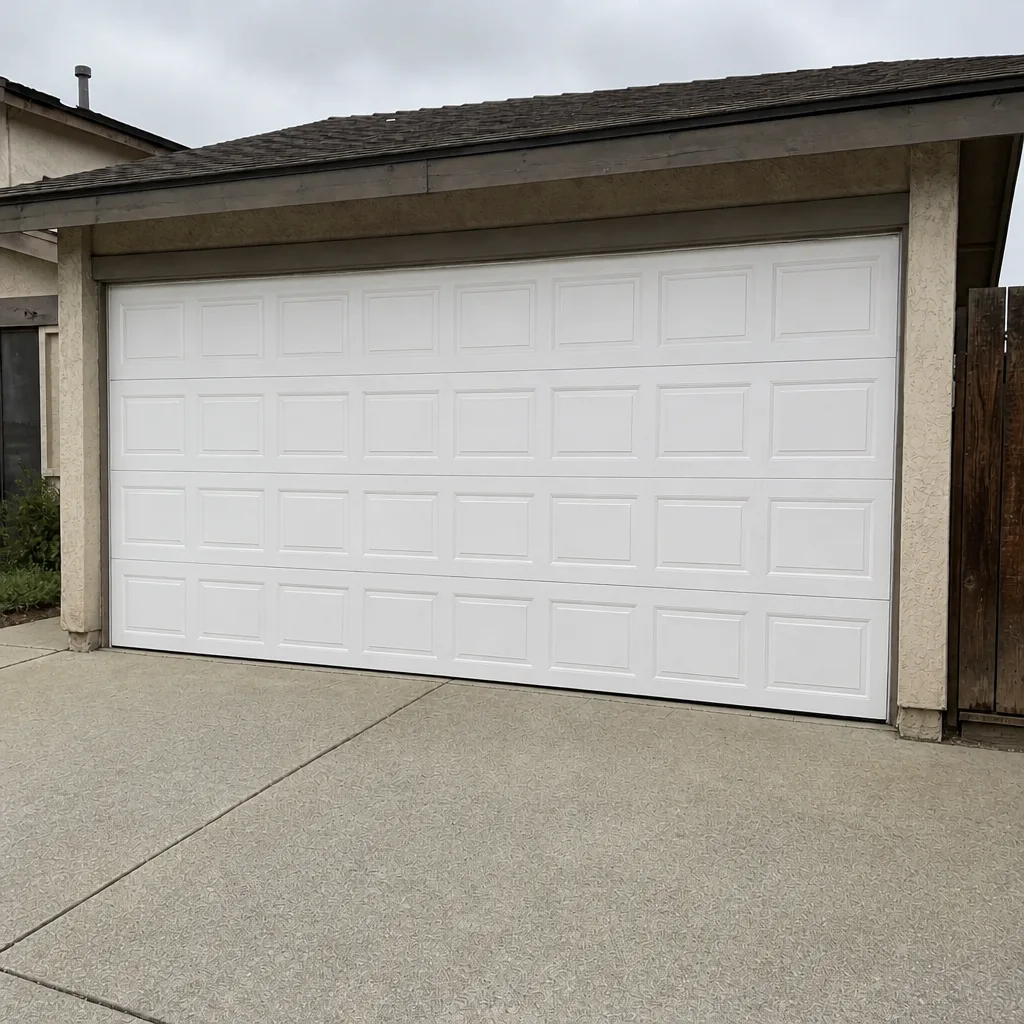 After
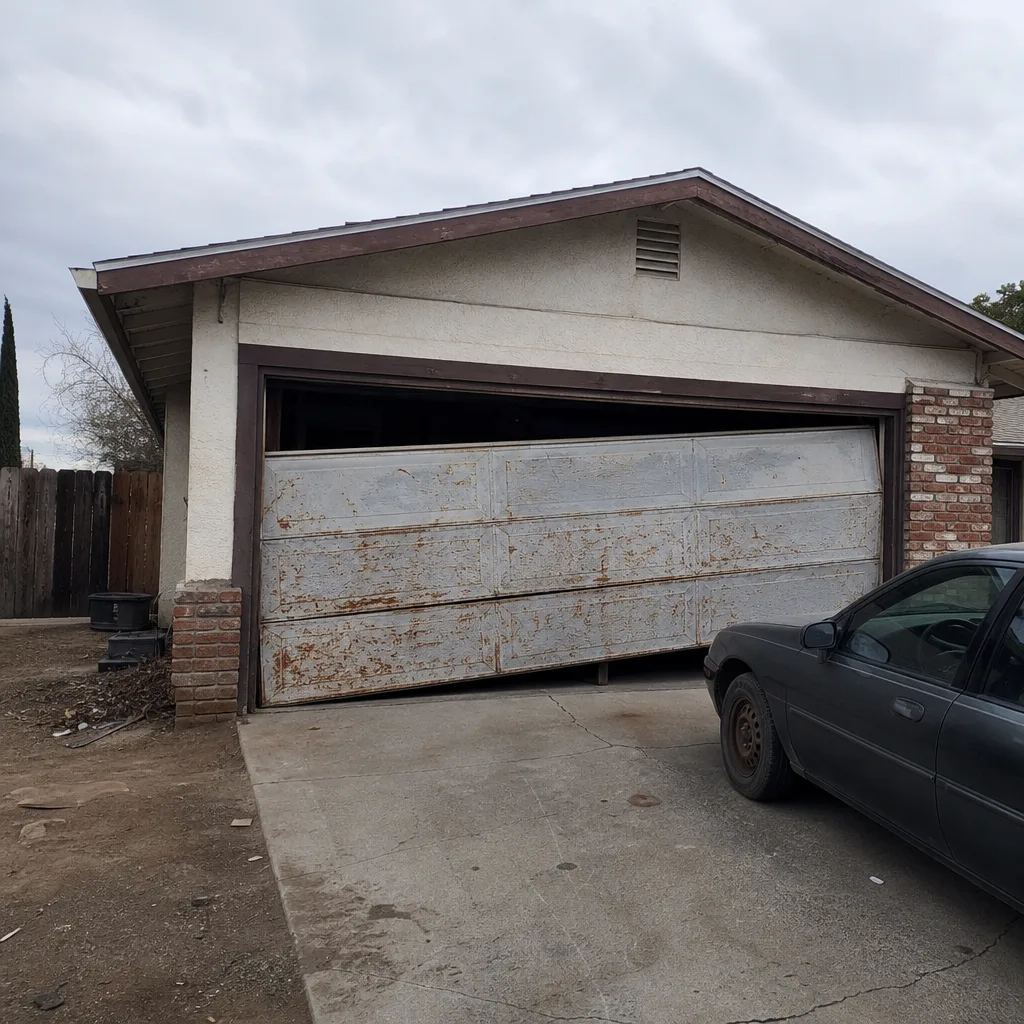 Before
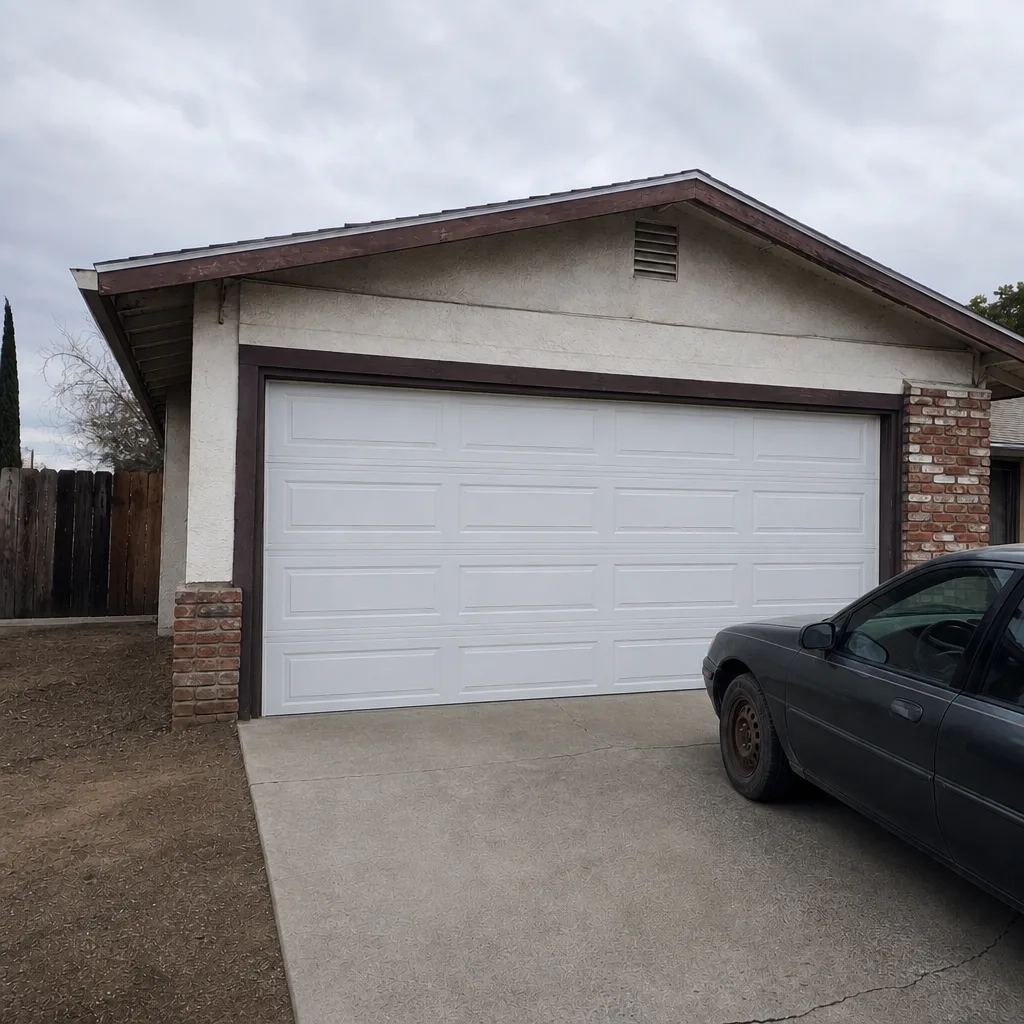 After
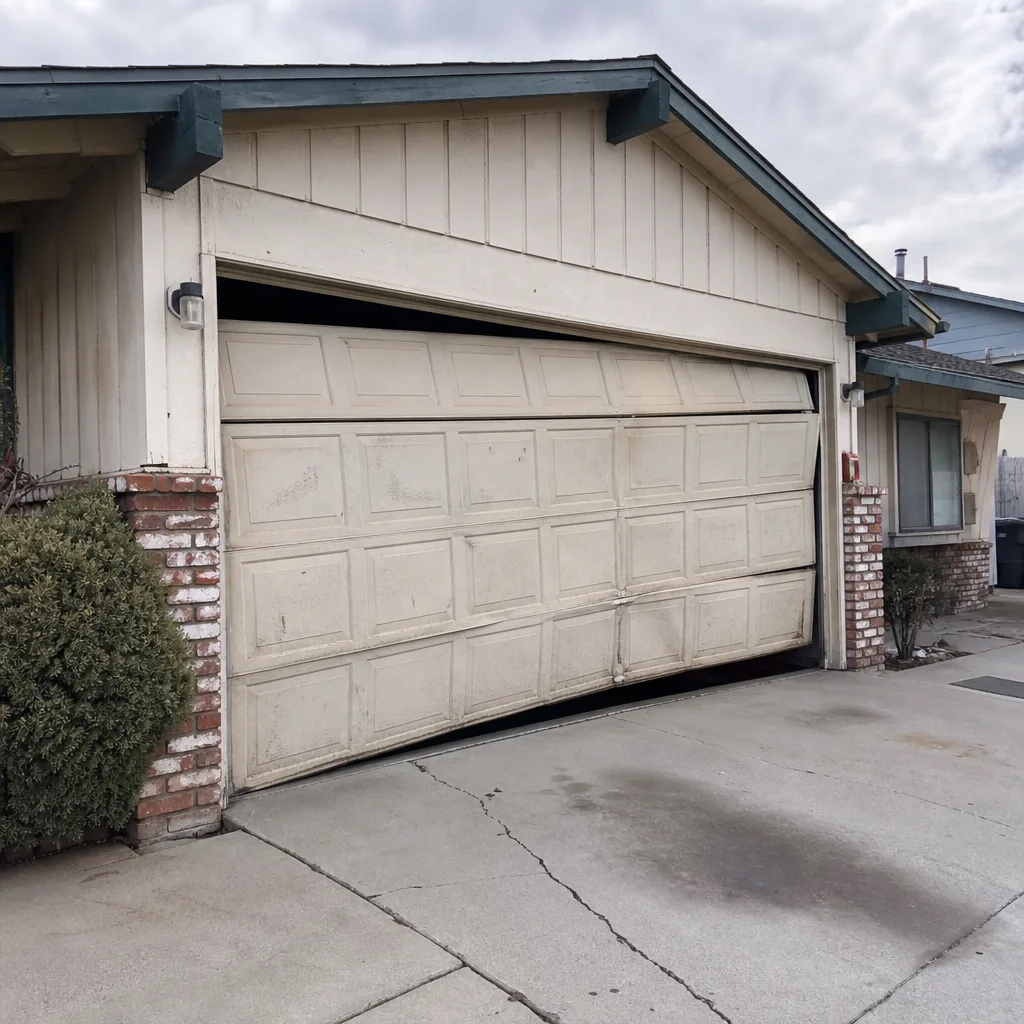 Before
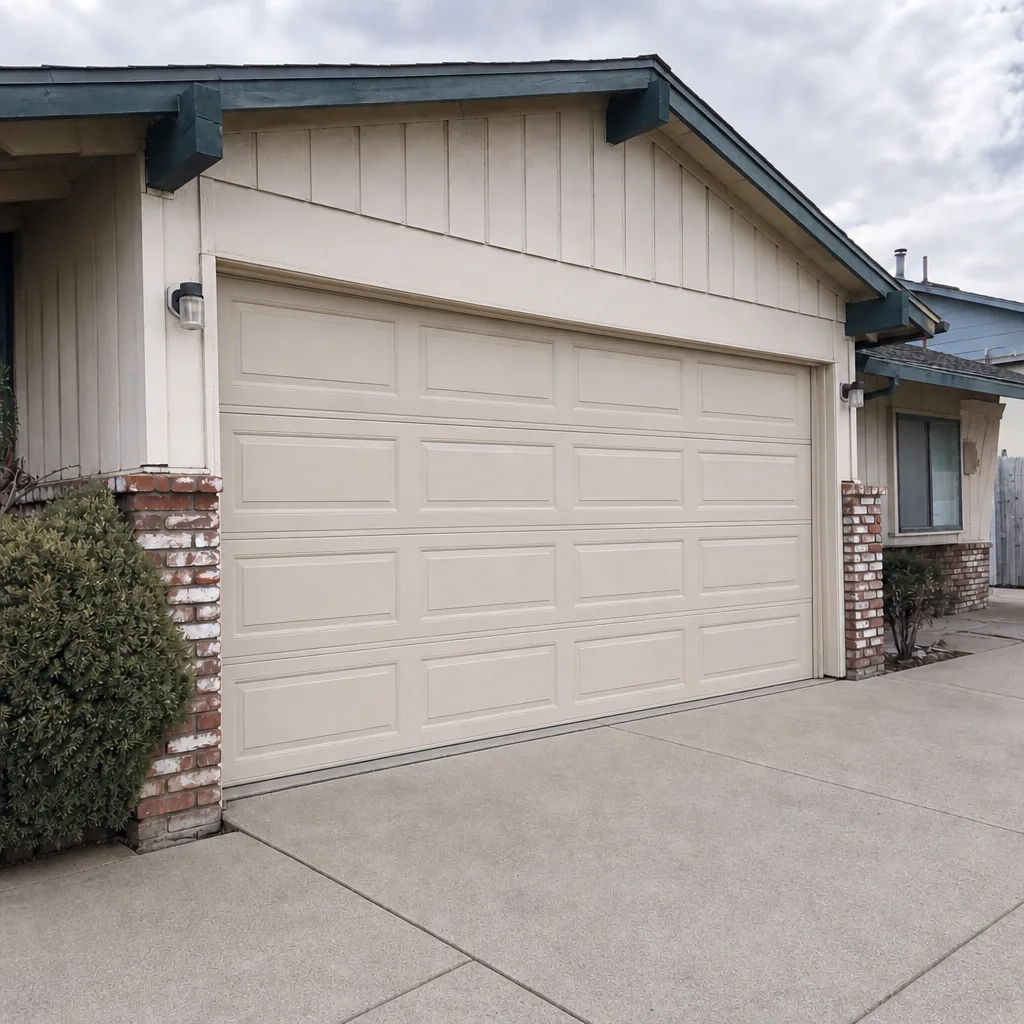 After
When to Call a Professional
If the door is heavy to lift by hand, the spring is the issue. If the door goes up crooked, one of the cables is likely compromised. If there’s a visible gap in either spring, that’s a failure. If the door closes on the opener but the motor strains, the springs are losing tension, and the opener will be next to fail. If the door reverses at the bottom without an obstruction, that’s usually a photo-eye issue – try aligning the sensors yourself first. If the door won’t stay up when you lift it about halfway, the springs have lost tension and need attention. In all of those cases, the fix involves parts that store energy, and it’s time for a professional. If you can’t find the problem or you’re just not sure, call and describe it. We’ll tell you straight whether it’s a DIY fix or a visit. Otto’s Garage Door Spring Valley offers free estimates in Spring Valley – call (888) 318-1978.
Frequently Asked Questions
Weatherstripping, bottom seal replacement, roller replacement, hinge replacement, photo-eye alignment, and lubrication are all safe DIY repairs. None of these parts store or transfer spring tension, so the risk is manageable with basic tools and a clamped-open door. Anything involving springs, cables, or bottom brackets should go to a professional.
No. Garage door springs are under extreme tension and release a large amount of stored energy very quickly. Without proper training and tooling, spring replacement can cause serious injury. We strongly recommend a professional for any spring work. Call (888) 318-1978 for a same-day estimate on spring replacement.
The bottom bracket anchors the cable, and the cable is under the full force of the spring above it. Unbolting the bracket while the spring is still tensioned turns the bracket and cable into a projectile. It looks harmless and isn’t. Release the spring tension first, which is the dangerous part, and that’s the pro’s job.
Spring repair in Spring Valley typically runs $180 to $340 depending on door height, spring type, and accessibility. That covers the parts and the labor with our 90-Day Done Right Promise in writing. Call (888) 318-1978 for an exact quote – estimates are free.
In most cases, yes. We answer the phone around the clock and quote on the call, so you’ll know the price before we head out. Call (888) 318-1978 and we’ll tell you the soonest we can be there.
No. We quote on the phone and hold that number at the door. If something changes about the job once we’re there, we’ll tell you before we do anything, and you can approve or not. Your price is written and agreed before any work starts.
The Bottom Line
The line between a safe DIY garage door repair and a dangerous one is about energy. Parts that store or transfer spring tension – springs, cables, bottom brackets – need a professional. Parts that don’t – weatherstripping, rollers, hinges, photo-eyes, lubrication – are fair game for a careful homeowner. Stay on the safe side of that line and you’ll save money without risking a real injury. Cross it, and you’re betting a several-thousand-dollar hospital bill against a $180 spring job. If you’re unsure which side your repair is on, that’s a good reason to call. We’ll tell you straight whether it’s a DIY fix or a visit.
Our technicians bring up to 22 years of experience to every job, and if it’s not done right, the 90-Day Done Right Promise makes it right in writing. You get a free second opinion on any written estimate, and no trip charge inside our county.
Call Otto’s Garage Door Spring Valley at (888) 318-1978 for a free estimate. The name on the phone is the name on the invoice and the name on the license. We’ll quote the job on the call and hold that price at the door.
Written by the team at Otto’s Garage Door Spring Valley.