
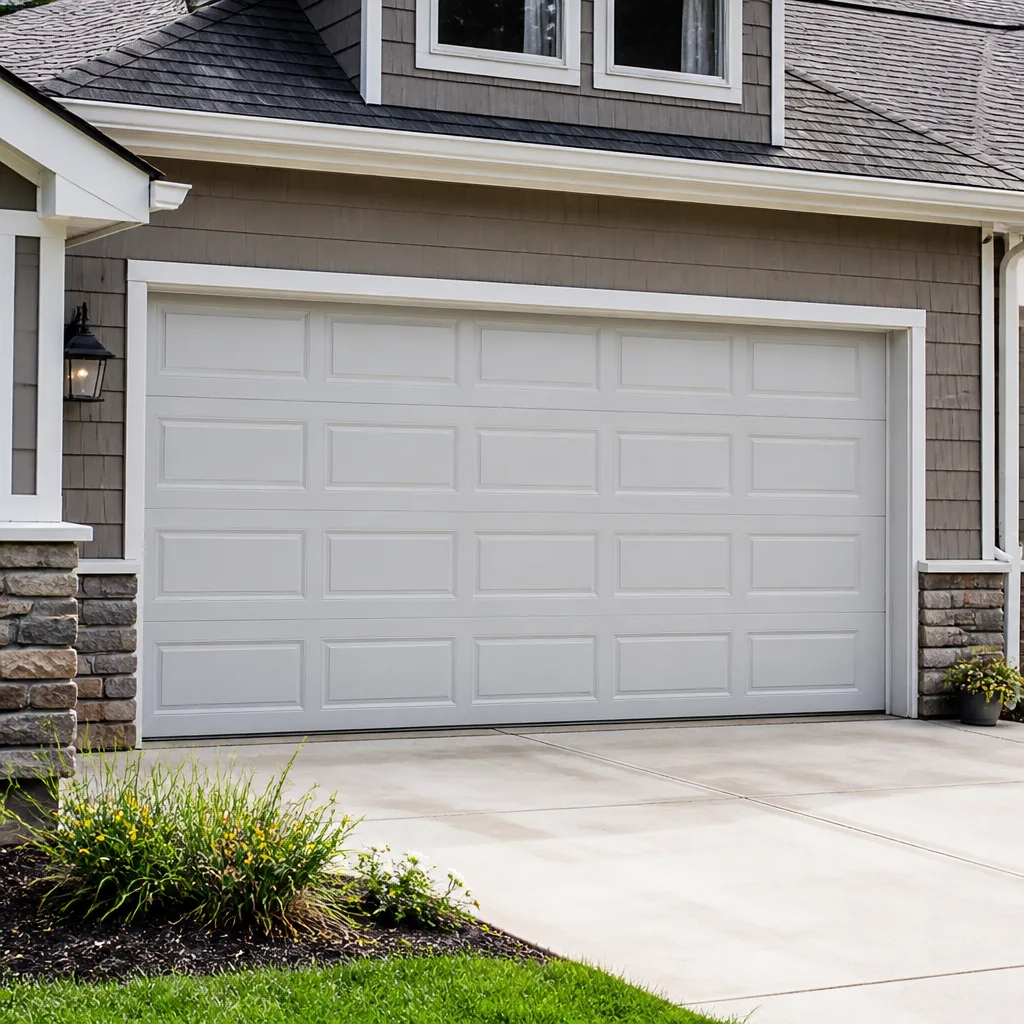
 Raised-panel steel
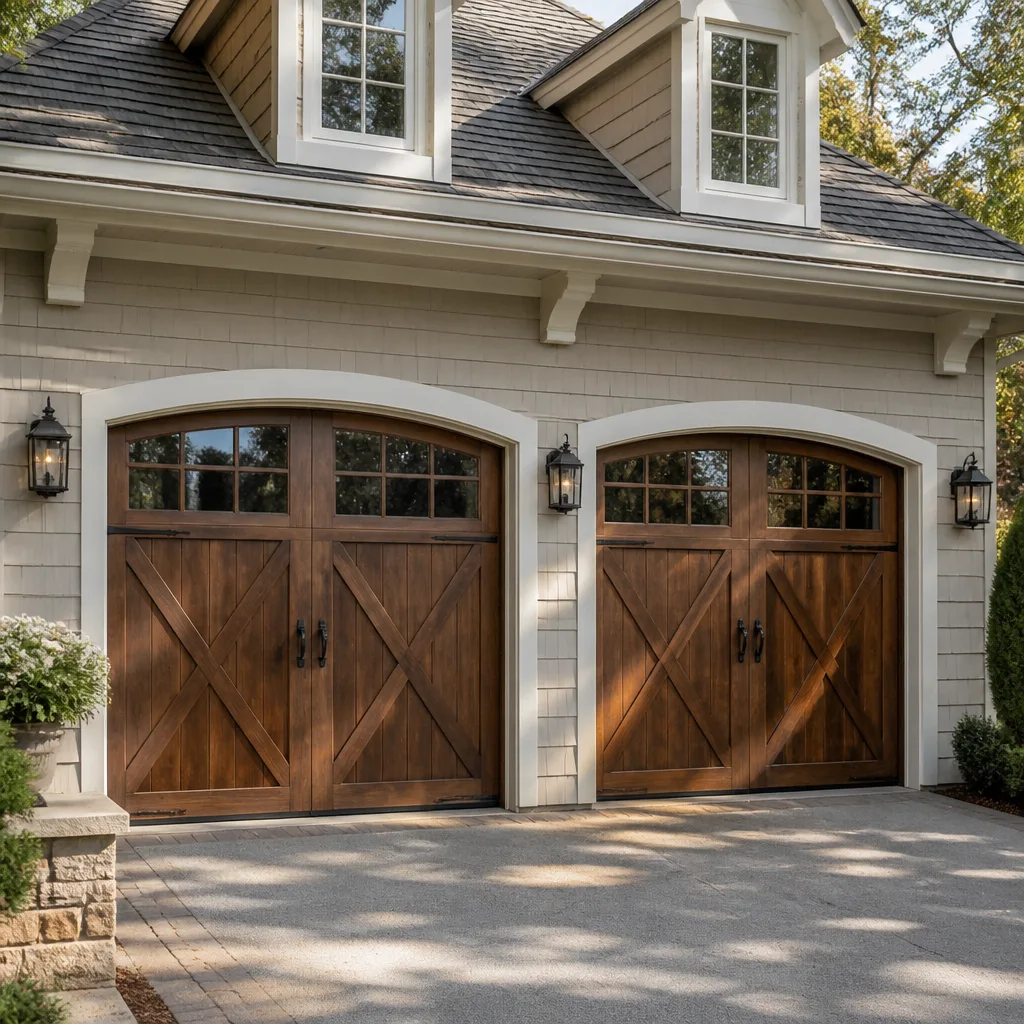 Carriage house
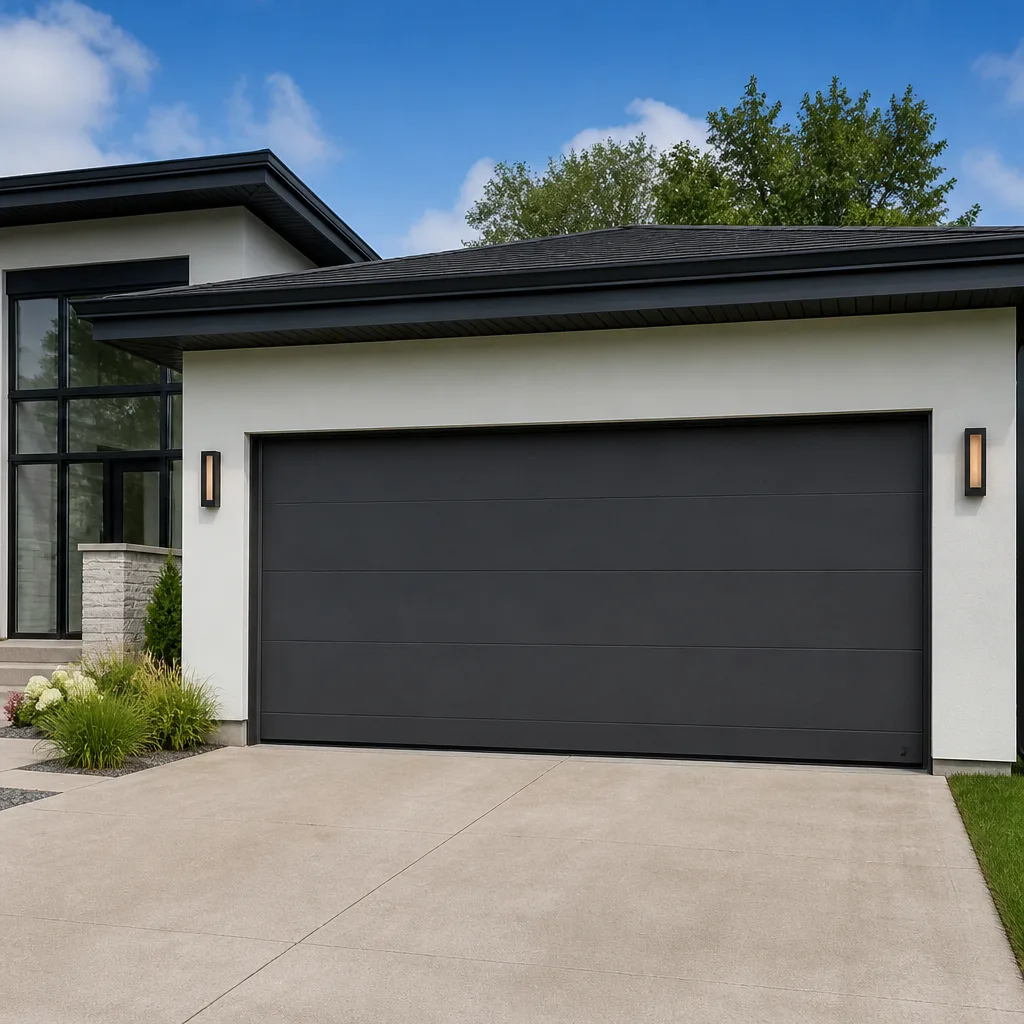 Modern flush
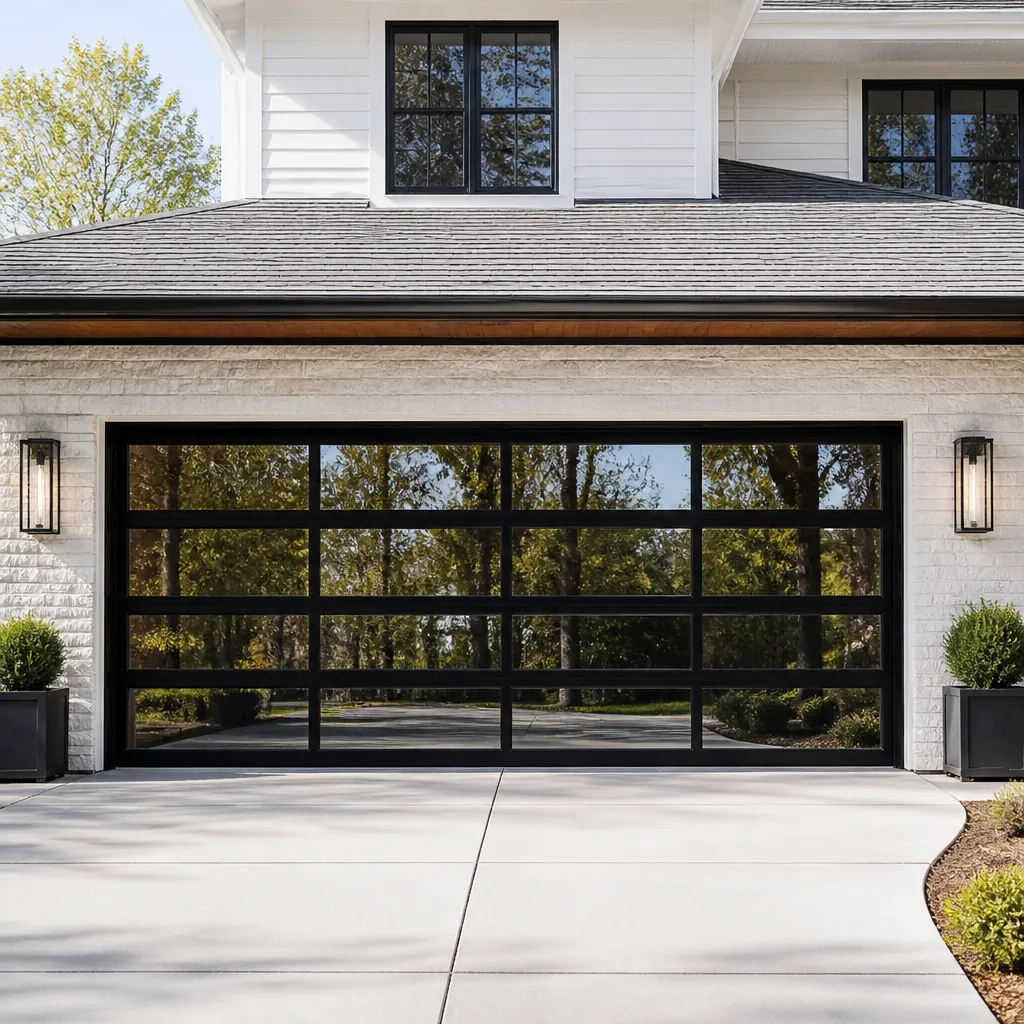 Full-view glass
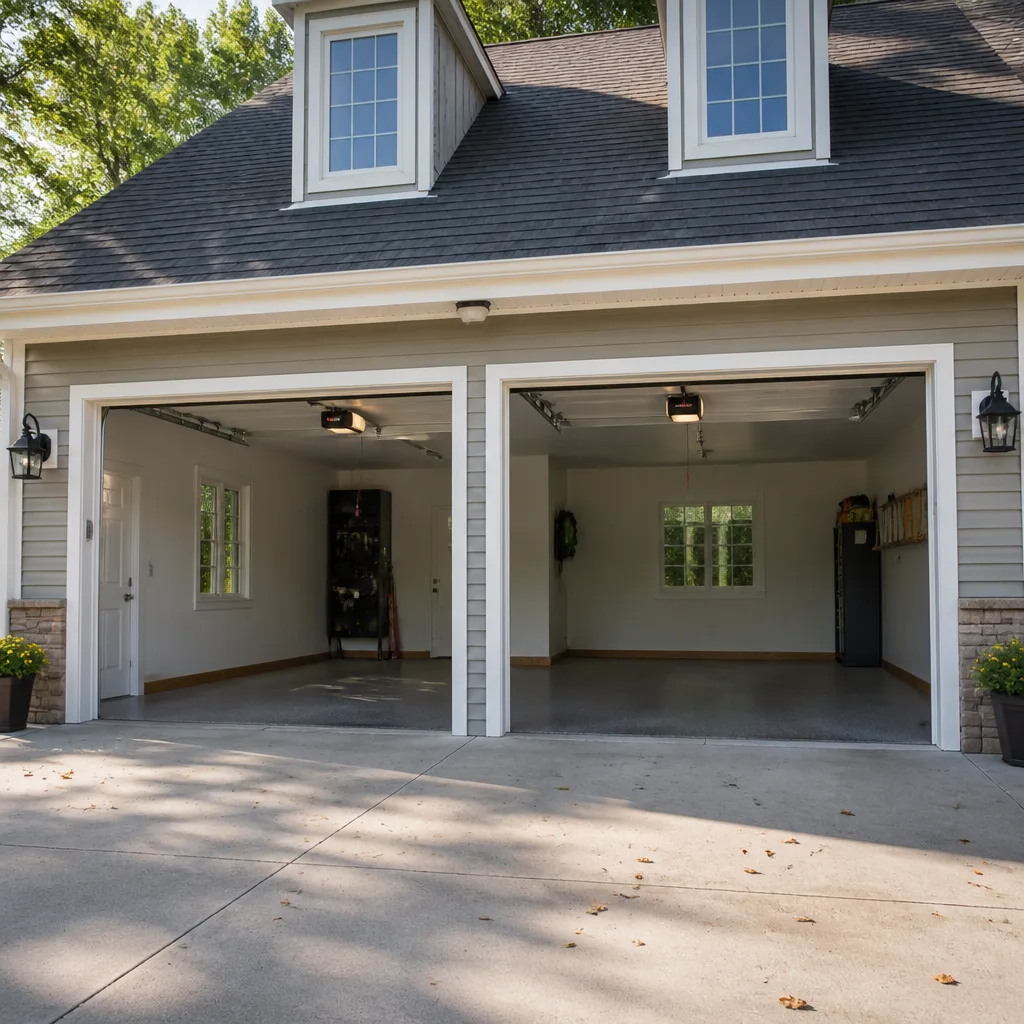 LiftMaster openers
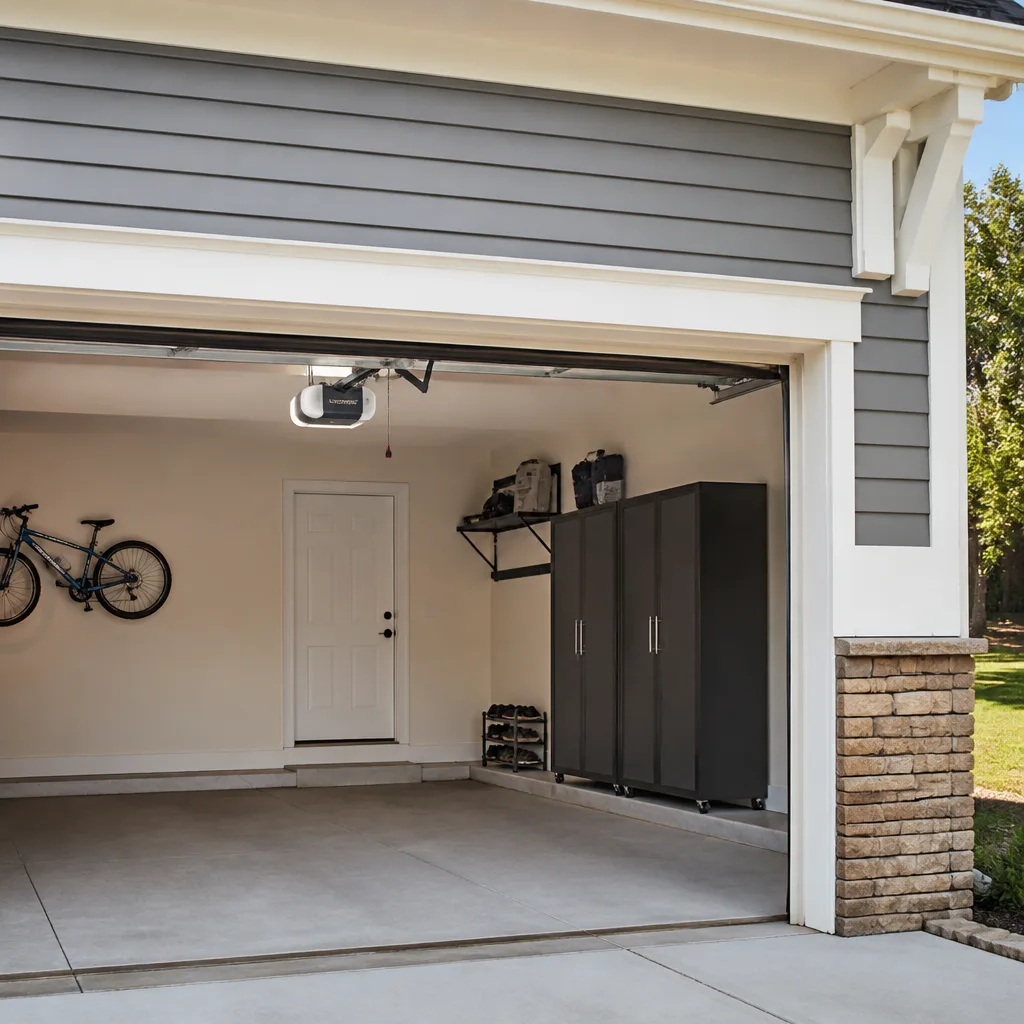 Chamberlain openers
Full 25-point door and opener safety check with every visit - springs, cables, rollers, tracks, and your LiftMaster or Chamberlain opener included
You get a price before we start. It does not change when the pro arrives.
Get your free estimateStyles & brands we work with
- Raised-panel steel
- Carriage house
- Modern flush
- Full-view glass
- LiftMaster openers
- Chamberlain openers
See the difference
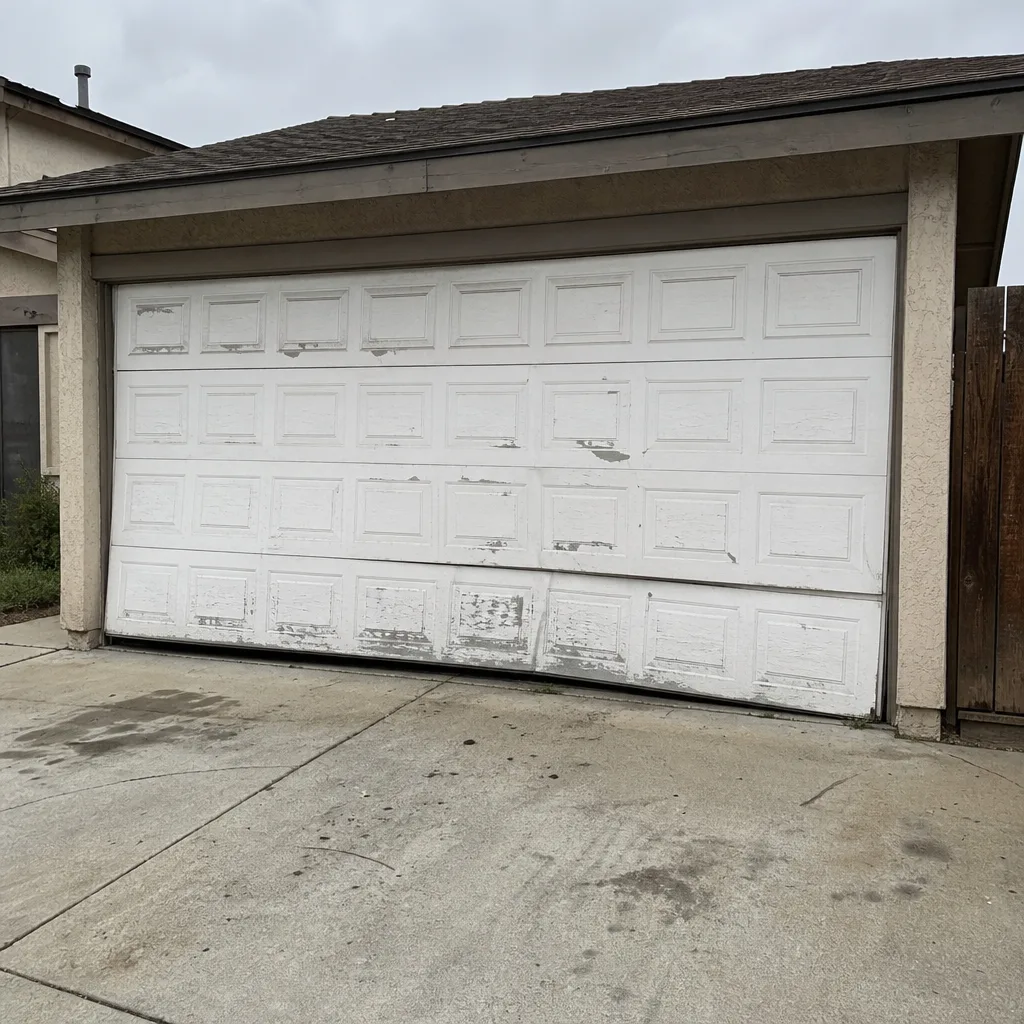 Before
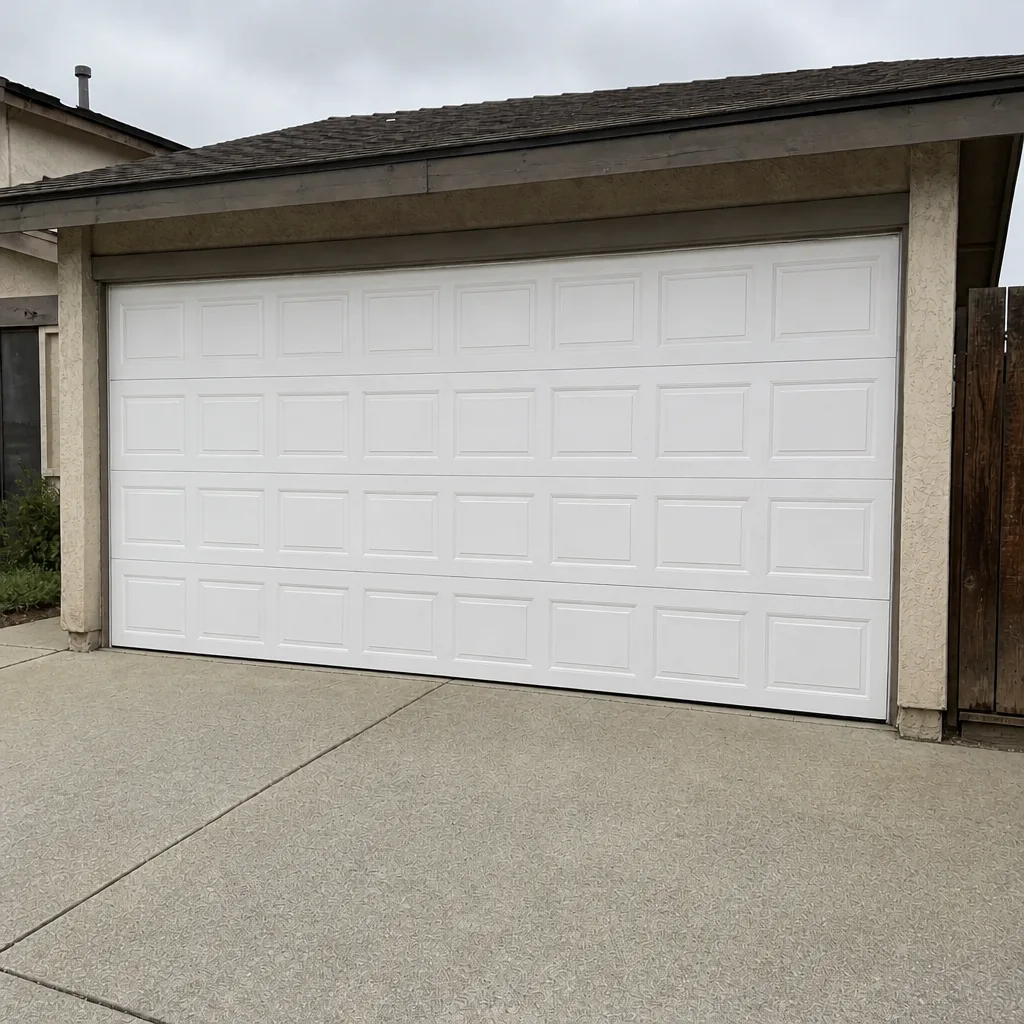 After
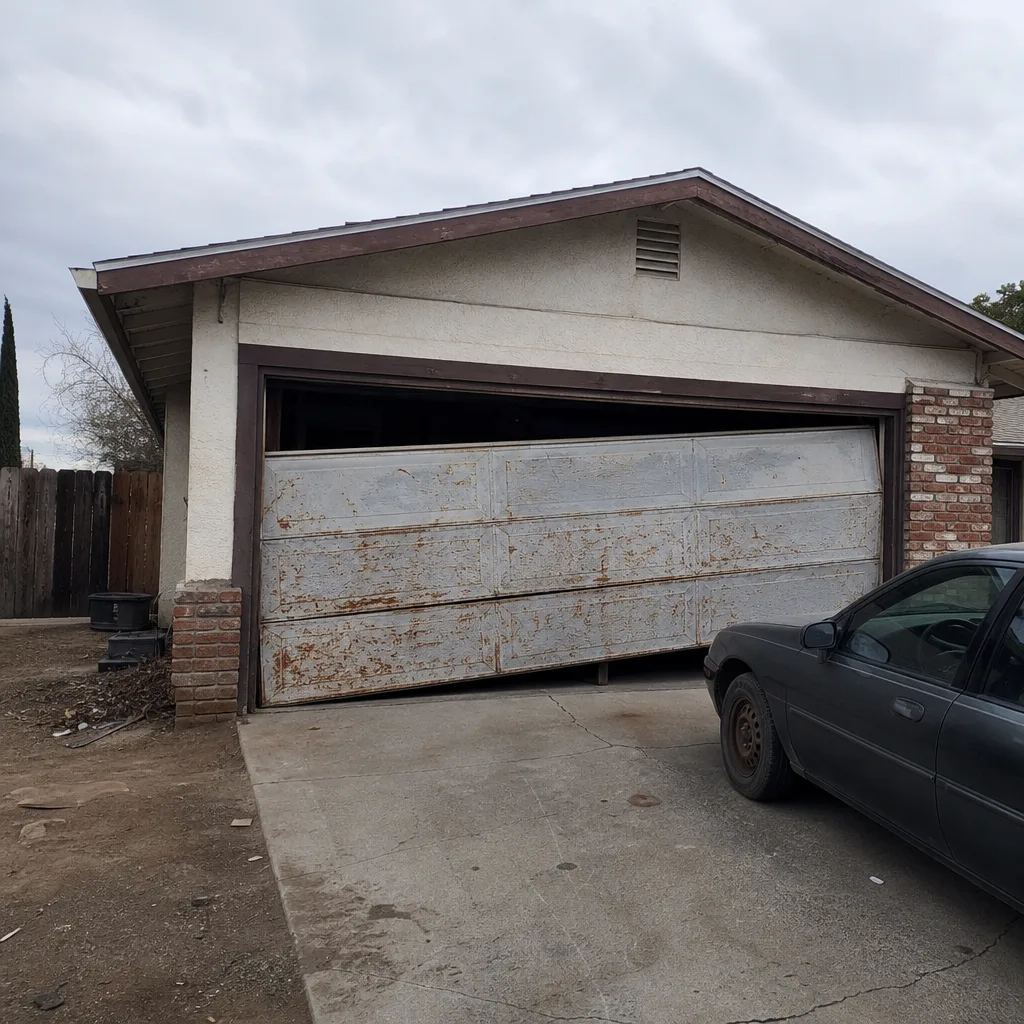 Before
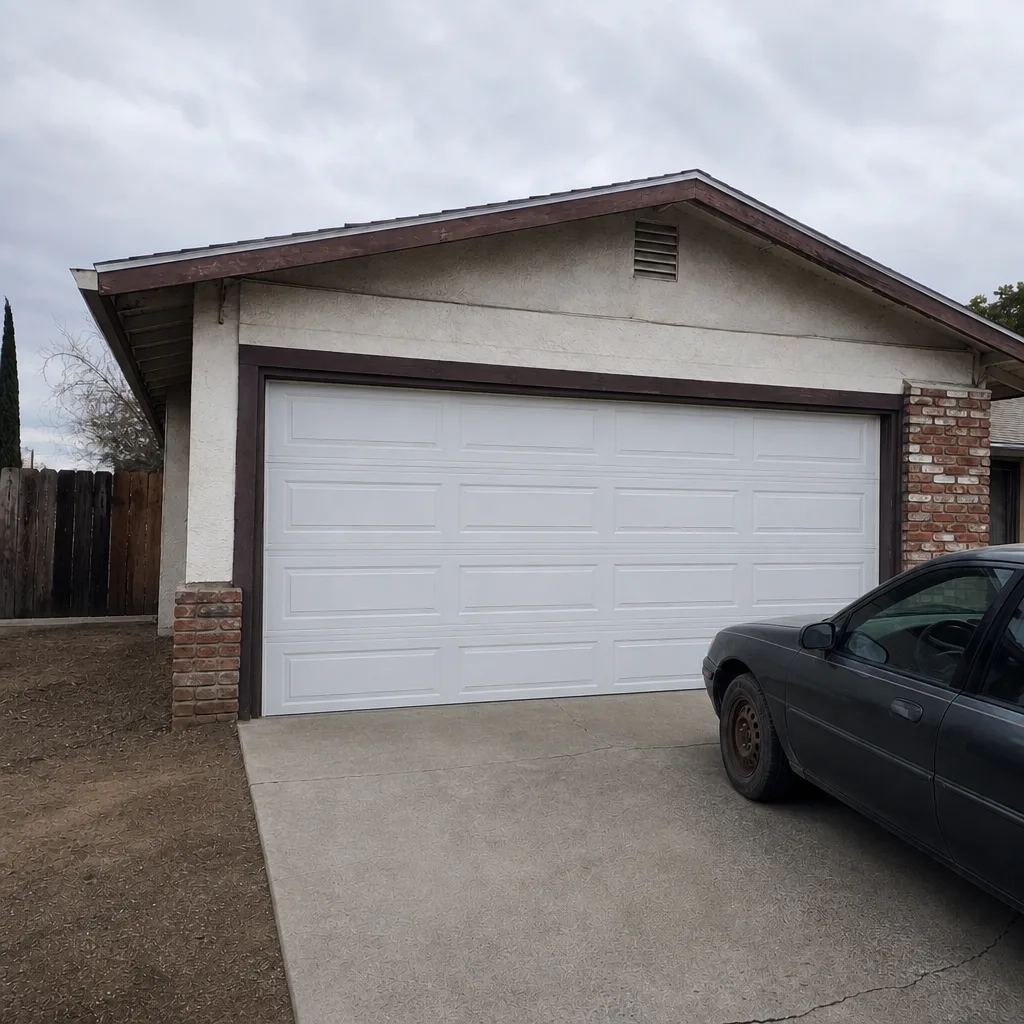 After
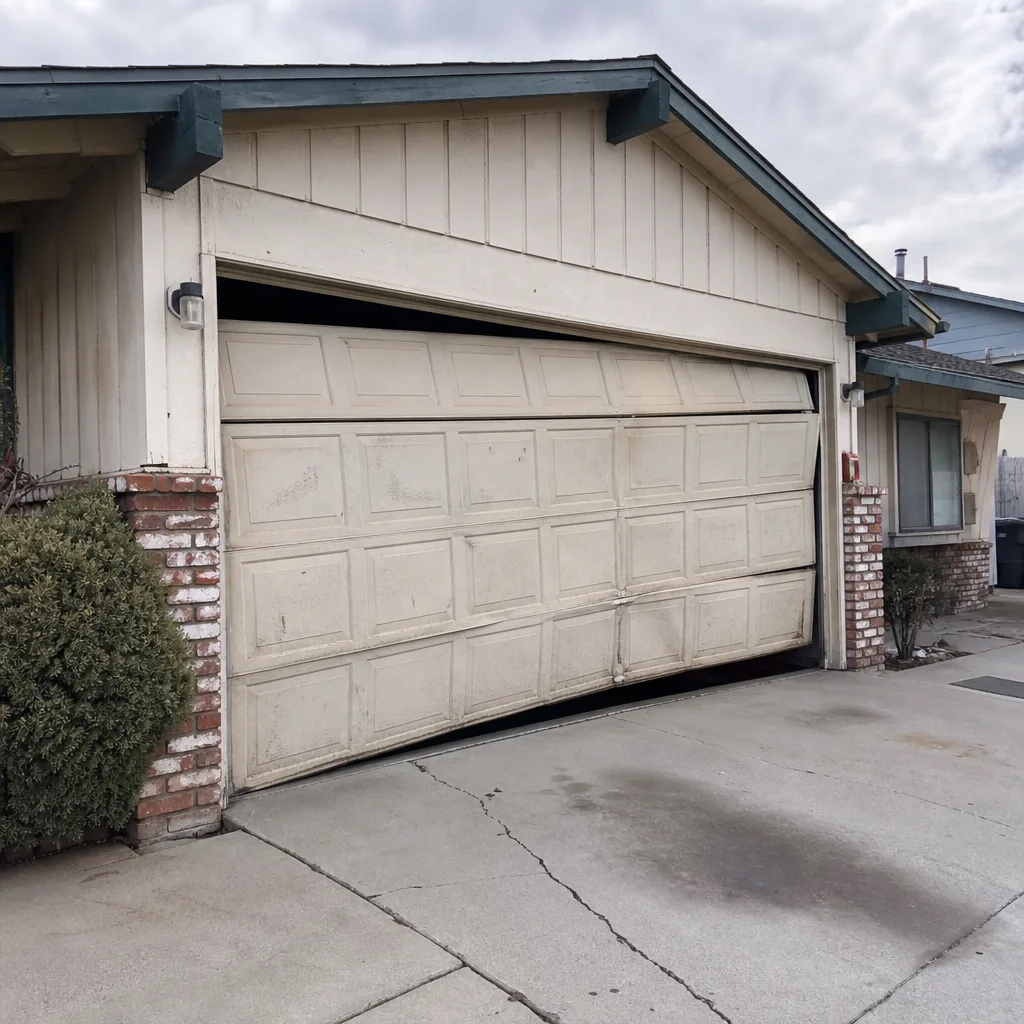 Before
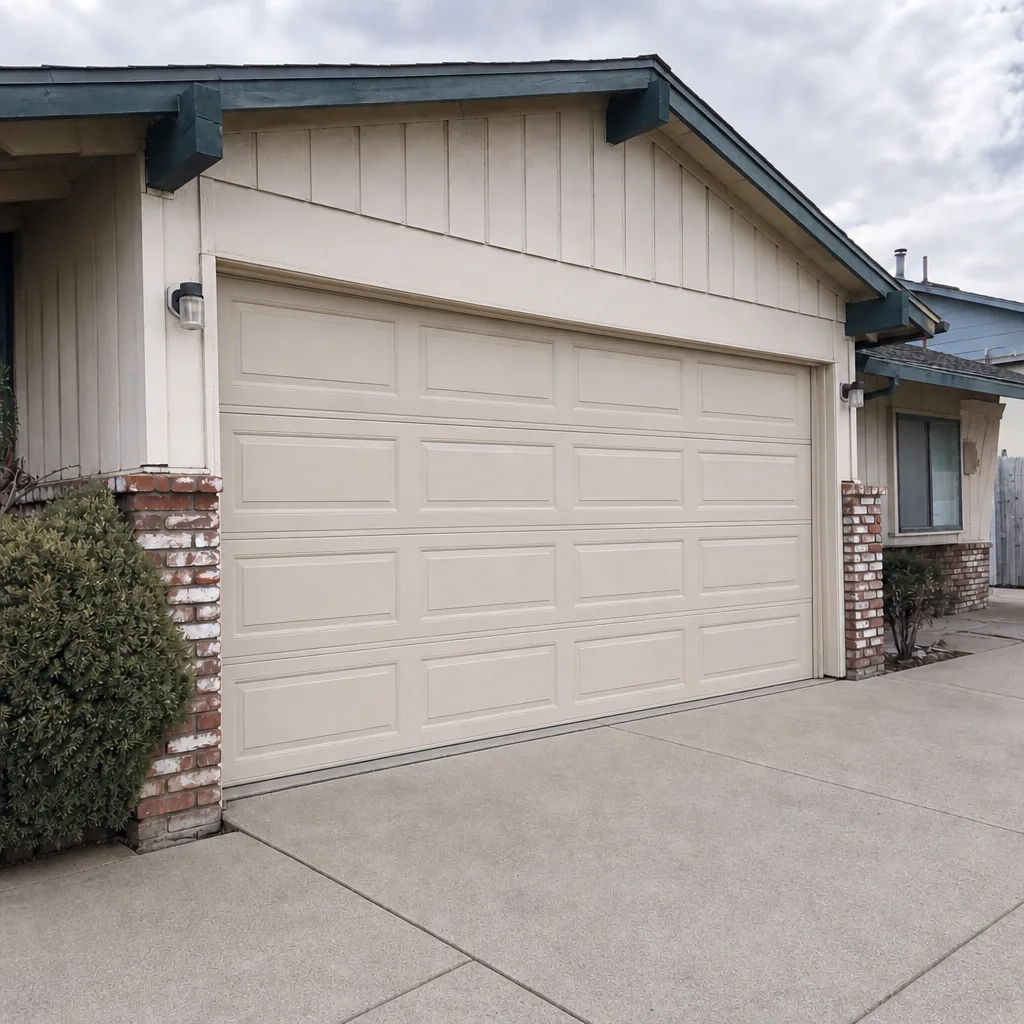 After
How to Program a Garage Door Opener in Spring Valley, NV (And the Two-Minute Check That Saves You an Afternoon)
If holding your remote button for 30 seconds produced no blink, no click, and no movement, the most likely cause is a mismatch between remote and opener: a pre-1996 fixed-code opener in a Spring Valley home can never learn a modern rolling-code remote, no matter how many tutorials you follow. The fix takes two minutes to confirm. Find the opener motor head and look for a row of small DIP switches (tiny numbered toggles, usually 8 to 12 of them) instead of a colored “Learn” button. If you see DIP switches, you have a fixed-code unit, and the remote you just bought won’t program to it. If you see a Learn button, the programming sequence below will work, and if it doesn’t respond at all, you may have a heat-failed receiver that no amount of button-holding will fix. Call (888) 318-1978 if you want a straight answer on which one you’re dealing with.
Fixed-Code vs. Rolling-Code: The Check That Tells You Definitively
Openers manufactured before roughly 1996 use fixed-code technology. Every remote transmits the same code every time, and that code is set by physical DIP switches inside both the remote and the motor head. The remote matches the opener by switch position only. A modern remote, which transmits a new rolling code on every press, has no way to talk to it. This is not a programming problem. It’s a hardware generation gap, and no sequence of button presses closes it.
Spring Valley’s housing stock makes this a live issue here. The eastern pockets of the valley are full of stucco-and-tile subdivisions built from the late 1980s into the mid-1990s, and many still have original builder-grade openers mounted to the ceiling. We see those units constantly: Chamberlain and LiftMaster models with a DIP switch block under the light lens cover, and Genie units from the same era with a row of switches behind the battery door of the remote itself. If your opener dates to that window and has no Learn button anywhere on the motor head, stop troubleshooting and start shopping for a replacement opener, not a remote.
The good news is that an opener replacement is straightforward and priced upfront. Opener installation in Spring Valley runs $250-$550 depending on the unit and whether the existing rail and wiring can be reused. Otto quotes the job on the call and holds that number when the van pulls in.
Rolling-Code Programming: The Actual Button-Hold Timing by Brand
If you have a Learn button, the sequence is simple, but the timing differs enough between brands that most failed DIY attempts come down to holding the button too long or too short. Here’s the working sequence for the three most common systems in Spring Valley’s 1990s-to-2010s homes:
LiftMaster / Chamberlain (colored Learn button)
- Locate the Learn button on the motor head. The color tells you the technology generation (purple, yellow, green, or red/orange).
- Press and release the Learn button once. Do not hold it; a single tap is what puts the unit into learn mode. The indicator LED will light for about 30 seconds.
- Within that window, press and hold the remote button you want to program. The opener will click or the light will blink to confirm.
- Test the remote from inside the garage before you walk away.
Genie Intellicode
- Press and hold the program button on the power head until the round LED turns on, then release. On newer Intellicode units, press it twice.
- Press the remote button twice slowly, not rapidly. The LED will blink to confirm the learn.
- Test the remote. If it fails, repeat once; Genie units occasionally need a second pass to latch the code.
Linear / Multi-Code
- Open the receiver or the motor head and press the program button once; the LED comes on.
- Press the remote button. The LED blinks and the unit stores the code.
- Close the housing and test from the driveway.
One first-hand note from the field: when a Learn button’s indicator light never comes on at all, the receiver board is usually dead. In Spring Valley, that’s often heat damage. Garage interiors here routinely hit 115°F in July, and the capacitor and receiver components on openers mounted in those spaces fail earlier than the manufacturer’s service life suggests. That’s a parts replacement, not a programming problem, and no tutorial fixes it.
If the opener is straining, the problem is almost never the opener. Binding tracks, worn rollers, or a torsion spring losing tension will make a healthy unit act like a dying one, and programming won’t change that. You can read more about when Garage Door Opener Repair & Installation is the right call versus a simple reset.
| Service | Spring Valley Price Range |
|---|---|
| Opener Repair | $120-$320 |
| Opener Installation | $250-$550 |
| Track Realignment | $120-$240 |
| Roller Replacement | $110-$220 |
| Spring Repair | $180-$340 |
| Cable Repair | $130-$250 |
Programming Your Car’s HomeLink After the Remote Works
Once the handheld remote programs, the vehicle button is a second job, and newer rolling-code systems need one extra step that trips up most drivers. The car’s HomeLink learns the remote’s signal, but on rolling-code openers the opener itself still has to accept the car as a new device.
- Hold the working handheld remote roughly 2 inches from the HomeLink button and press both at the same time until the car’s indicator flashes rapidly. That trains the car to the remote’s frequency.
- Now press the Learn button on the opener motor head once, then go to the car and press the HomeLink button twice, pausing between presses. That second press is the step most people miss; without it, the car never registers with the opener.
- Test from the driveway. If it still fails, the car or opener has cleared its memory and the cycle needs one clean repeat.
This two-step registration applies to newer rolling-code openers on the insulated, belt-drive units going into the west-side builds up against the Spring Mountains. Those homes date to the 2010s and run quieter, but the pairing process is identical. If the car is a late model with an updated HomeLink module, the same sequence holds.
When It’s Time to Stop Programming and Start Calling
Some situations don’t respond to programming because the problem is mechanical, and pushing further won’t help. A door that reverses immediately, an opener that runs but doesn’t move the door, or a motor that hums without lifting anything points to springs, cables, or the opener’s drive gear. Springs and cables carry serious tension; a torsion spring under load can cause injury if it lets go while you’re working near it. That work belongs to a trained tech, not a tutorial.
Otto’s Garage Door Spring Valley has been locally owned and owner-operated since 2004, and the technicians on these calls carry up to 22 years of experience across LiftMaster, Chamberlain, Genie, and the older Craftsmans and Raynors still in service around here. Every repair is backed by the 90-Day Done Right Promise in writing, and the pricing is quoted on the phone and held at the door. If a new opener is the answer, that gets quoted on the same call.
- Check first: DIP switches mean fixed-code, Learn button means rolling-code.
- Programming timing: LiftMaster/Chamberlain is a single tap; Genie often needs two presses.
- Dead Learn light: likely a heat-failed receiver, common in Spring Valley garages that top 115°F.
- HomeLink: train the car to the remote, then register the car with the opener’s Learn button.
- Call when: the opener runs but the door doesn’t move, or the door reverses on its own.
FAQs
Because the opener is almost certainly a fixed-code unit made before about 1996, and a modern rolling-code remote cannot learn a fixed code. Check the motor head for DIP switches instead of a Learn button; if you see switches, the remote is incompatible and the opener needs replacing. Call (888) 318-1978 for an upfront quote on a replacement opener.
It’s on the motor head, usually under the light lens cover on older models or on the back panel near the antenna wire on newer ones. It’s a small colored button, and its color tells you the technology generation. One press and release puts the unit in learn mode, and the remote must be pressed within 30 seconds.
It usually means the receiver board has failed, and in Spring Valley heat is the common culprit since garages here regularly exceed 115°F in summer. That’s a repair or replacement, not a programming issue. Call (888) 318-1978 and we’ll tell you on the phone whether it’s worth repairing or replacing.
Yes. We program remotes and HomeLink during repair and installation visits, and we’ll confirm the opener’s generation before we arrive. If a replacement is needed, the price is quoted on the call and held at the driveway. Call (888) 318-1978 for a free estimate.
If you’d rather have it looked at, Otto’s Garage Door Spring Valley offers a no-pressure assessment in Spring Valley. Call (888) 318-1978 for a free estimate, and we’ll tell you straight whether your opener is worth programming or worth replacing.
Written by the team at Otto’s Garage Door Spring Valley, serving Spring Valley, NV.